If you’ve heard of Cricut or own one of the machines, you know how magical (and addictive) it can be. Cricut is a precision cutting machine that is more than just … a cutting machine. Once you get into its app, Cricut Design Space, you’ll discover the incredible number of projects and creative ideas, and definitely find something you would want to make. Cricut brings out the craftiness in all of us, and I spent the weekend with the Cricut Maker 3 and Cricut Hat Press (this is a hot iron made especially for the curvature of caps), and now all I want to do is make stuff with Cricut all week.
For beginners, check out the Cricut Joy Gift bundle, it’s Cricut’s most affordable and compact machine, and this set comes with tools and materials to get you started. I went all out with the Cricut Maker 3, which has the most powerful motor so cuts the fastest, is compatible with Cricut’s Smart Materials (these don’t require placing your materials on the Cricut mat when you load it into the machine), and is able to cut 300+ materials including wool felt, which I love to work with.
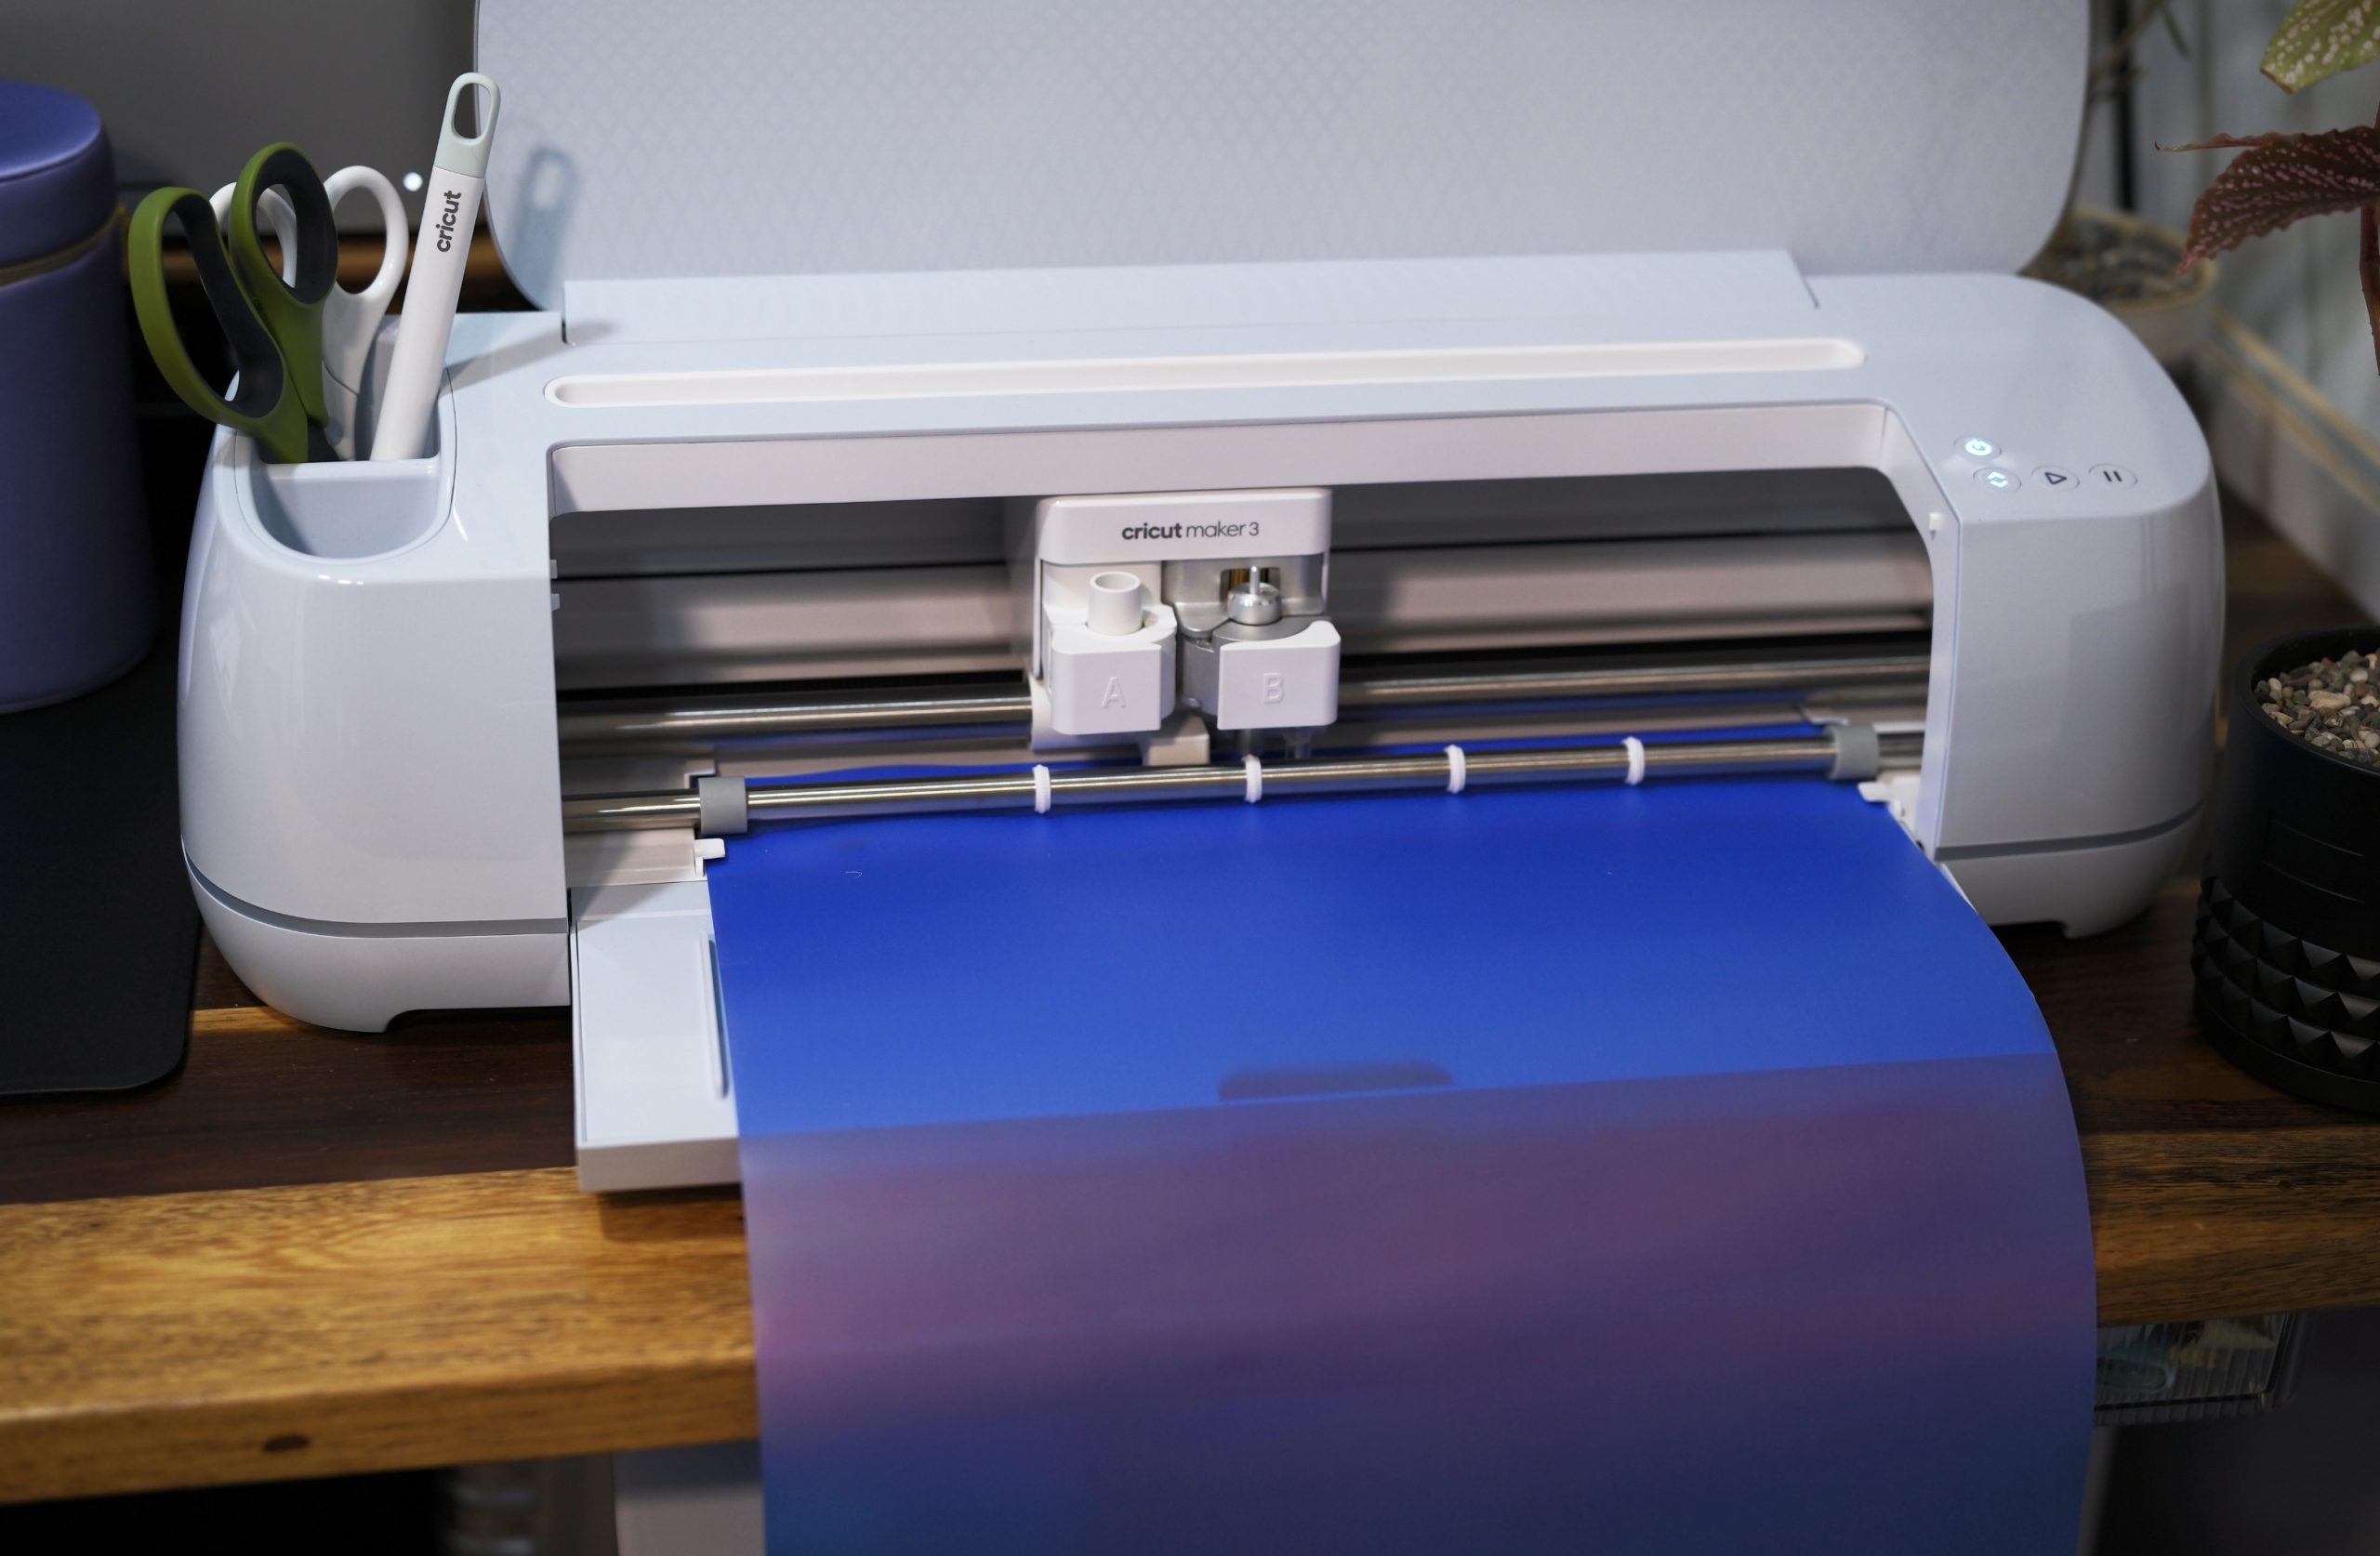
Above: This is the Cricut Maker 3 when it’s closed. It looks sleek and minimal (and yes, very much in the shape of a printer).
STICKERS
Since it was the weekend and the kids weren’t at school, I decided to make some sticker sheets for them to decorate their things with. Making and cutting stickers is probably the easiest project you can start with on a Cricut. There are tons of images to work with on Cricut Design Space, or you can upload your own as well.
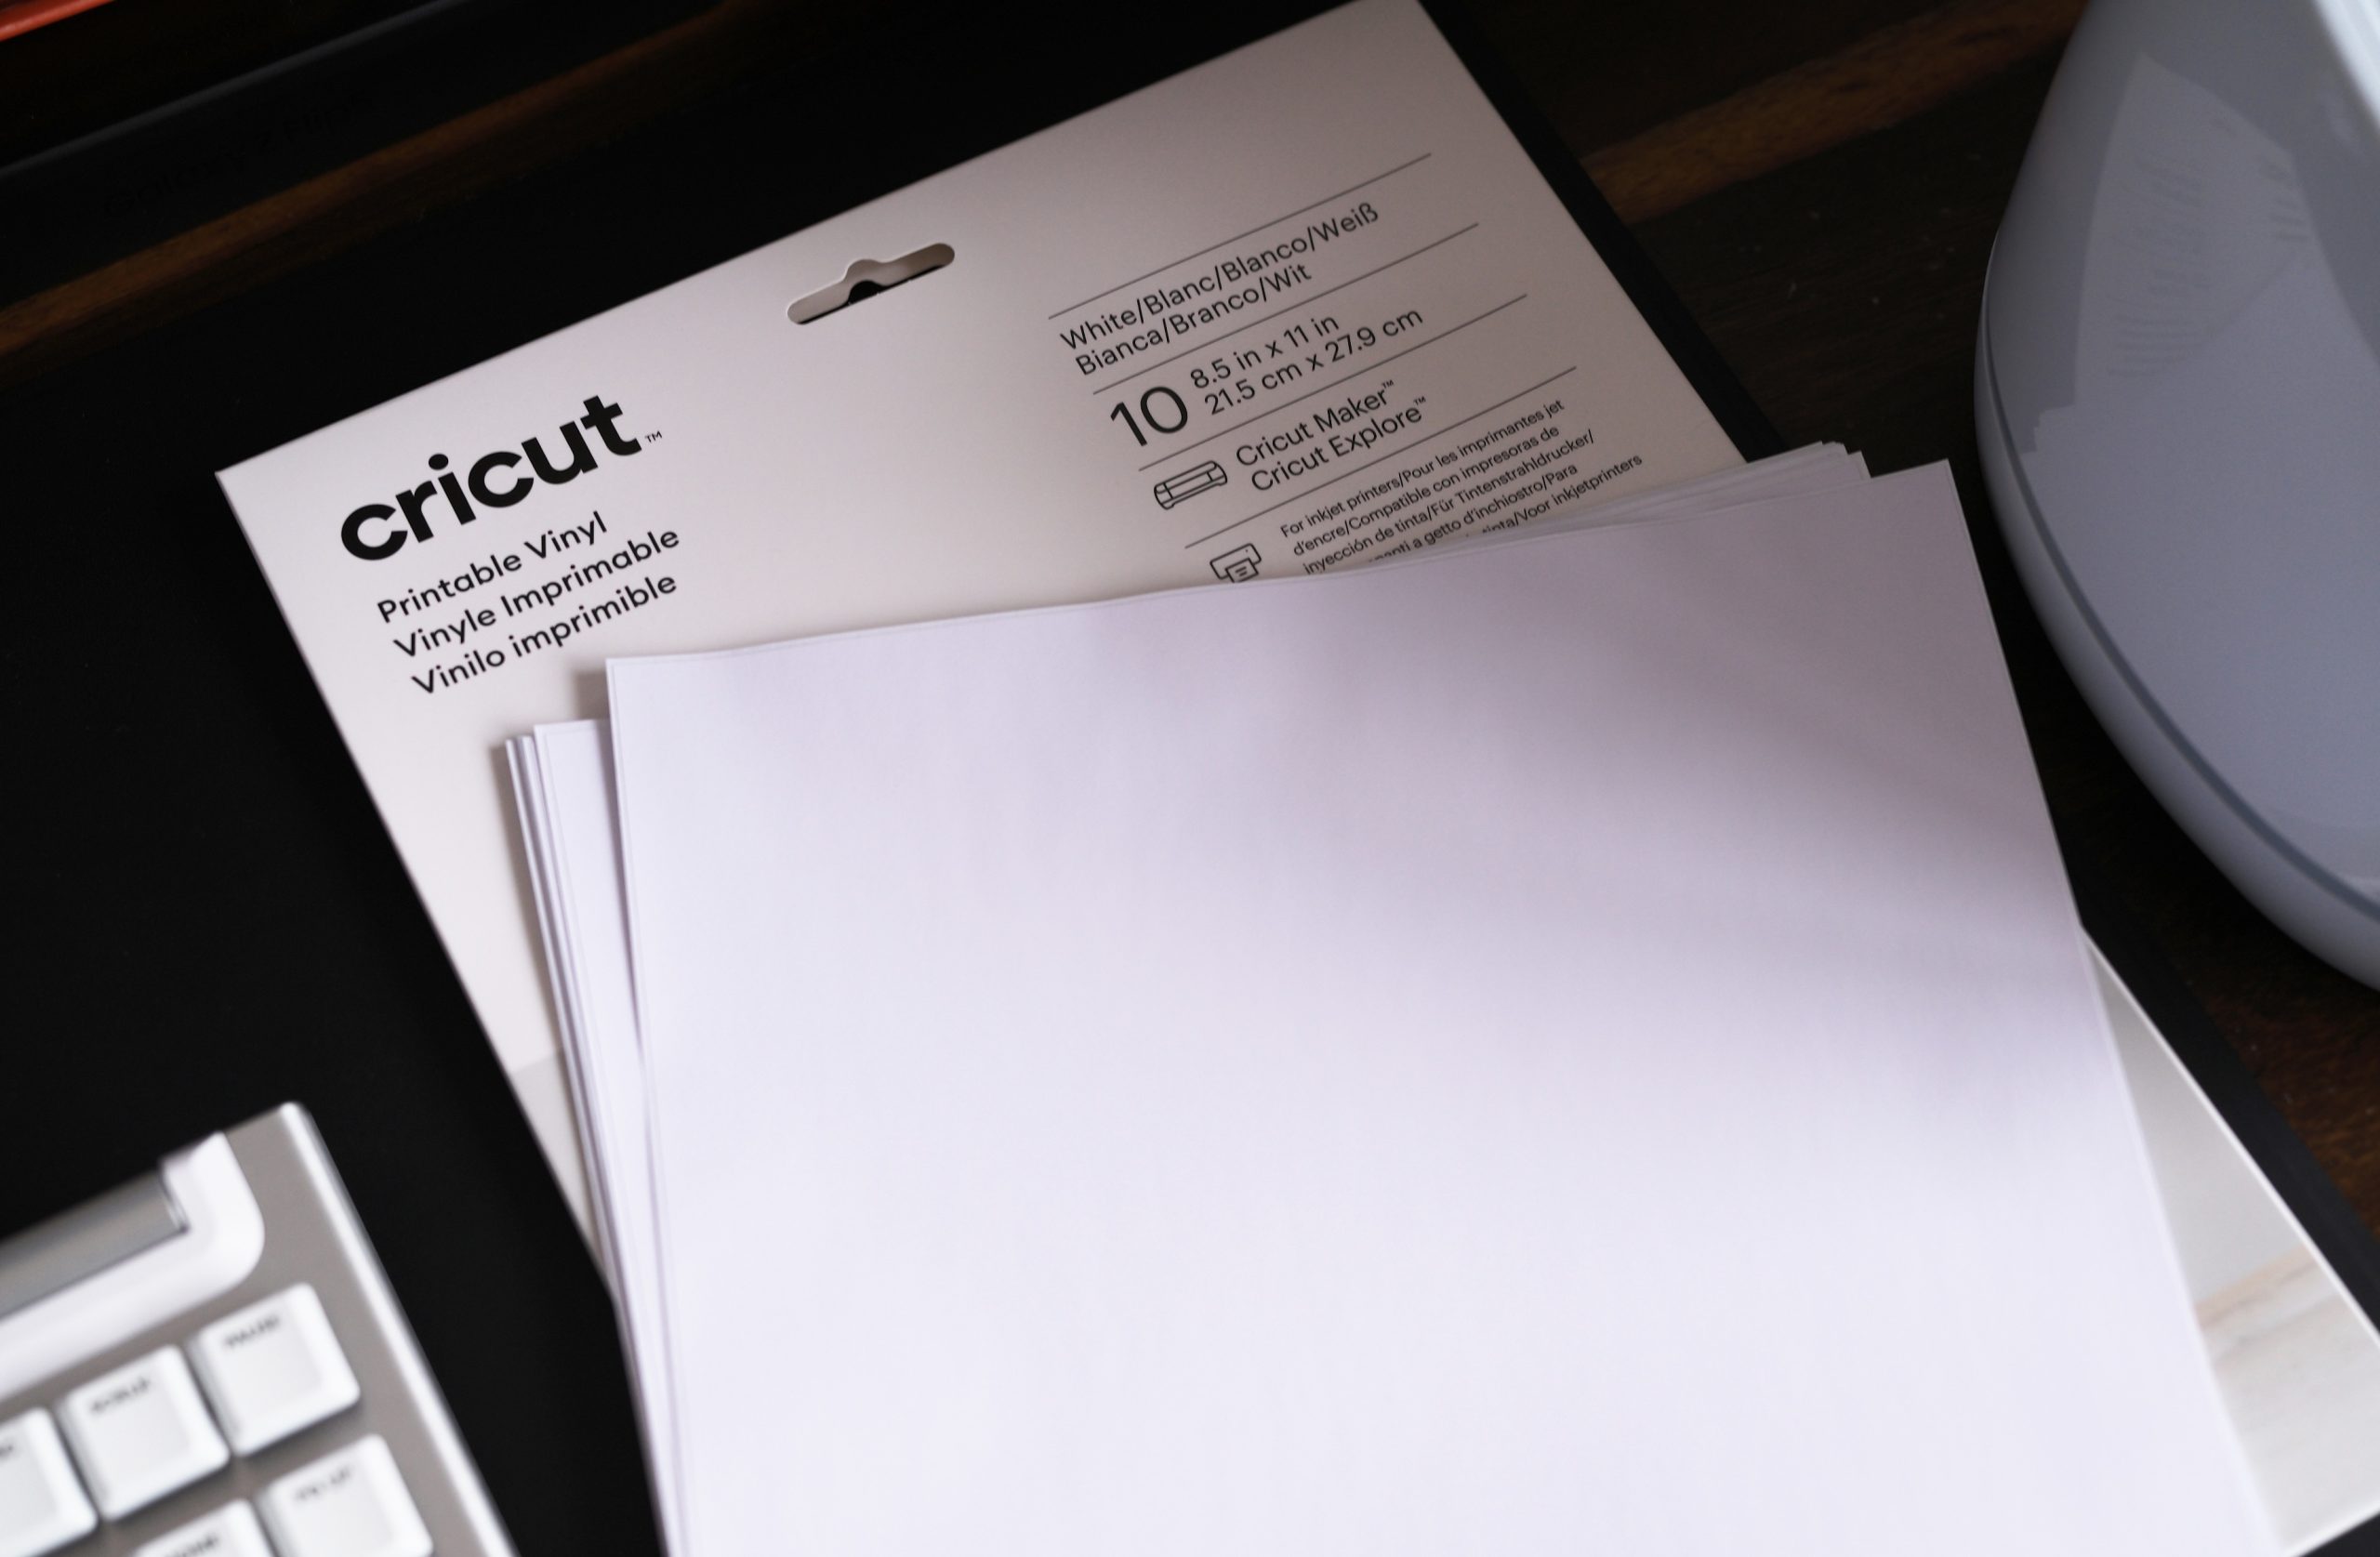
Above: Check out Cricut’s Printable Vinyl sheets. These can be fed into any standard inkjet printer, then loaded into your Cricut machine for cutting.
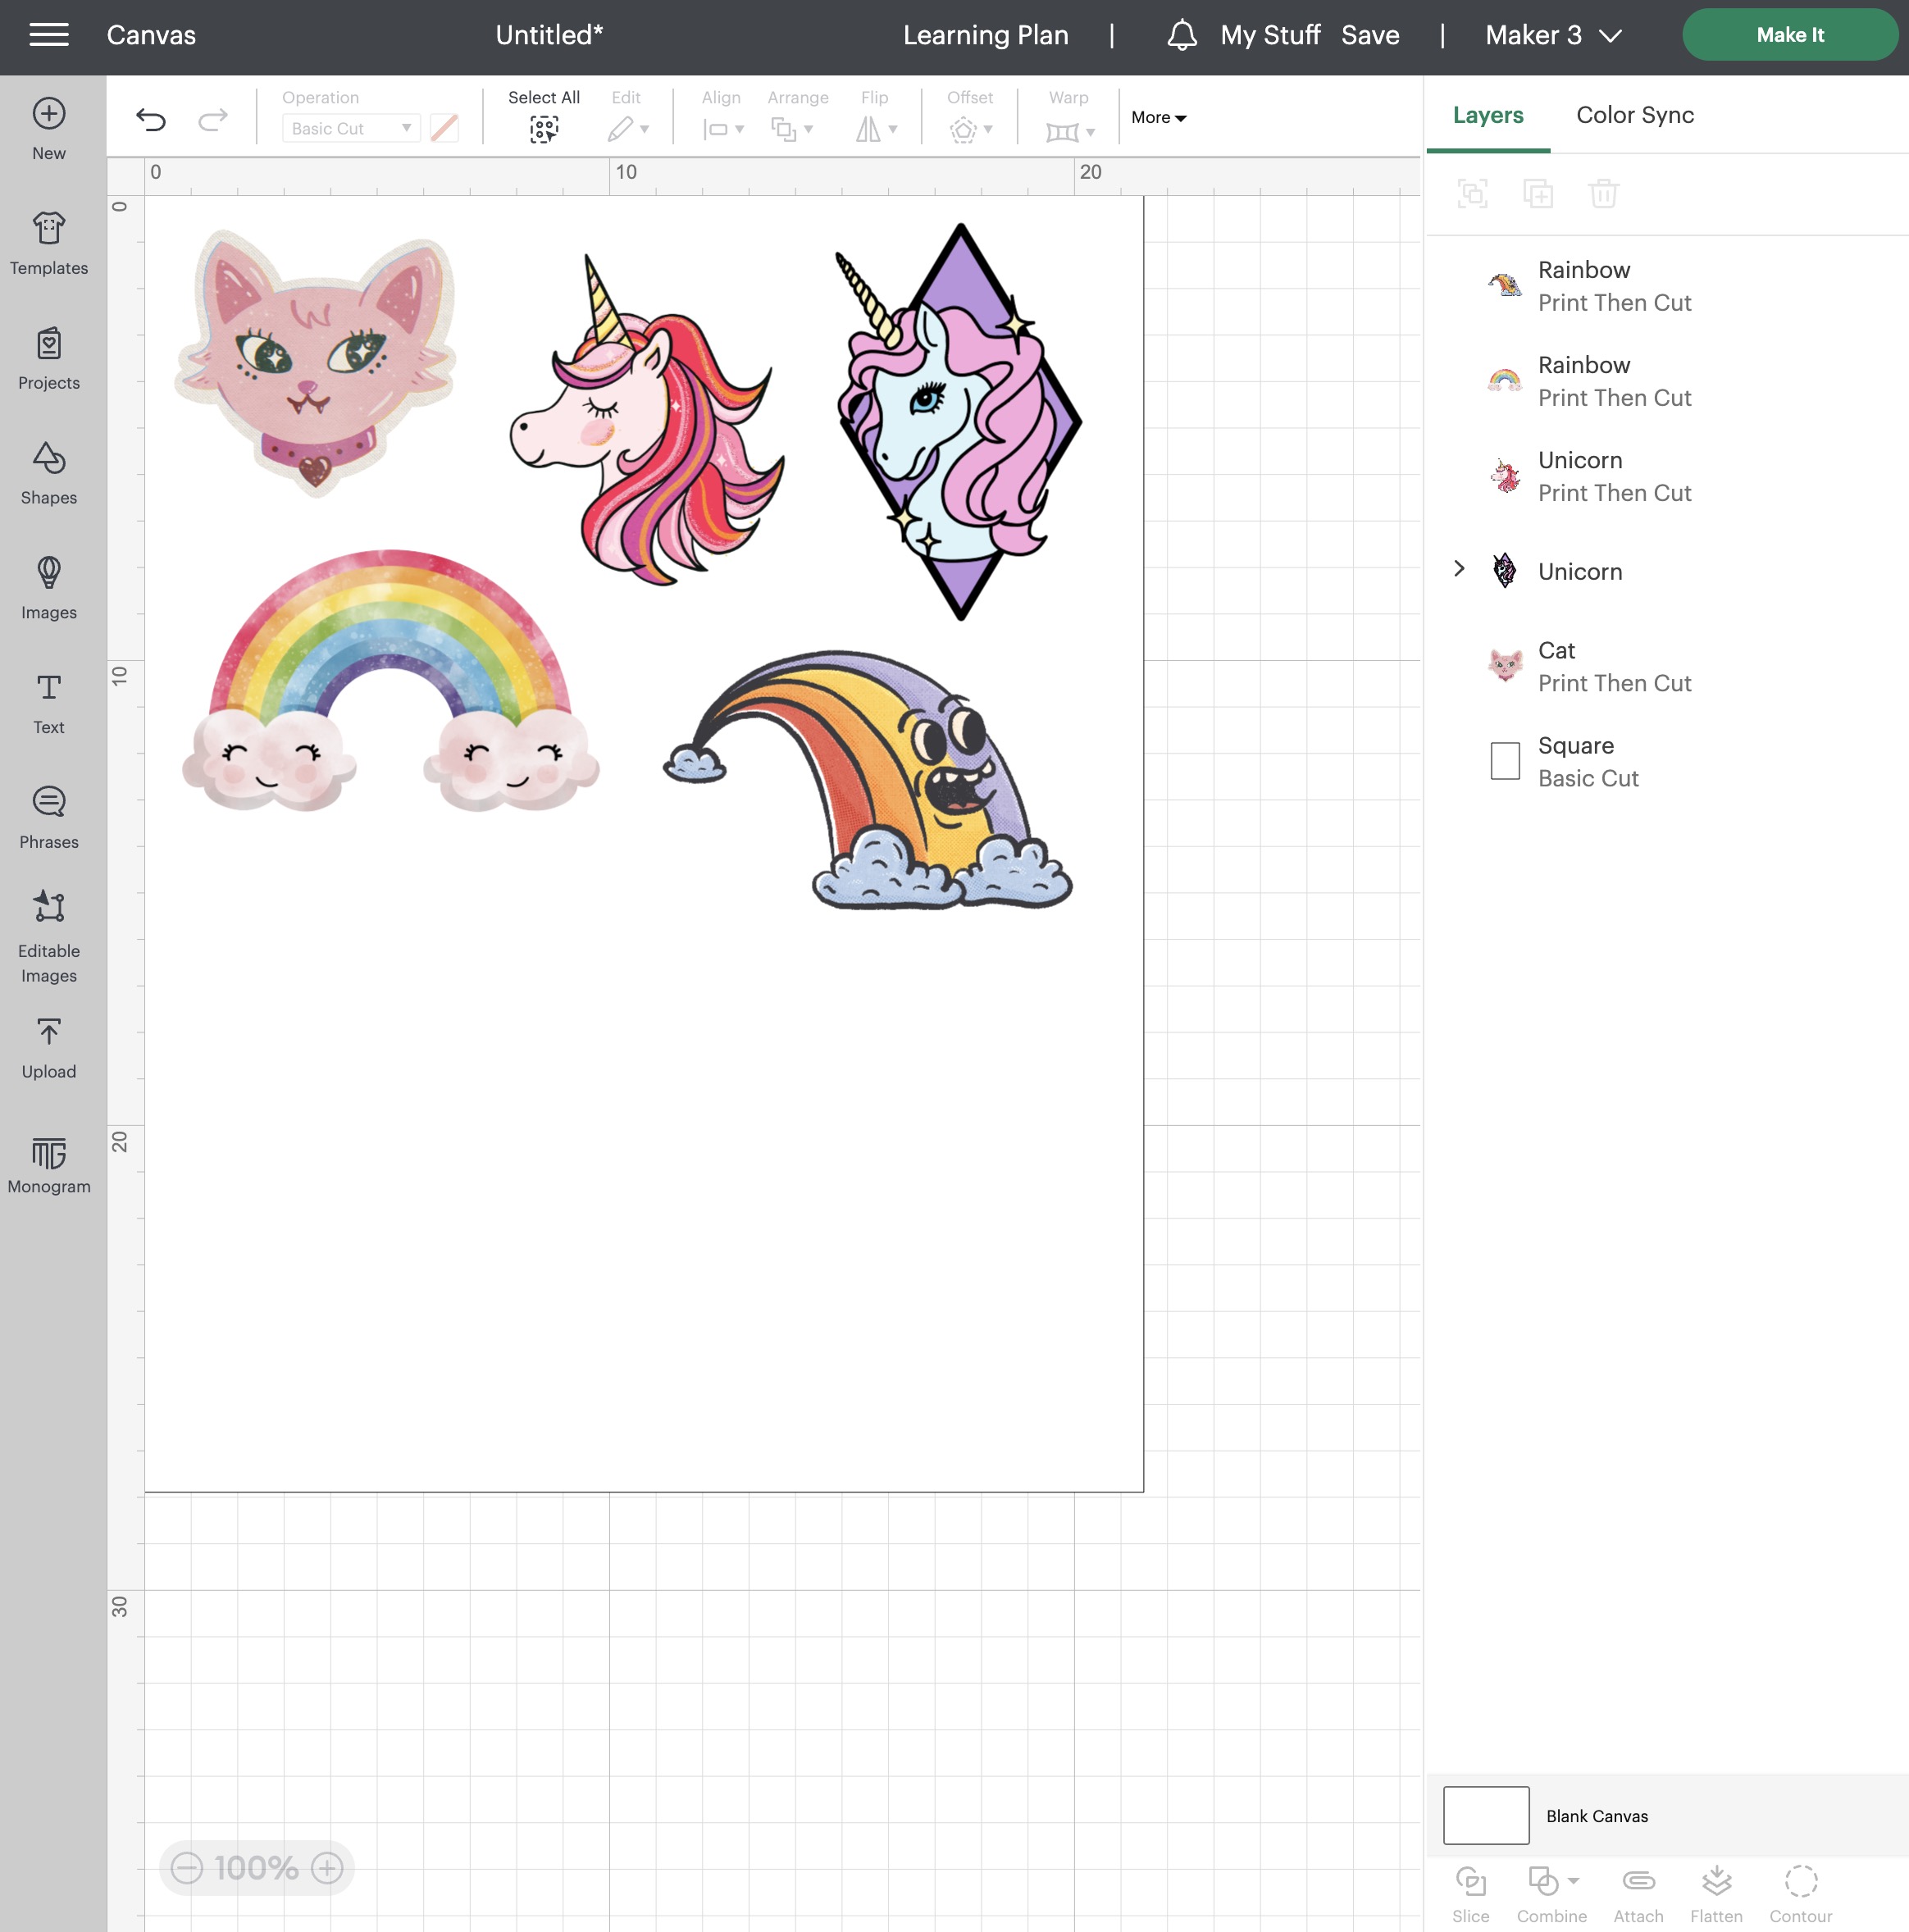
Above: This was my work-in-progress in Cricut Design Space. I searched for “cats”, “unicorns” and “rainbows”, then imported individual images onto my canvas. Within Design Space, I chose the “print and cut” option, and sent the designs to my printer (which I loaded with the Printable Vinyl paper).
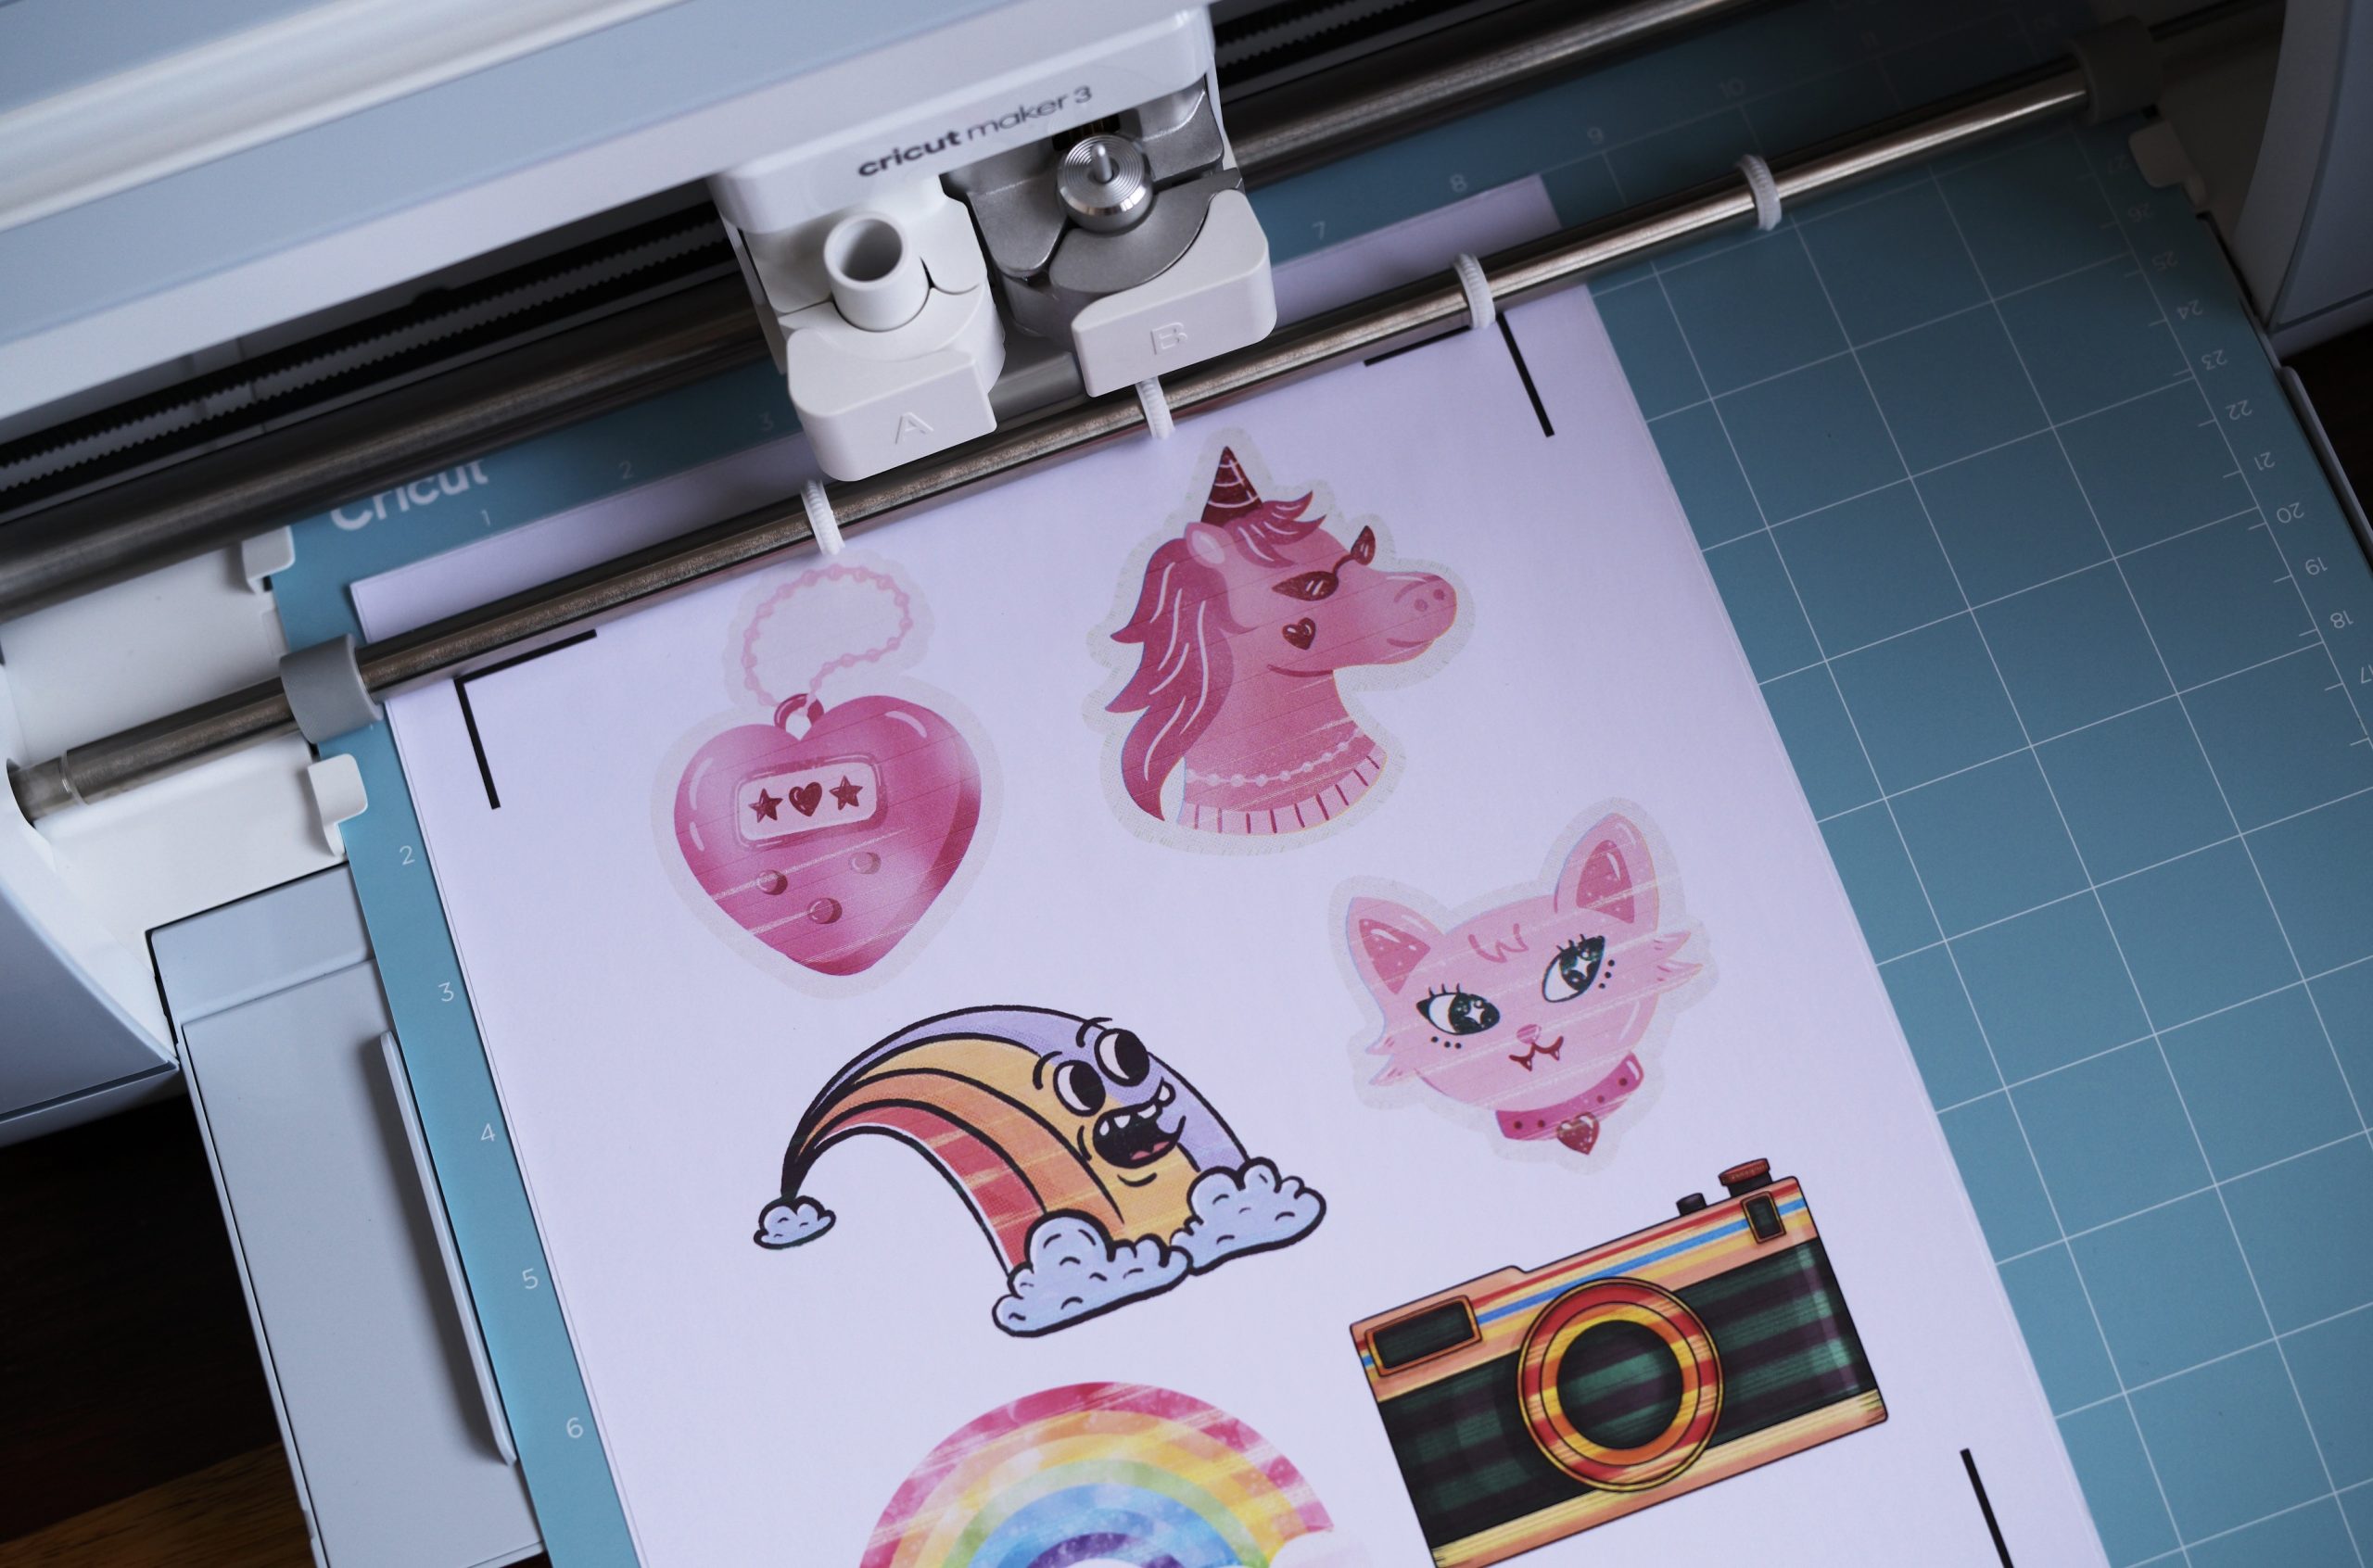
Above: As you can see above, my printer was running out of ink, but still, I made the best of it and loaded this into the Cricut Maker 3 to cut out.
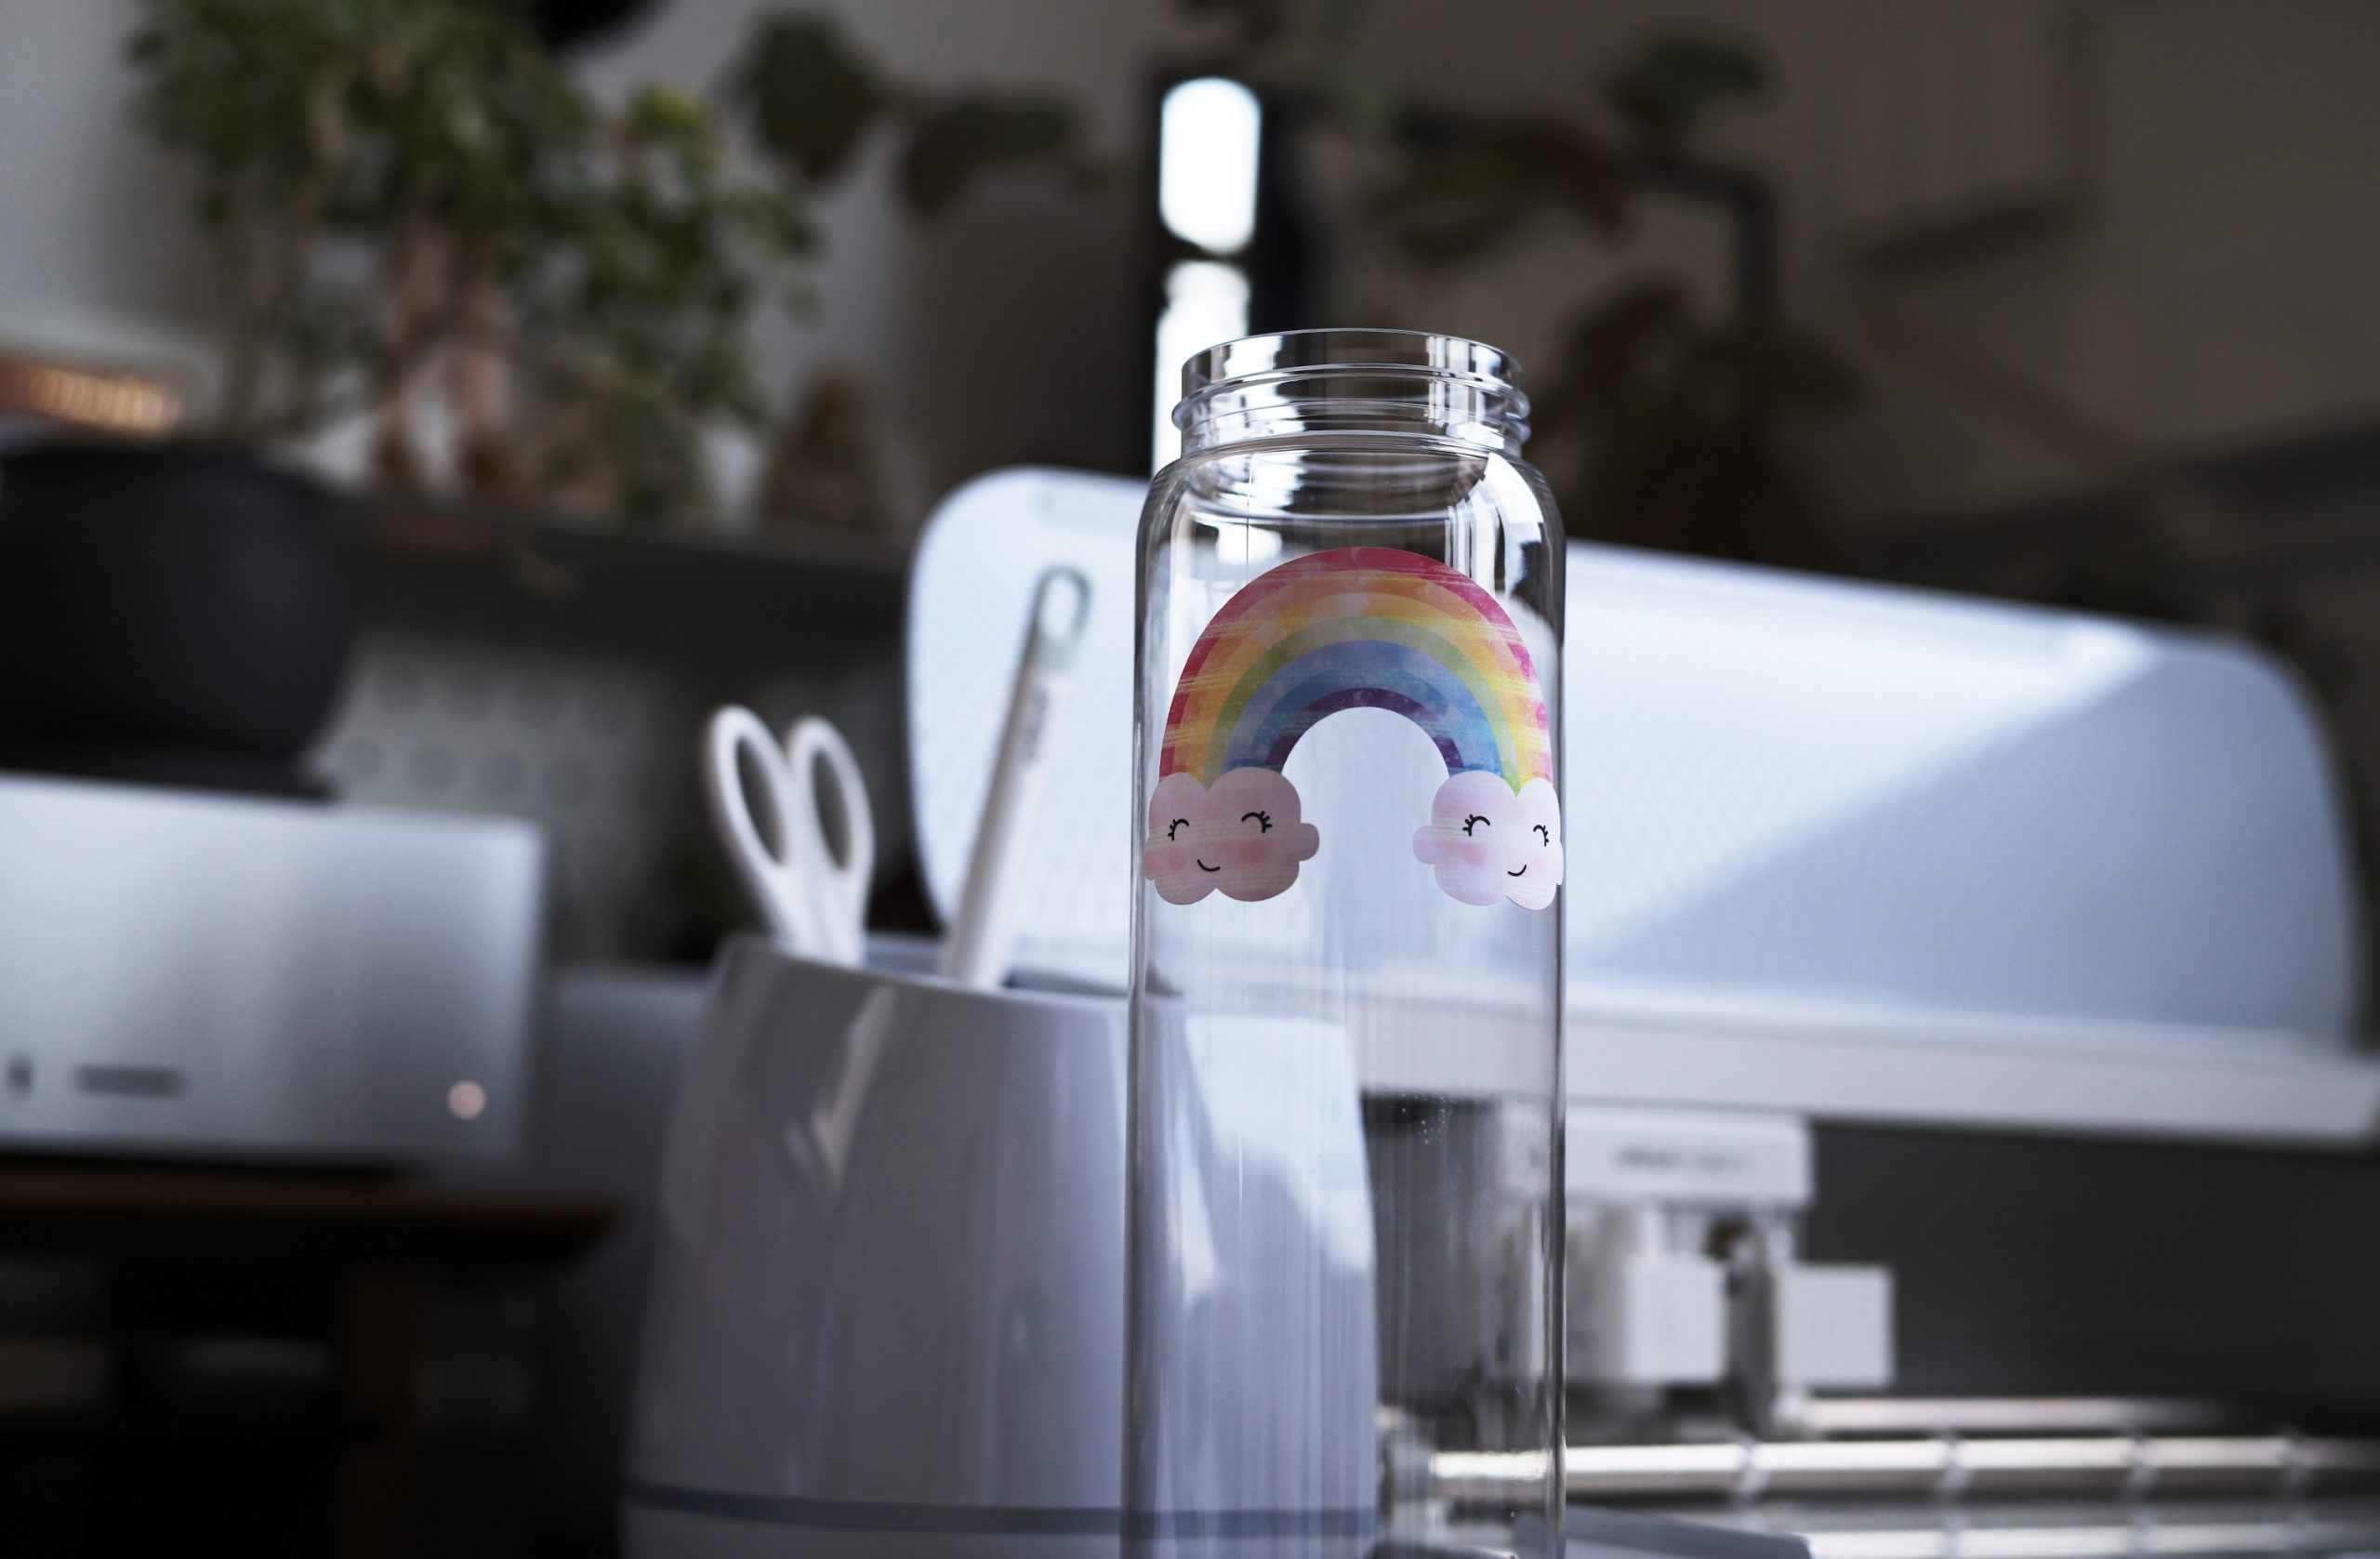
Above: We had a plain Muji water bottle, so the seven-year-old started with one sticker.
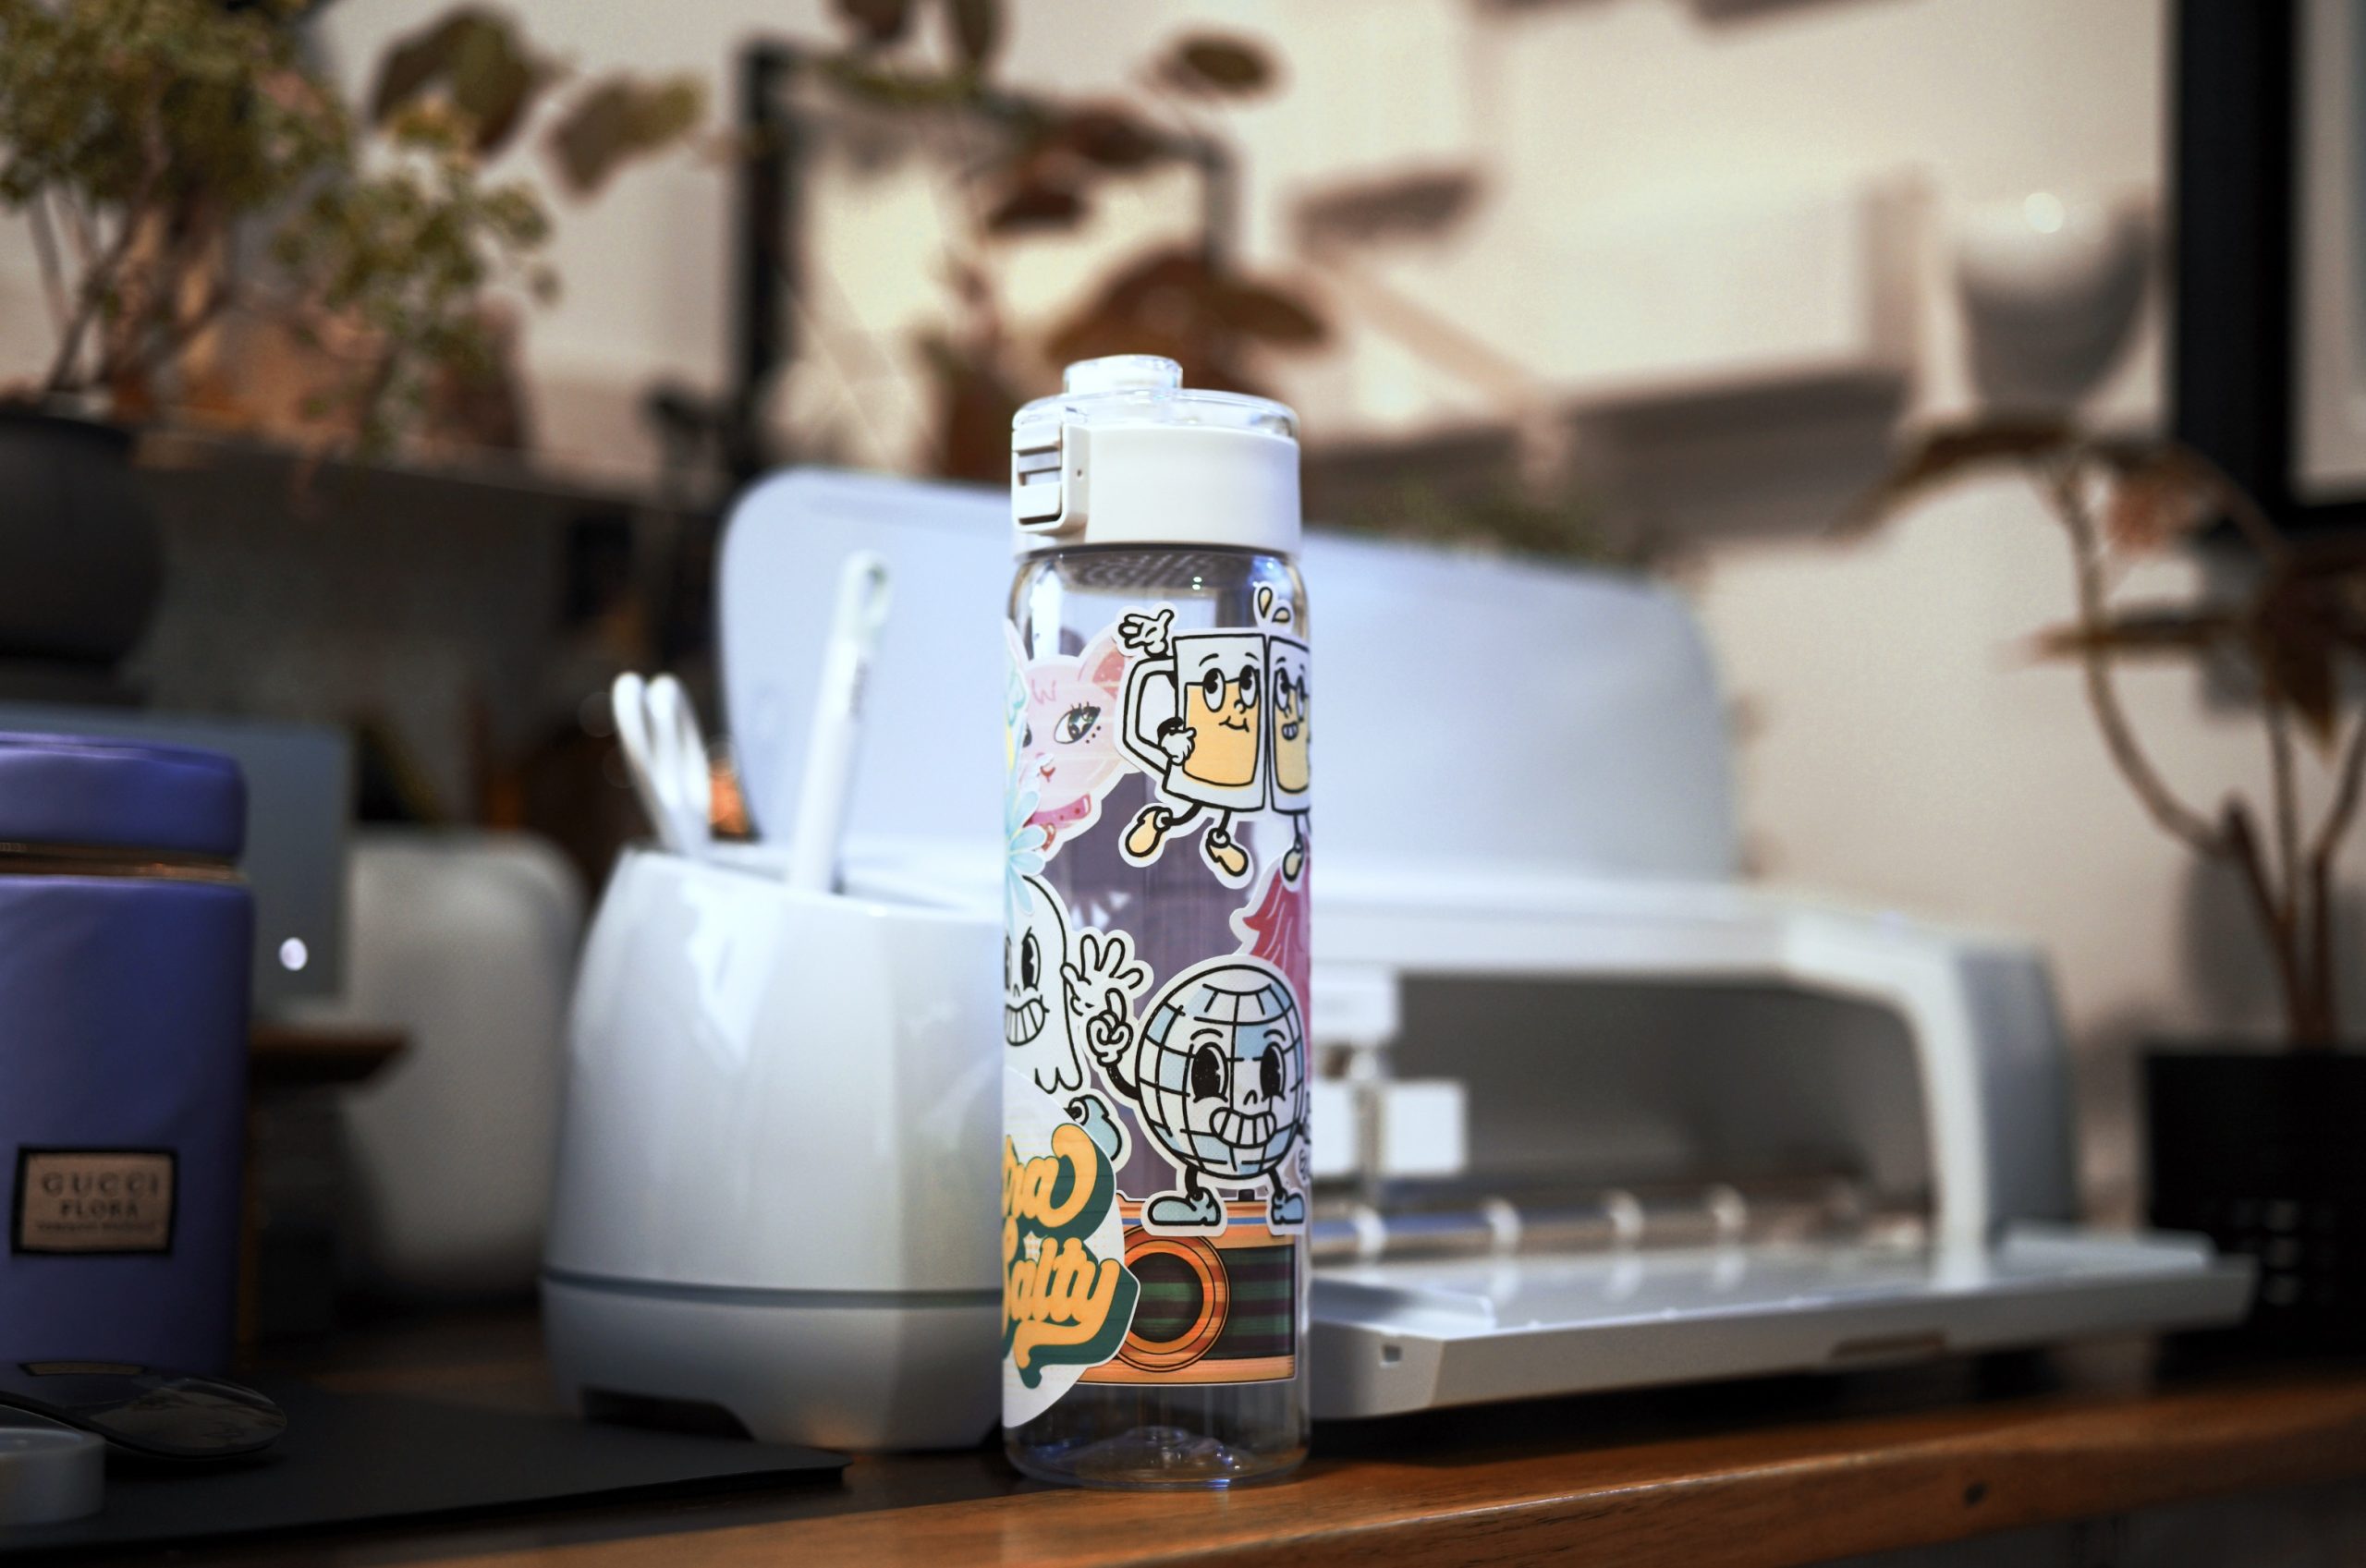
Above: Soon it became filled with stickers, and I must say, I think it looks pretty good! The printable vinyl is fun to play with, but it’s not the best material for a water bottle, because it’s being printed on with standard printer ink (a Canon, in this case) — so when these stickers get wet, they will inevitably smudge. I would recommend pasting these stickers on a notebook for journaling, and using Cricut’s waterproof vinyl materials for use on a water bottle. Nonetheless, the kids had fun and I can see the potential of this project.
CAPS
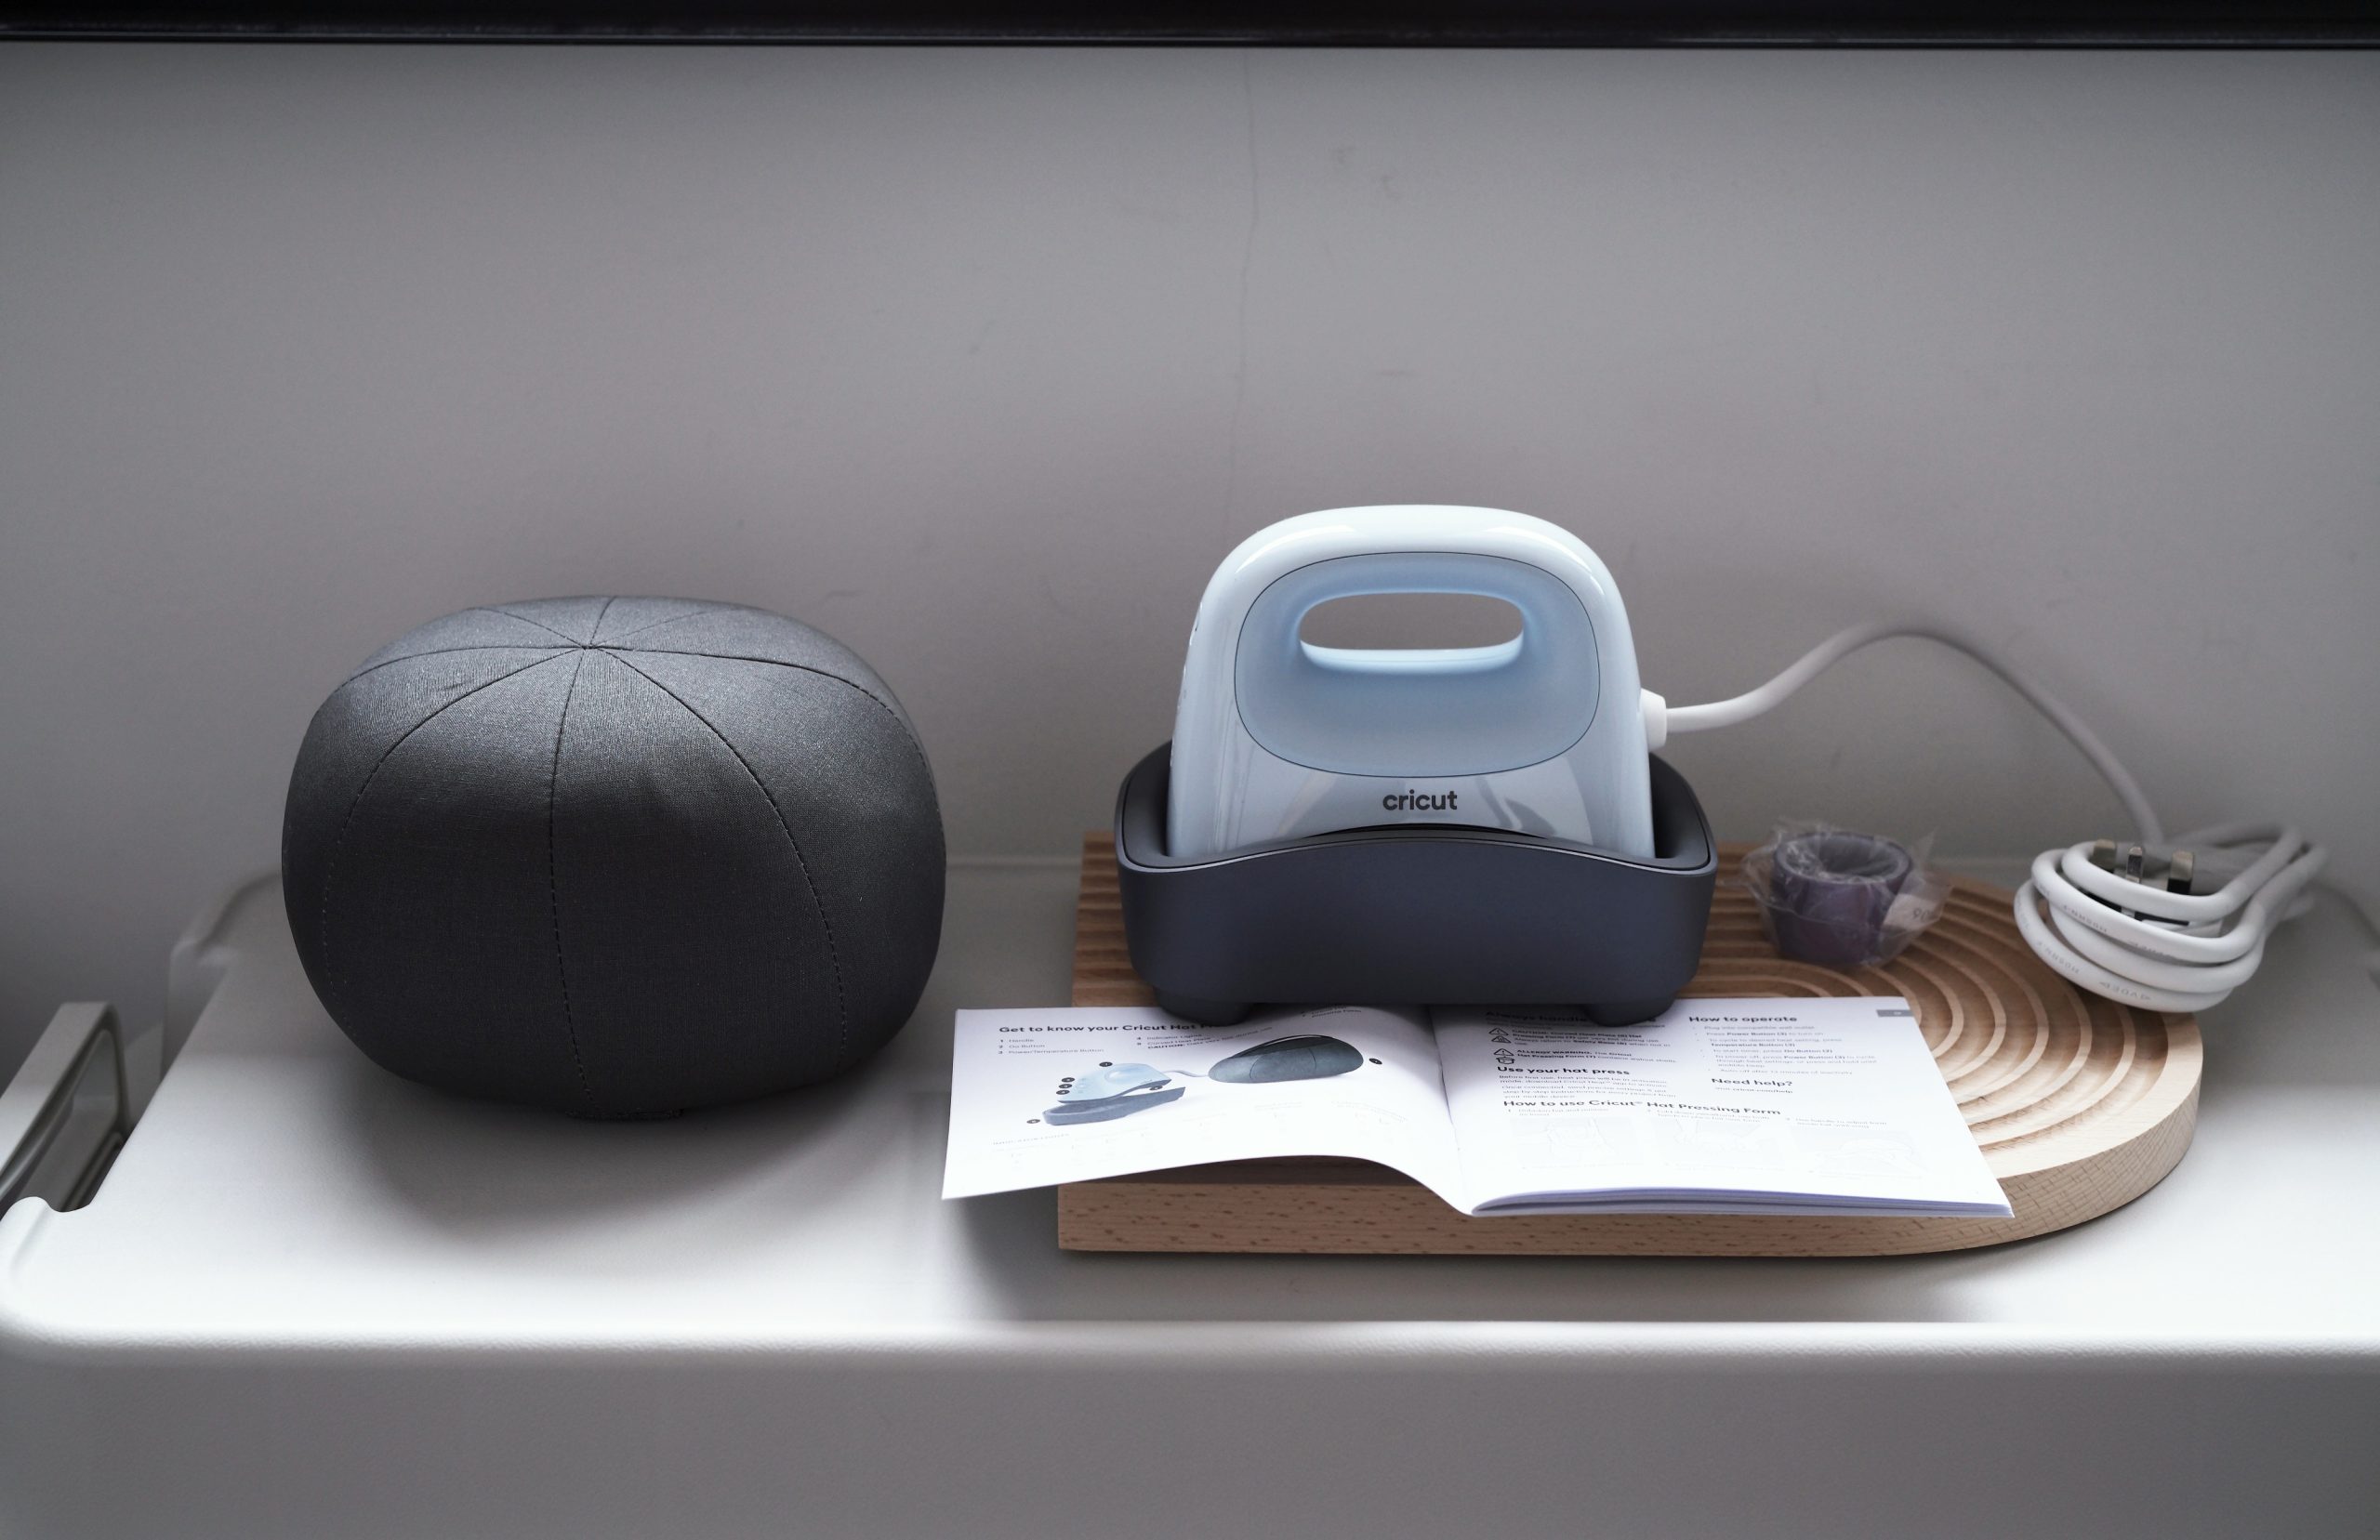
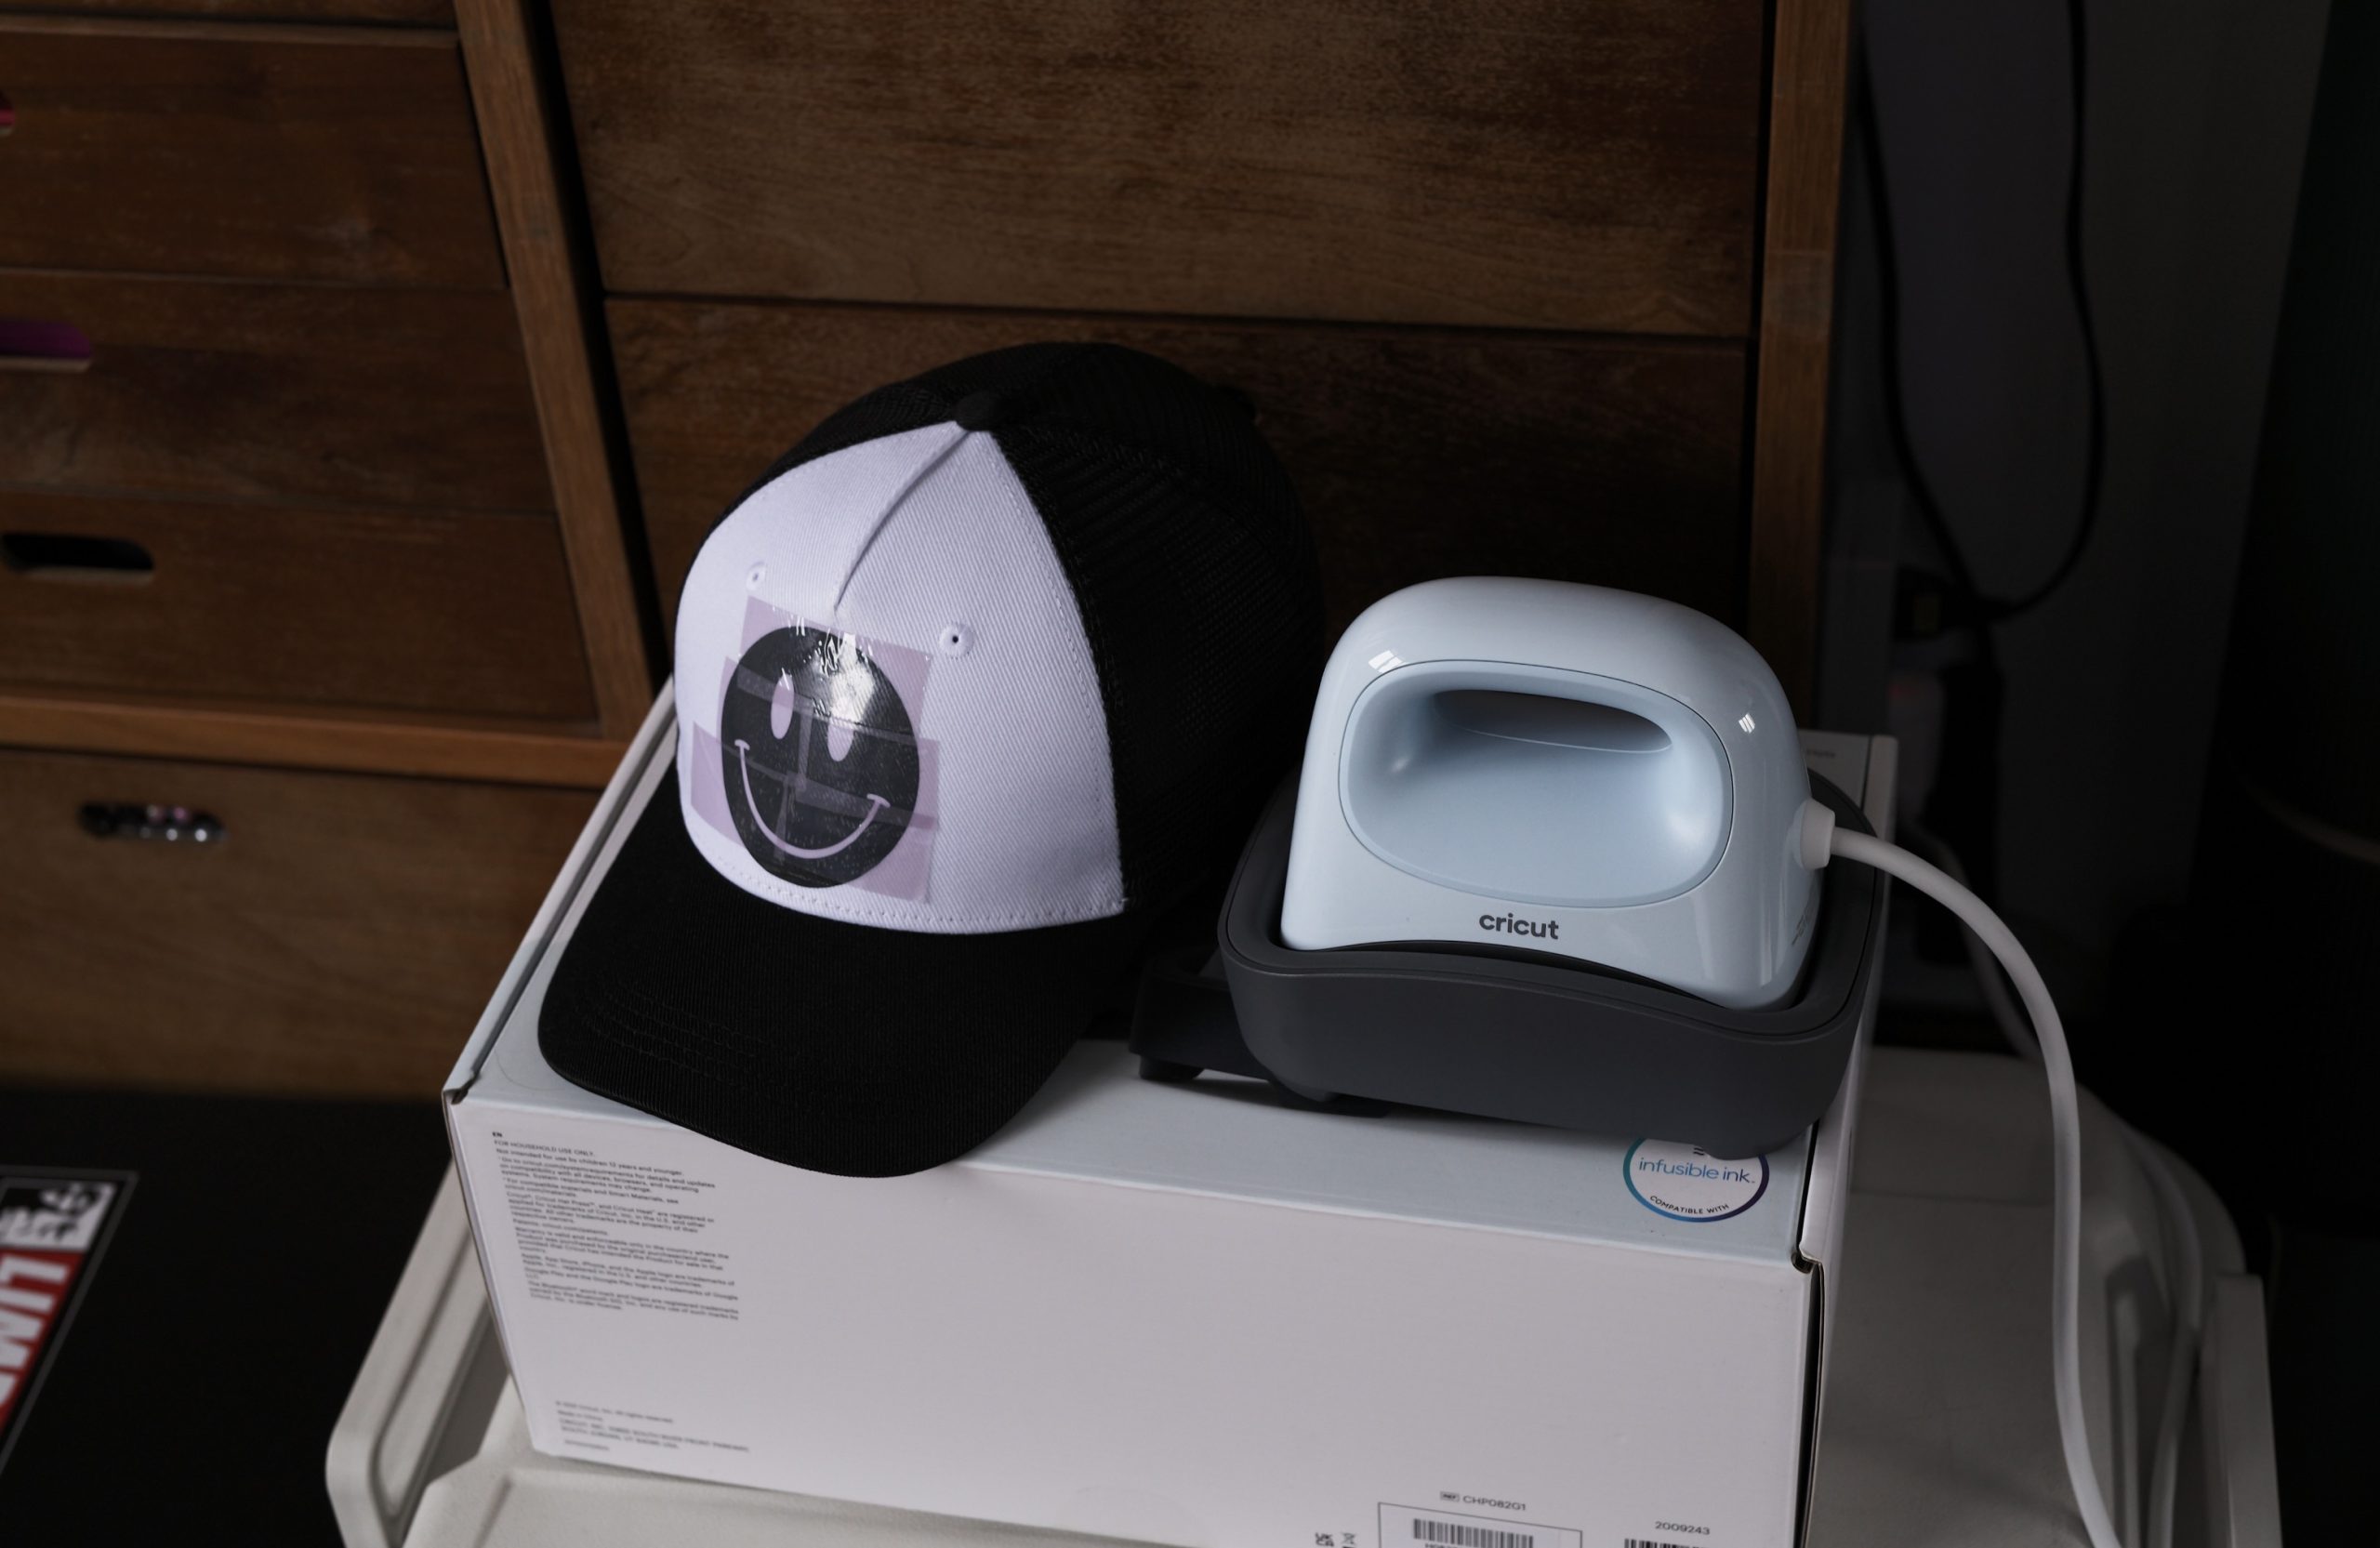
Above: I also had on hand the Cricut Hat Press and I absolutely love and had fun with this machine! It’s a hot iron press that uses heat to transfer designs onto hats, with professional results.
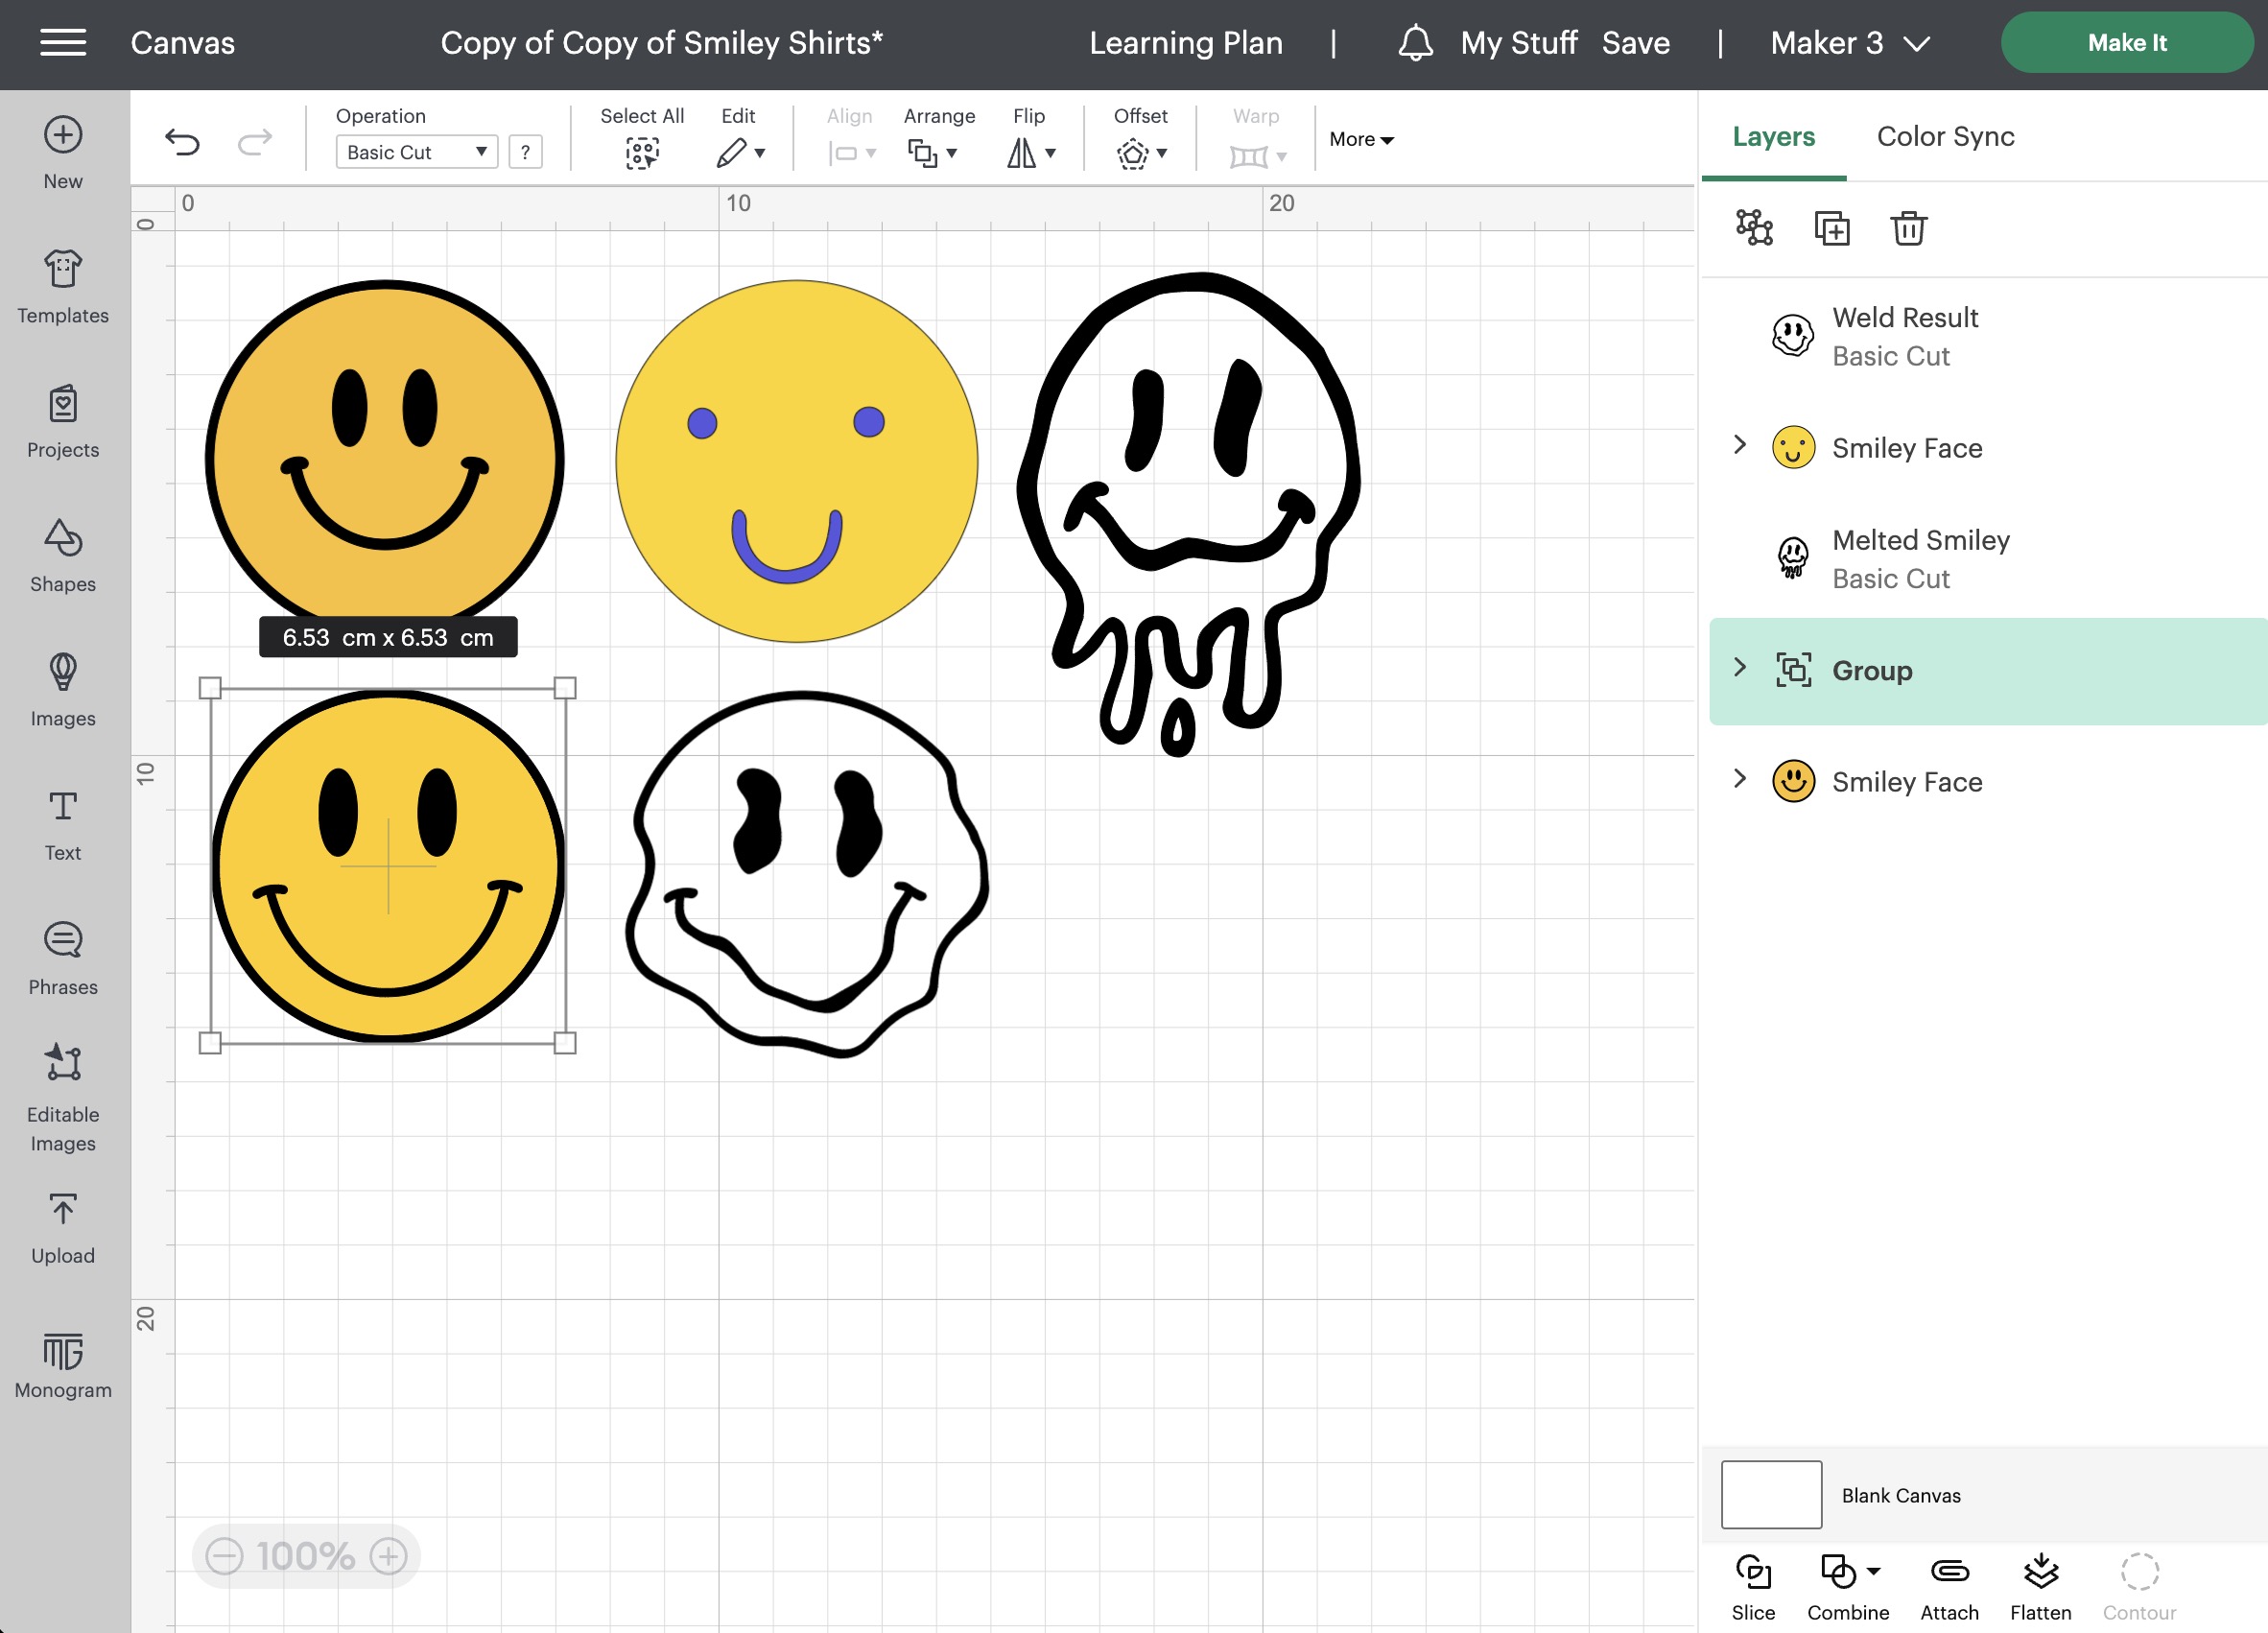
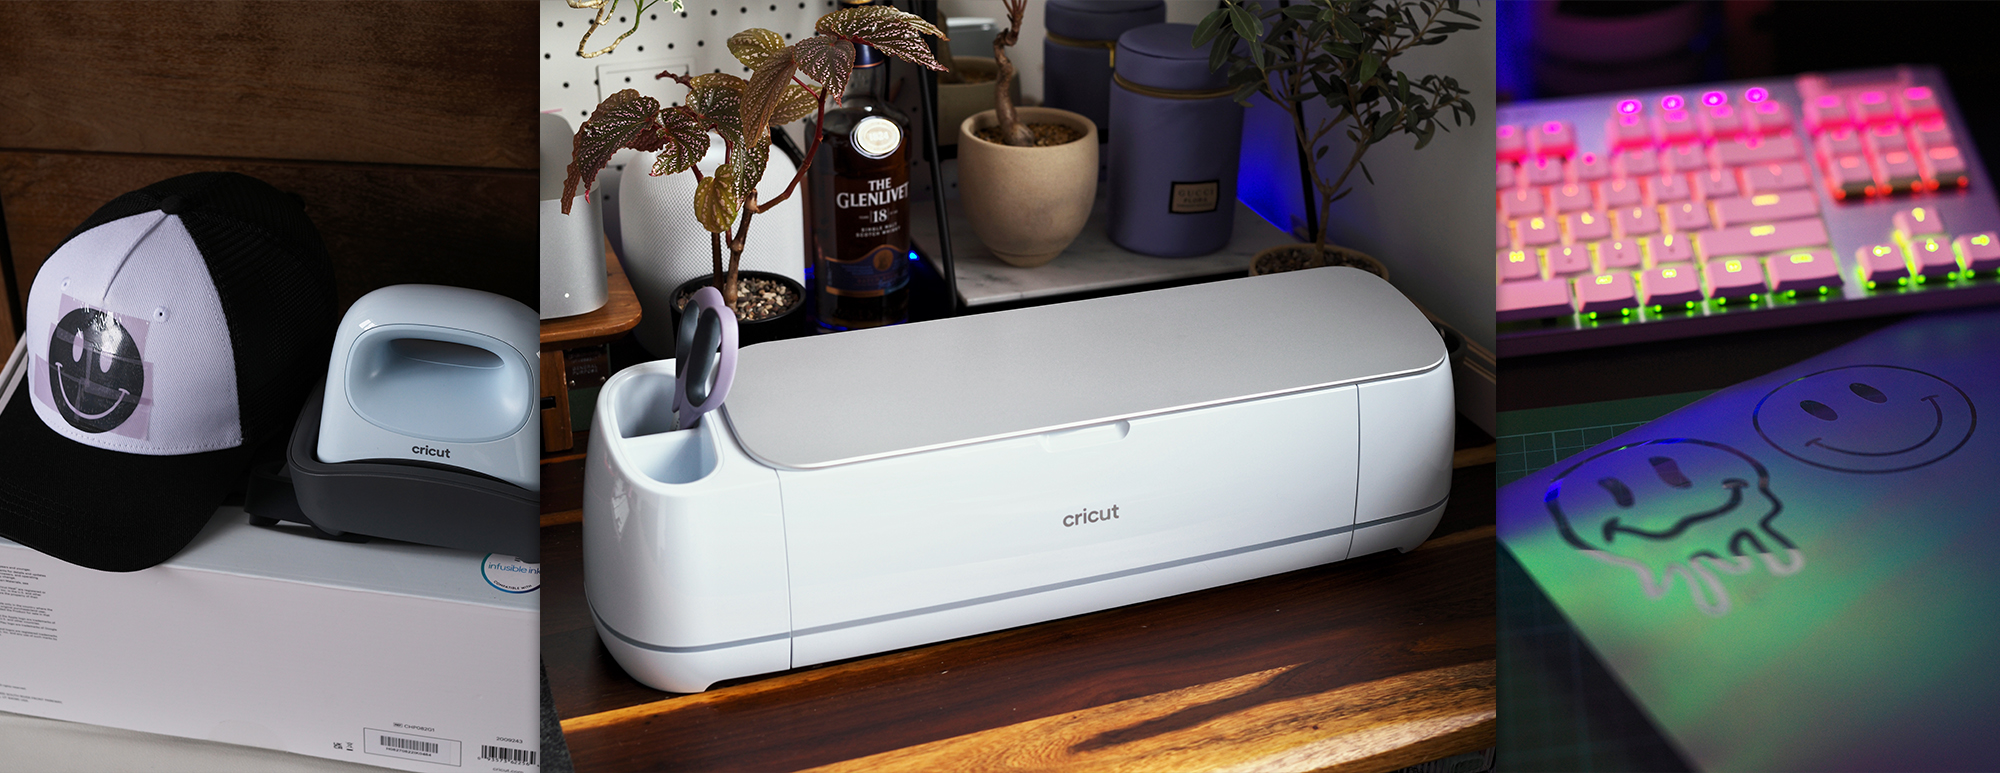
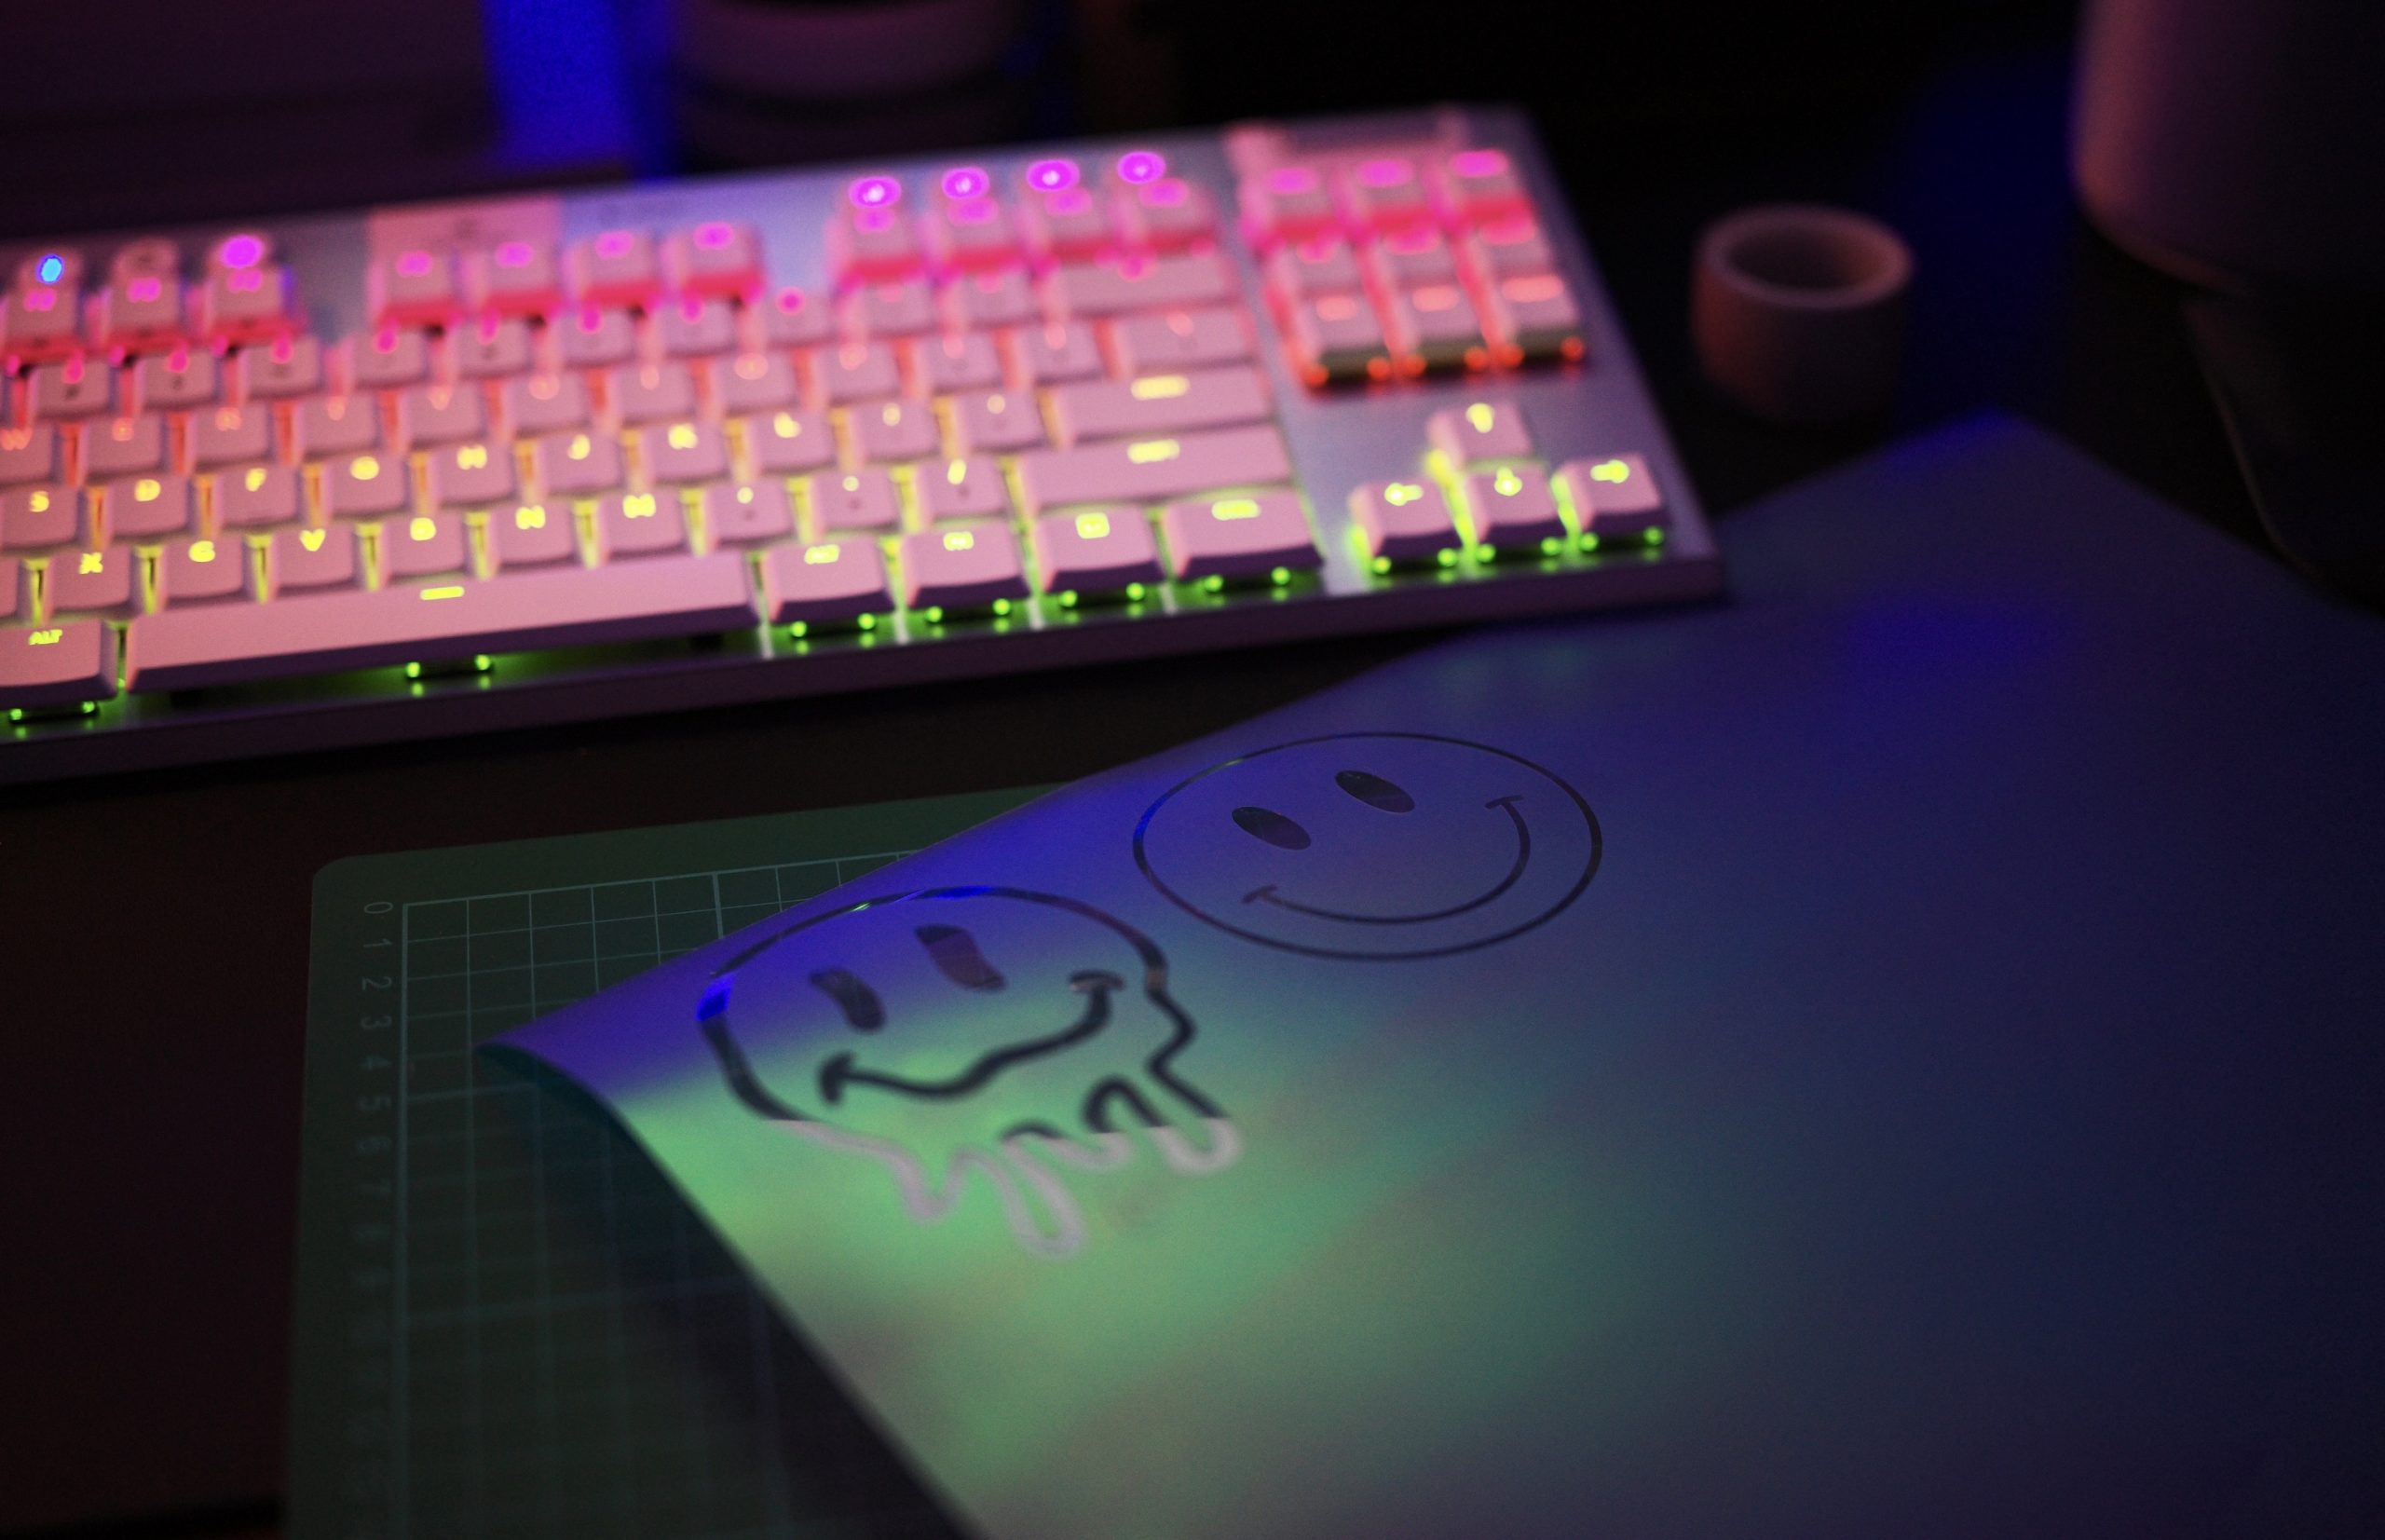
Above: For this project, I wanted to create a series of “Smiley Face” cap designs. I found a whole bunch of images in Design Space, and laid them out to the ideal size for Cricut’s Trucker Cap.
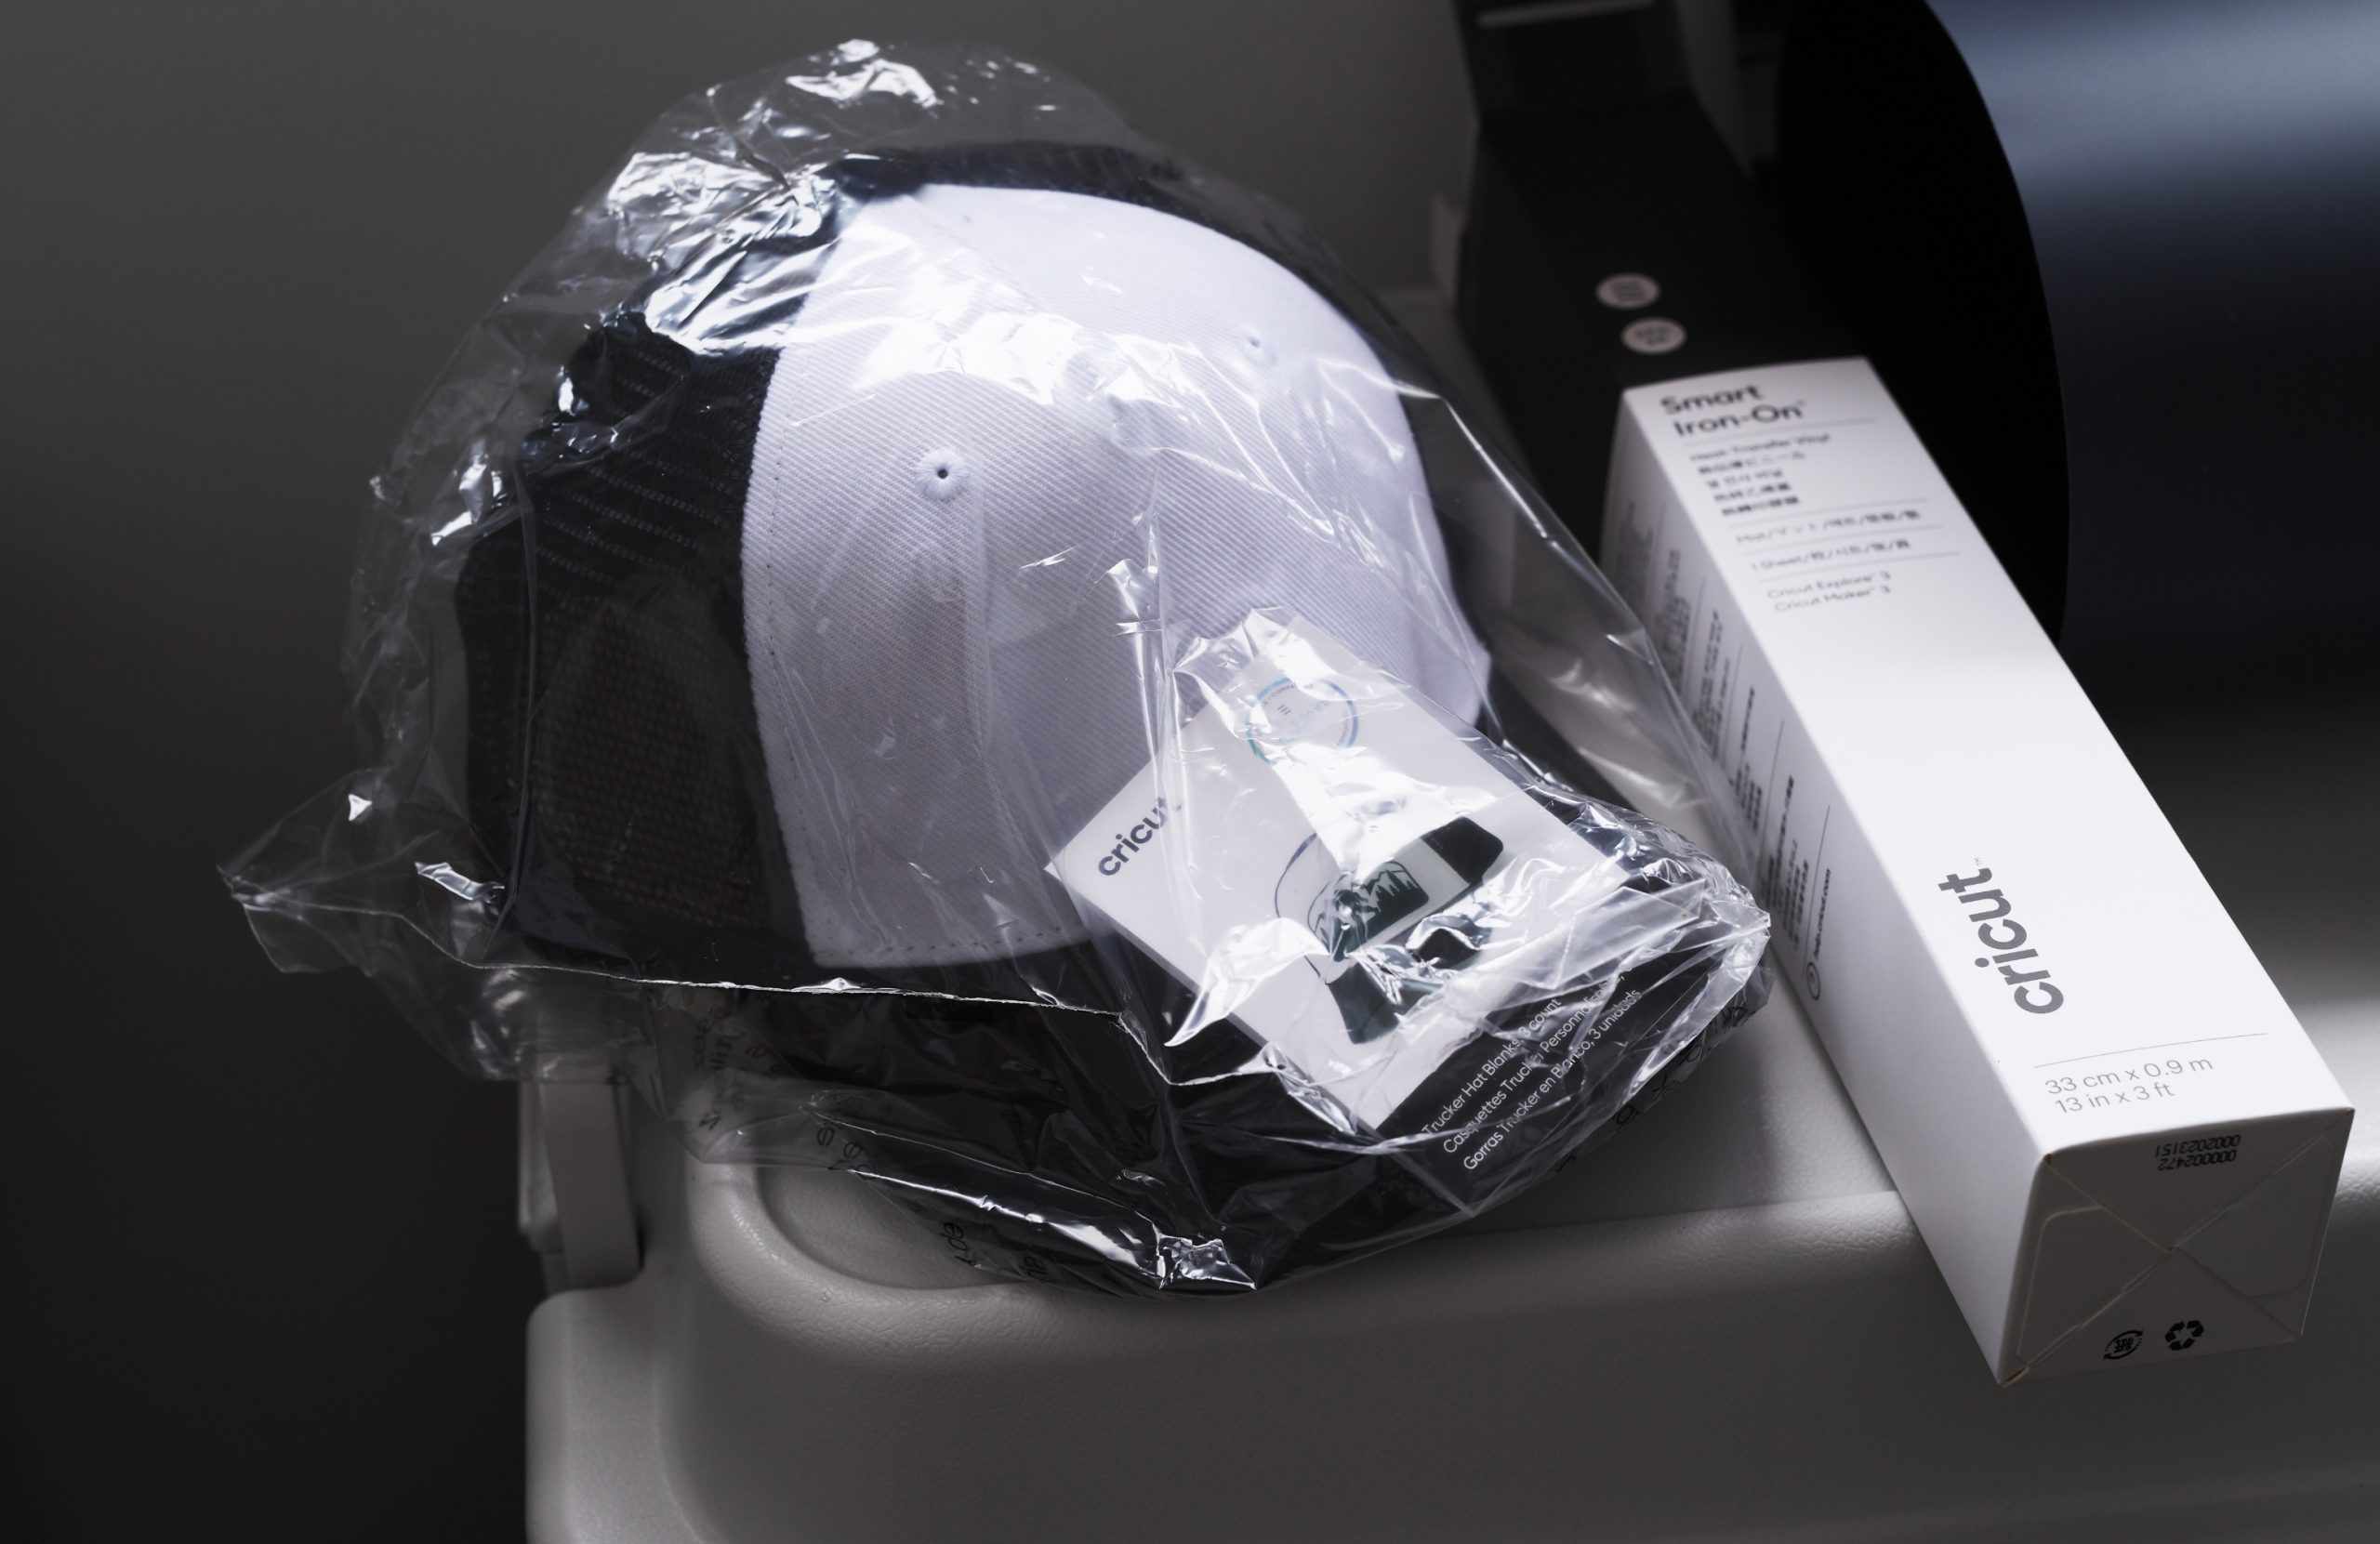
Above: The Trucker Cap is sold in a pack of three, and comes in a classic black-and-white colour combination.
Above: I started off with one of the holographic iron-on vinyls for this project. This particular one is a Smart Iron-On Vinyl, so loads straight into the Cricut Maker 3 without the need for a mat.
Above: They cut out perfectly!
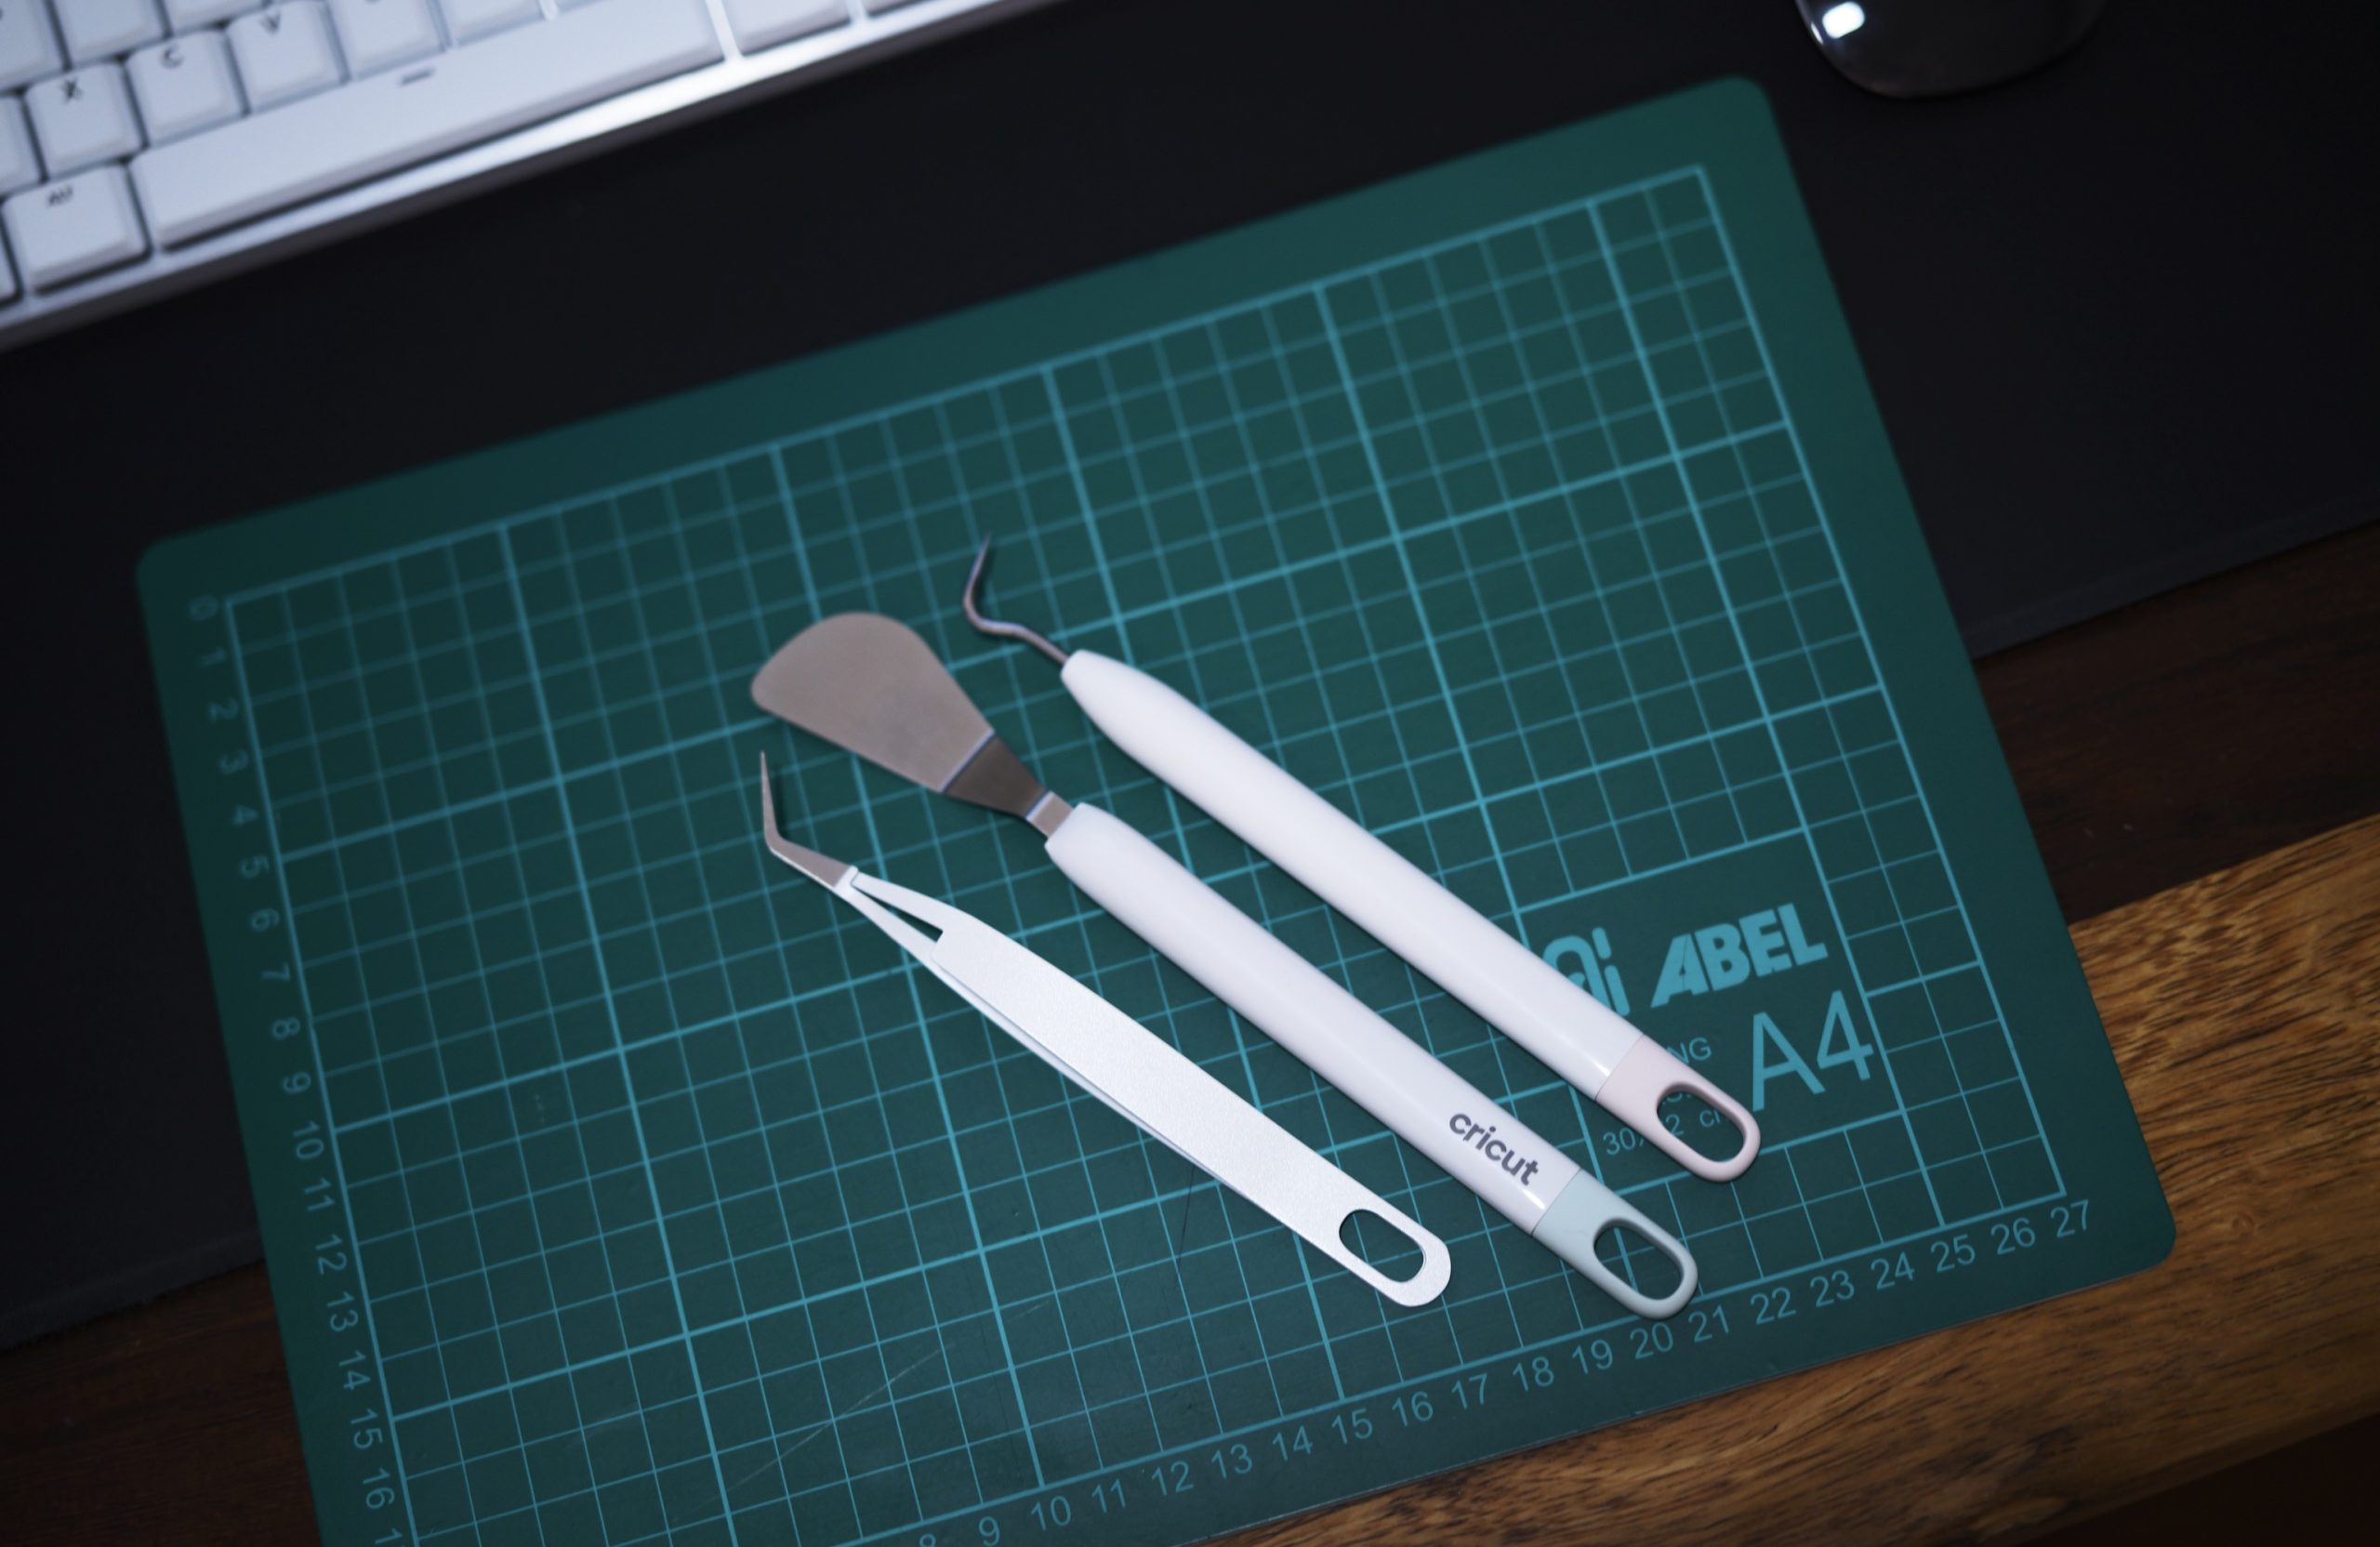
Above: I highly recommend the Cricut Basic Tool Set, which has these weeding tools and more. They will make your life so much easier when it comes to removing the cut-outs from your sheets.
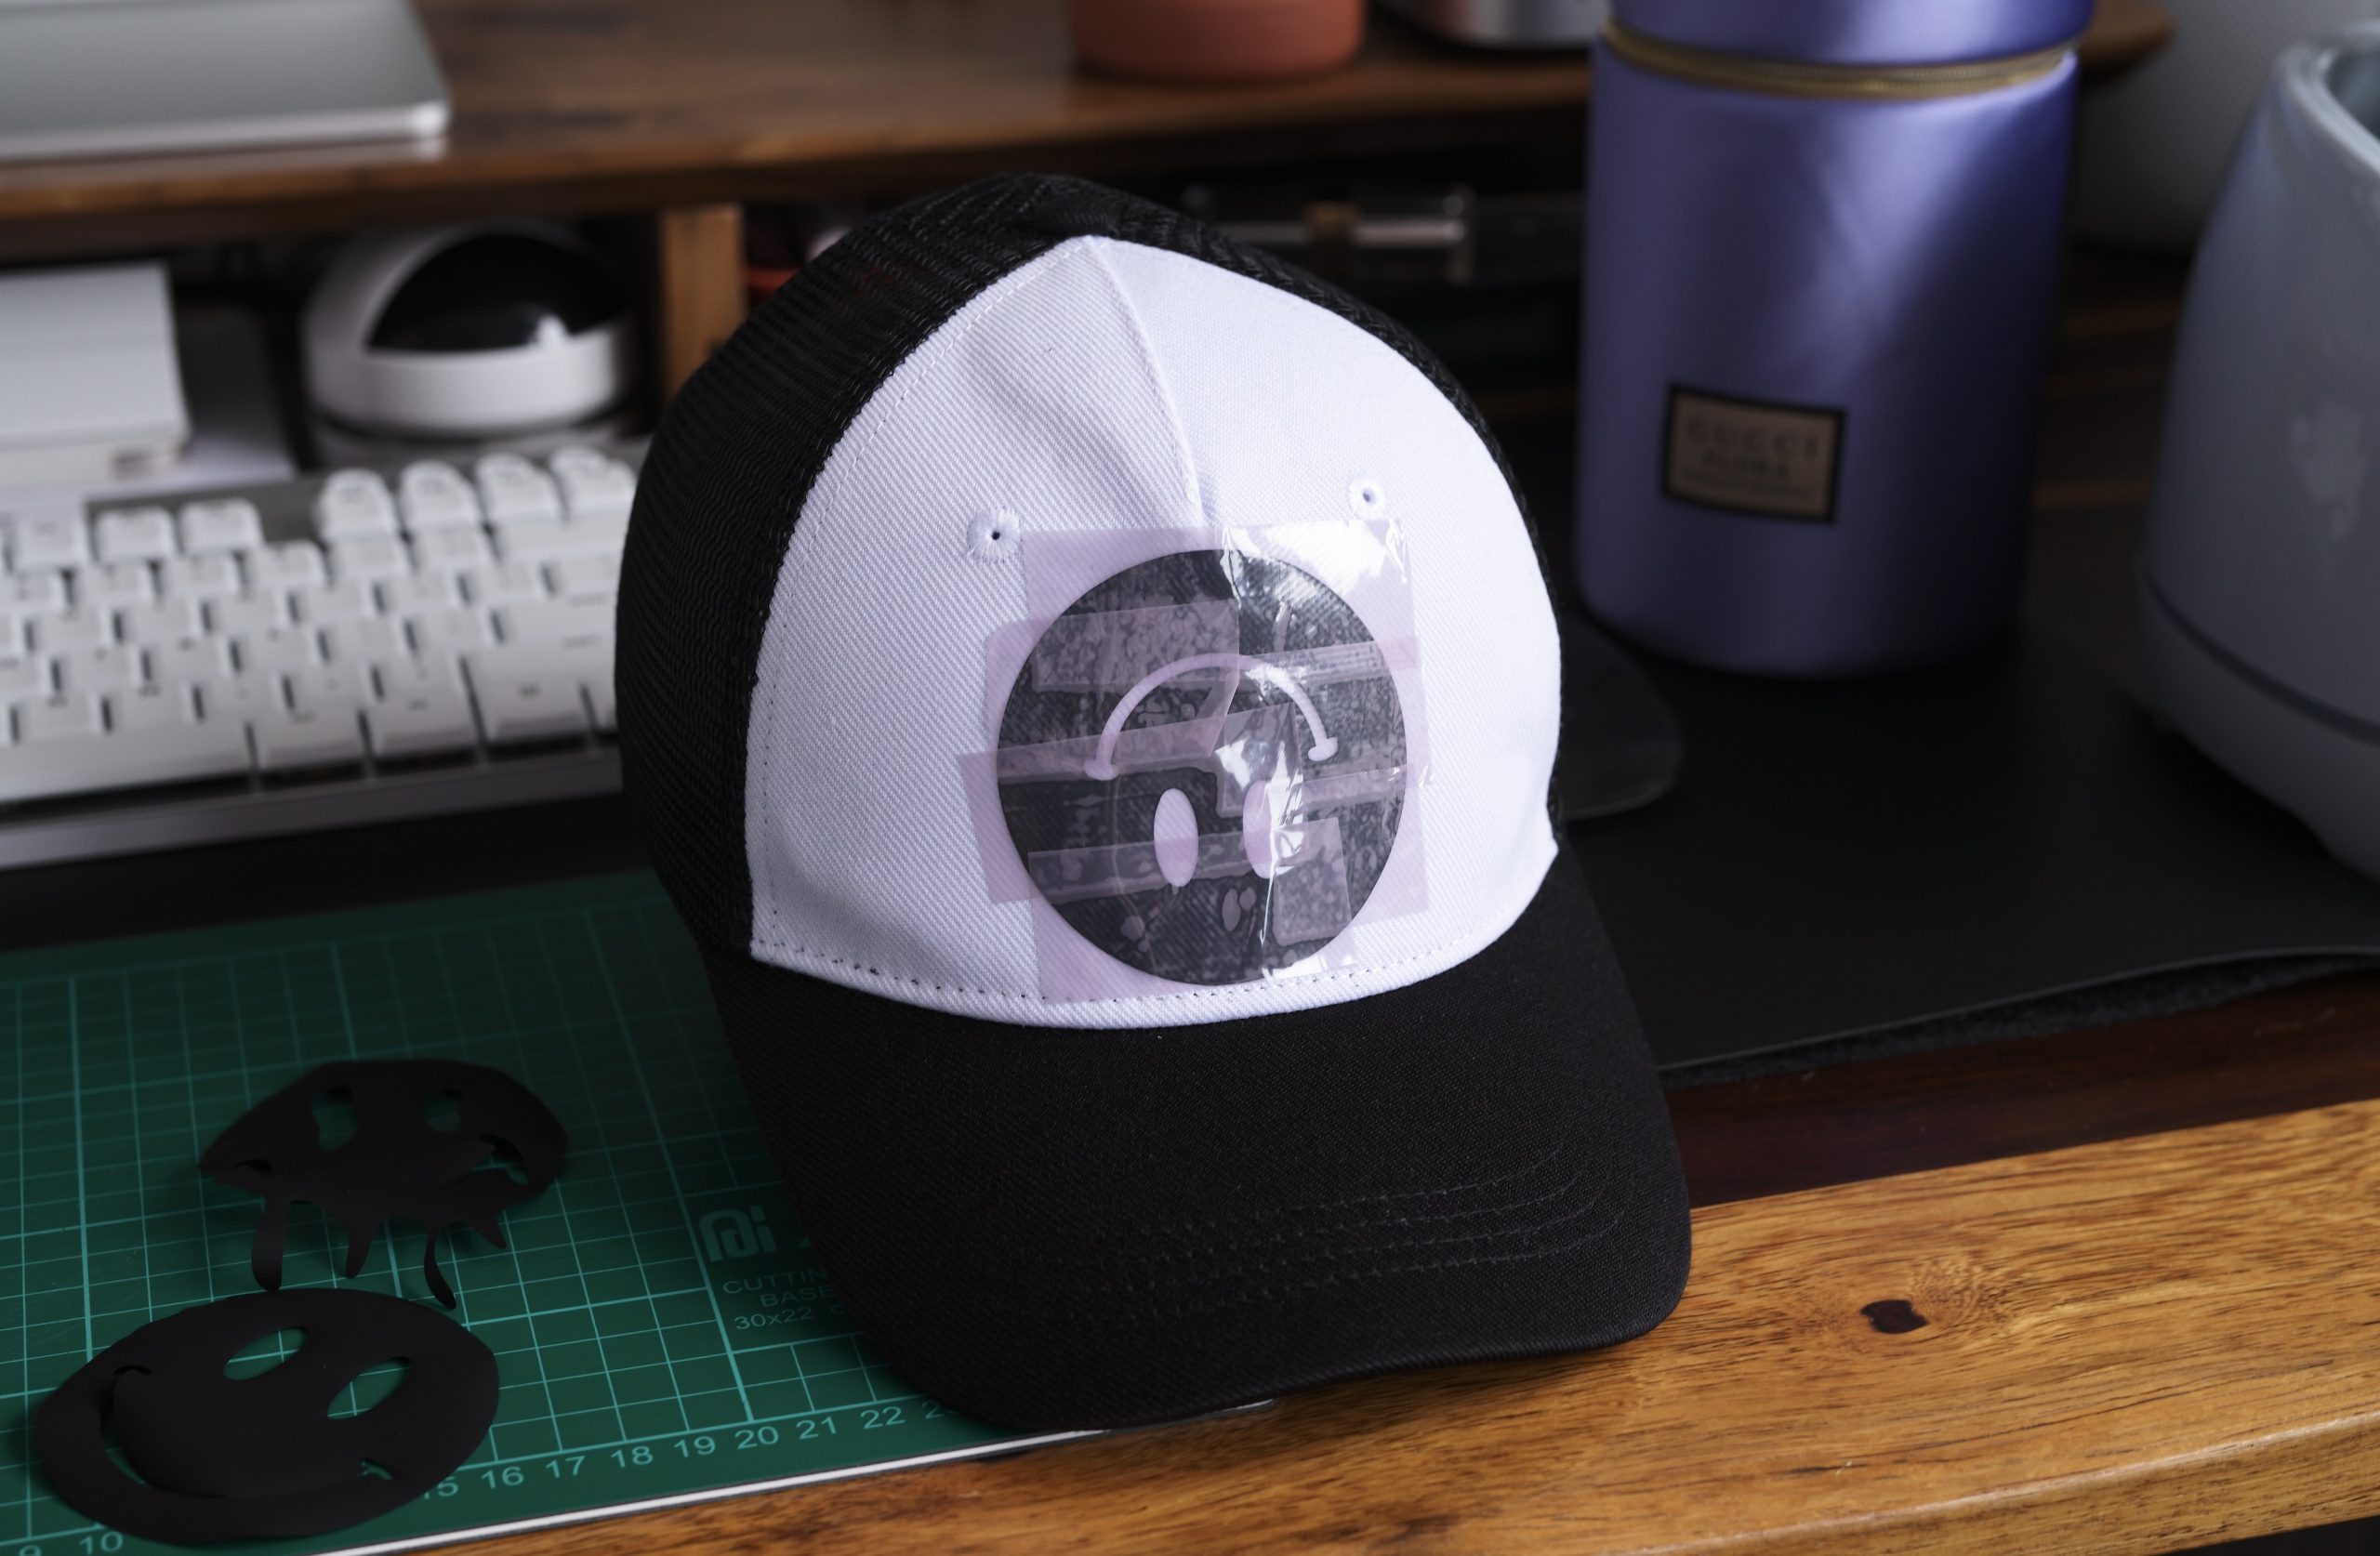
Above: I ended up using the Smart Iron-On Vinyl in Black for a monochrome aesthetic. Here’s one of my designs (it’s upside down on purpose) that I pasted down with Cricut’s Strong Heat Resistant Tape. Here’s a tip when making caps: be generous with the tape because you don’t want your design to shift during the heating process, or to get wrinkles!
Above: Here I am about to iron on another smiley with the Hat Press.
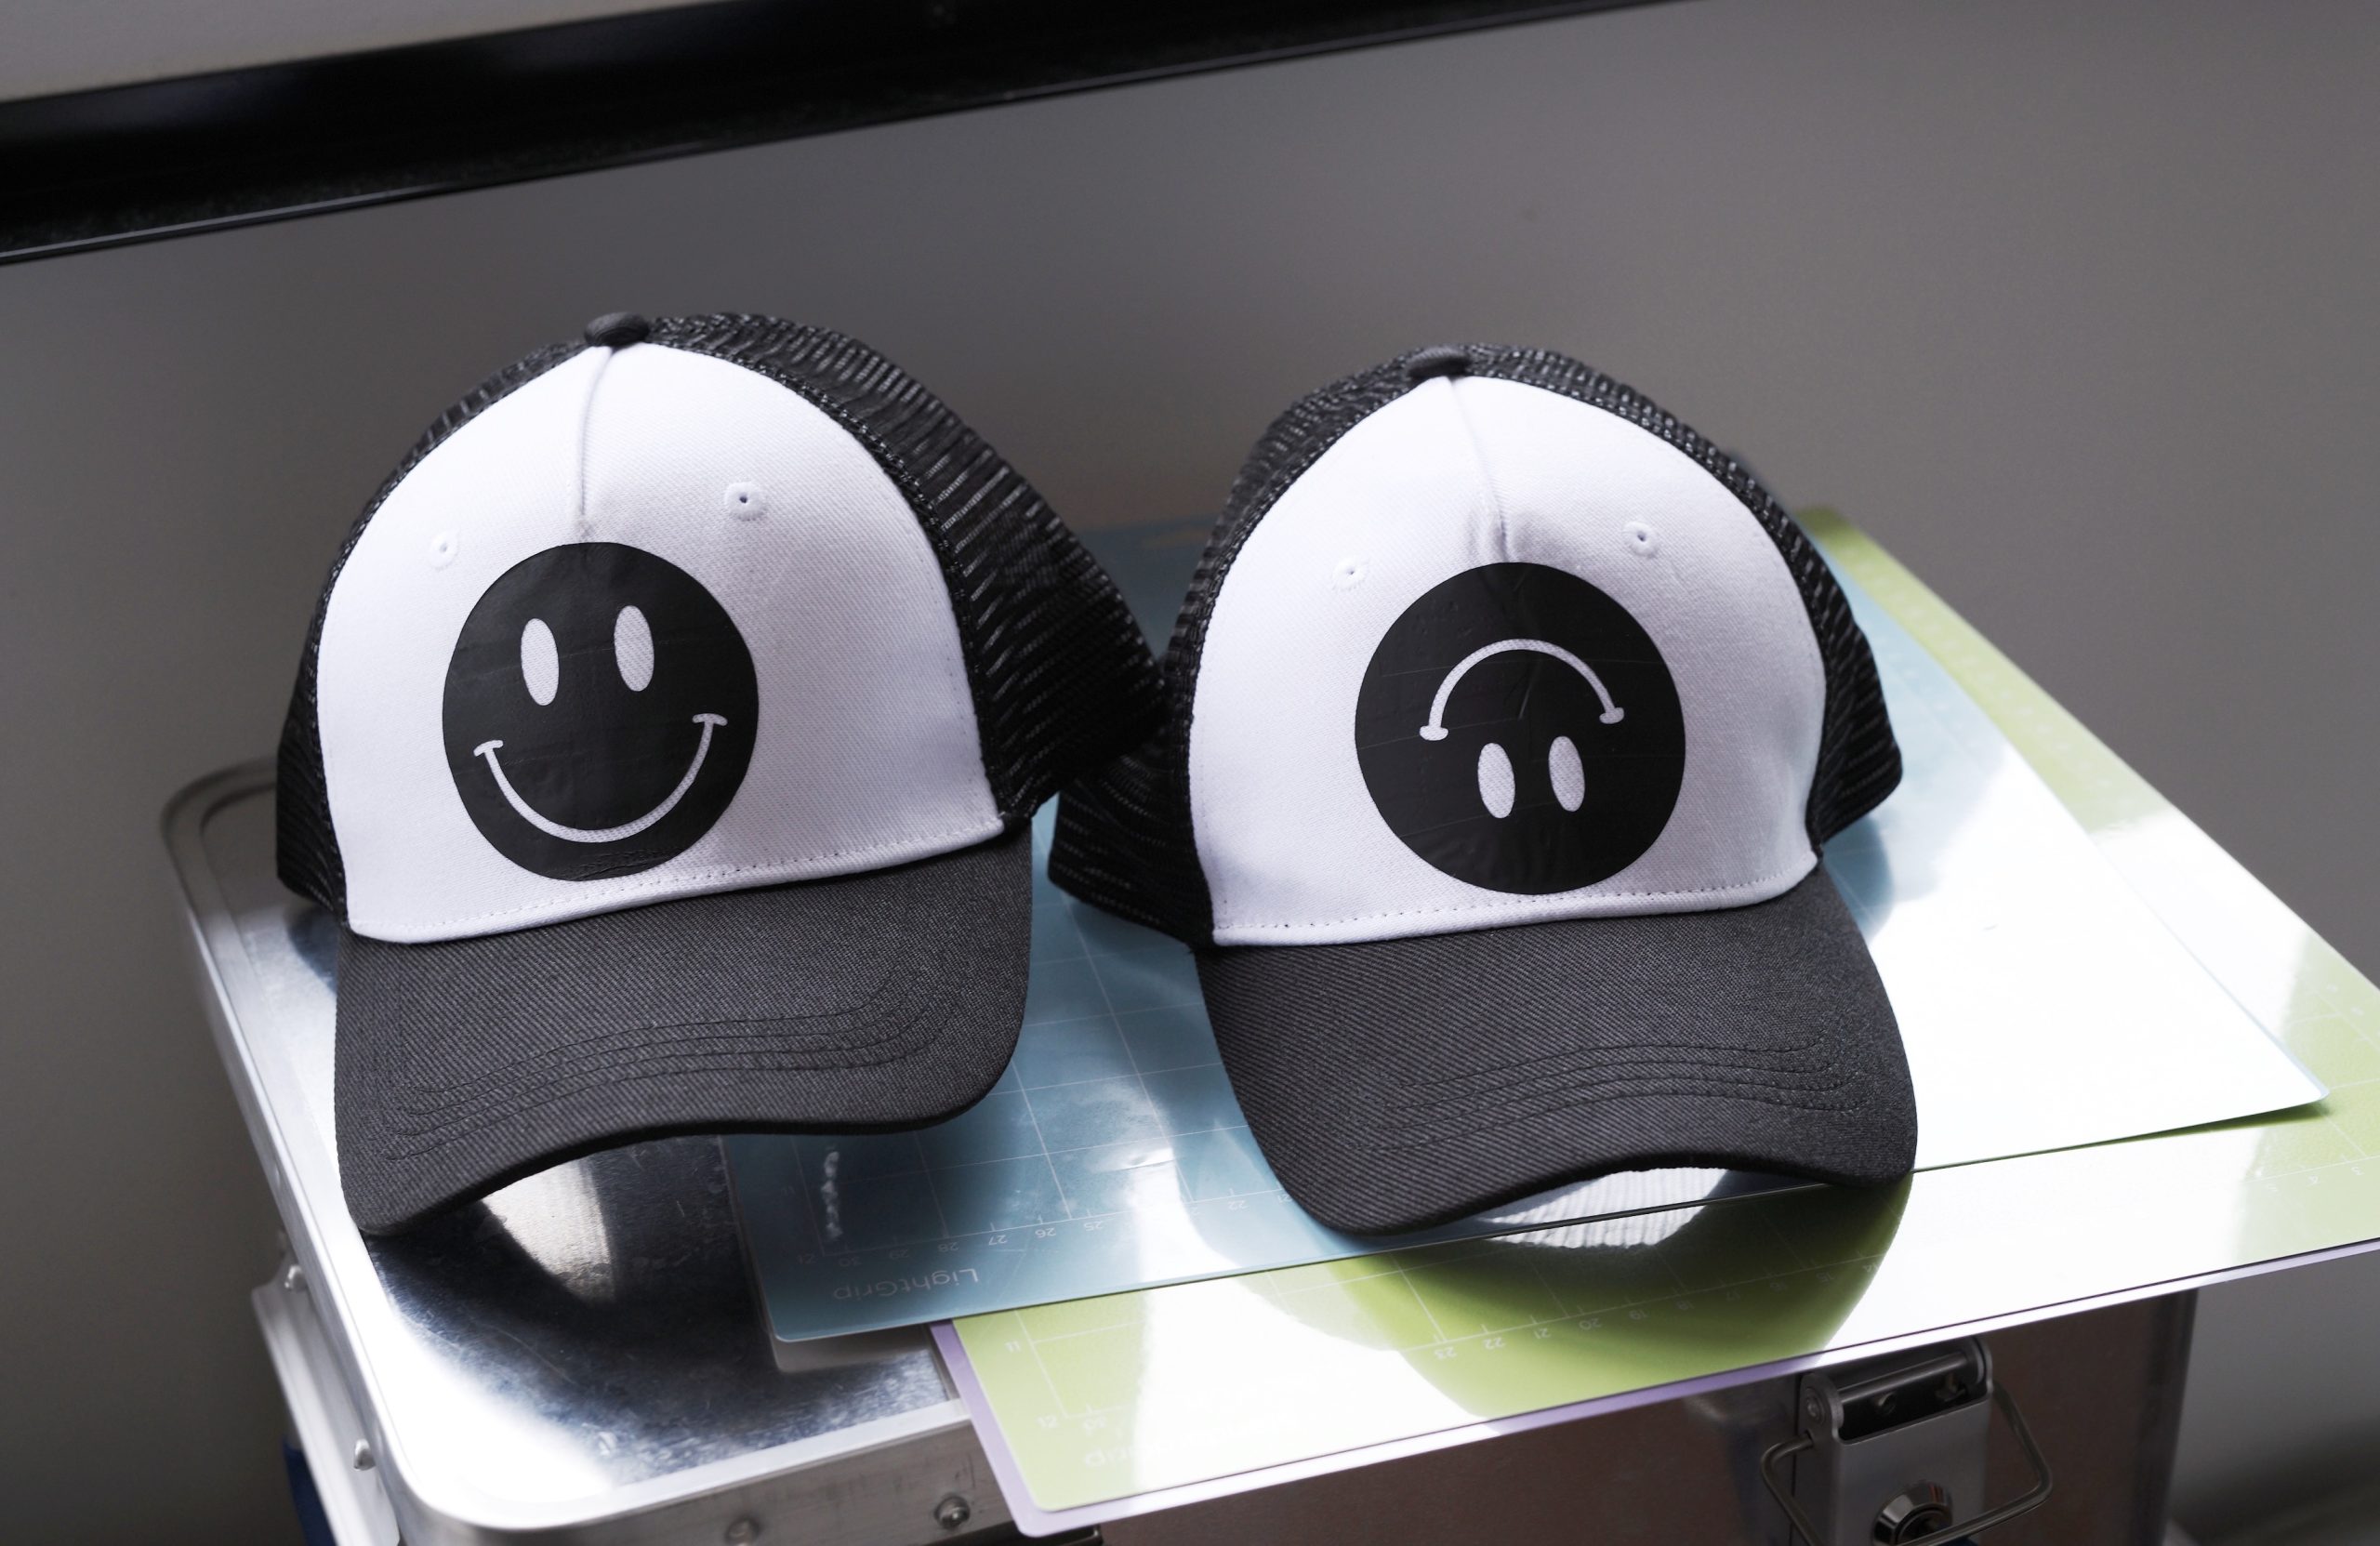
Above: Completed hats to reflect my different moods (happy, and unsure if I’m happy).
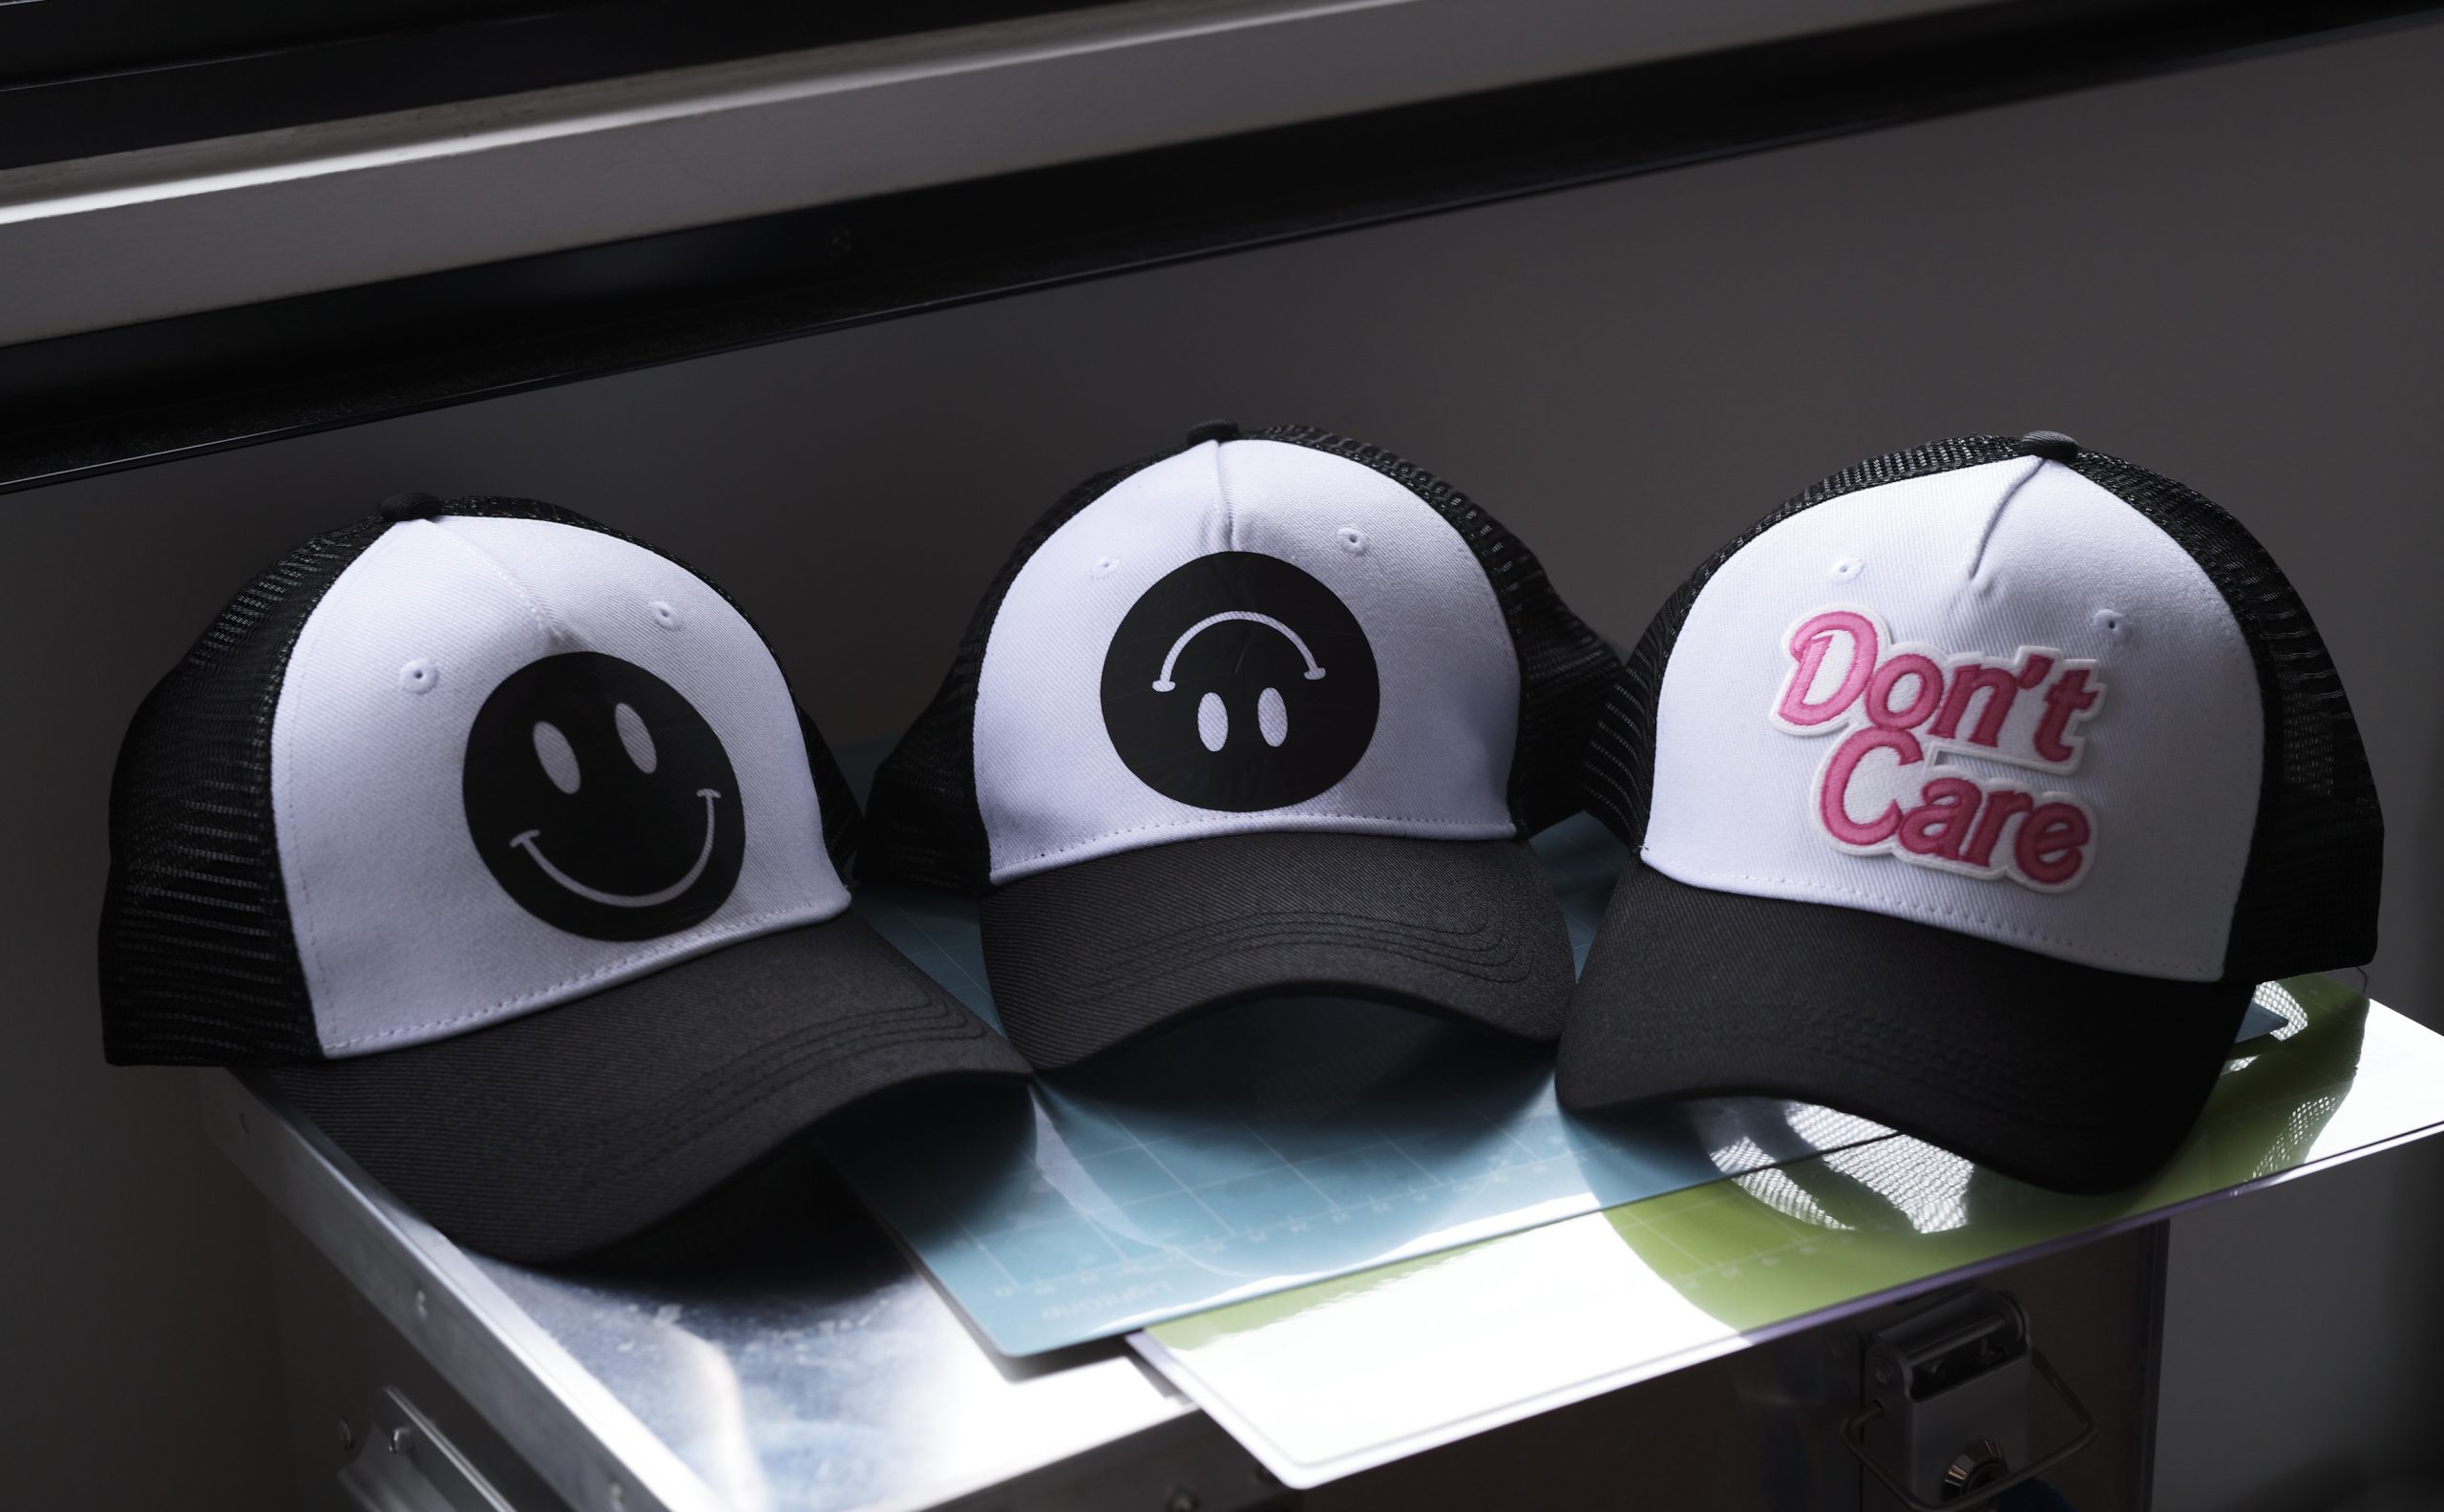
Above: The Hat Press works with tons of materials — not just Cricut’s Smart Vinyls. I found an iron-on patch and heat-pressed it on to another cap. The kids love this third cap I made.
The next thing I want to try is Infusible Ink. These come as patterned transfer sheets or markers, and it’s the markers that I find intriguing. You can load a colourful image into Design Space, then attach a marker to the Cricut Maker 3, and it’ll draw or colour out the image onto a piece of paper. You can then use the Hat Press to heat transfer the design onto a cap! The results I’ve seen online are professional and impressive, hence I’m looking forward to trying this soon.
FABRIC
I love sewing. But I don’t particularly love cutting very small holes in the wool felt material that I like to work in. It’s not just hard to cut, but it’s messy too (the fur gets everywhere. Imagine cutting up your mohair cardigan; that kind of mess). I chose the Cricut Maker 3 because it can cut thicker pieces of fabric (you might need to change the Knife Blade depending on the material you’re cutting).
Like all projects, I started a new canvas in Cricut Design Space, and imported my pattern.
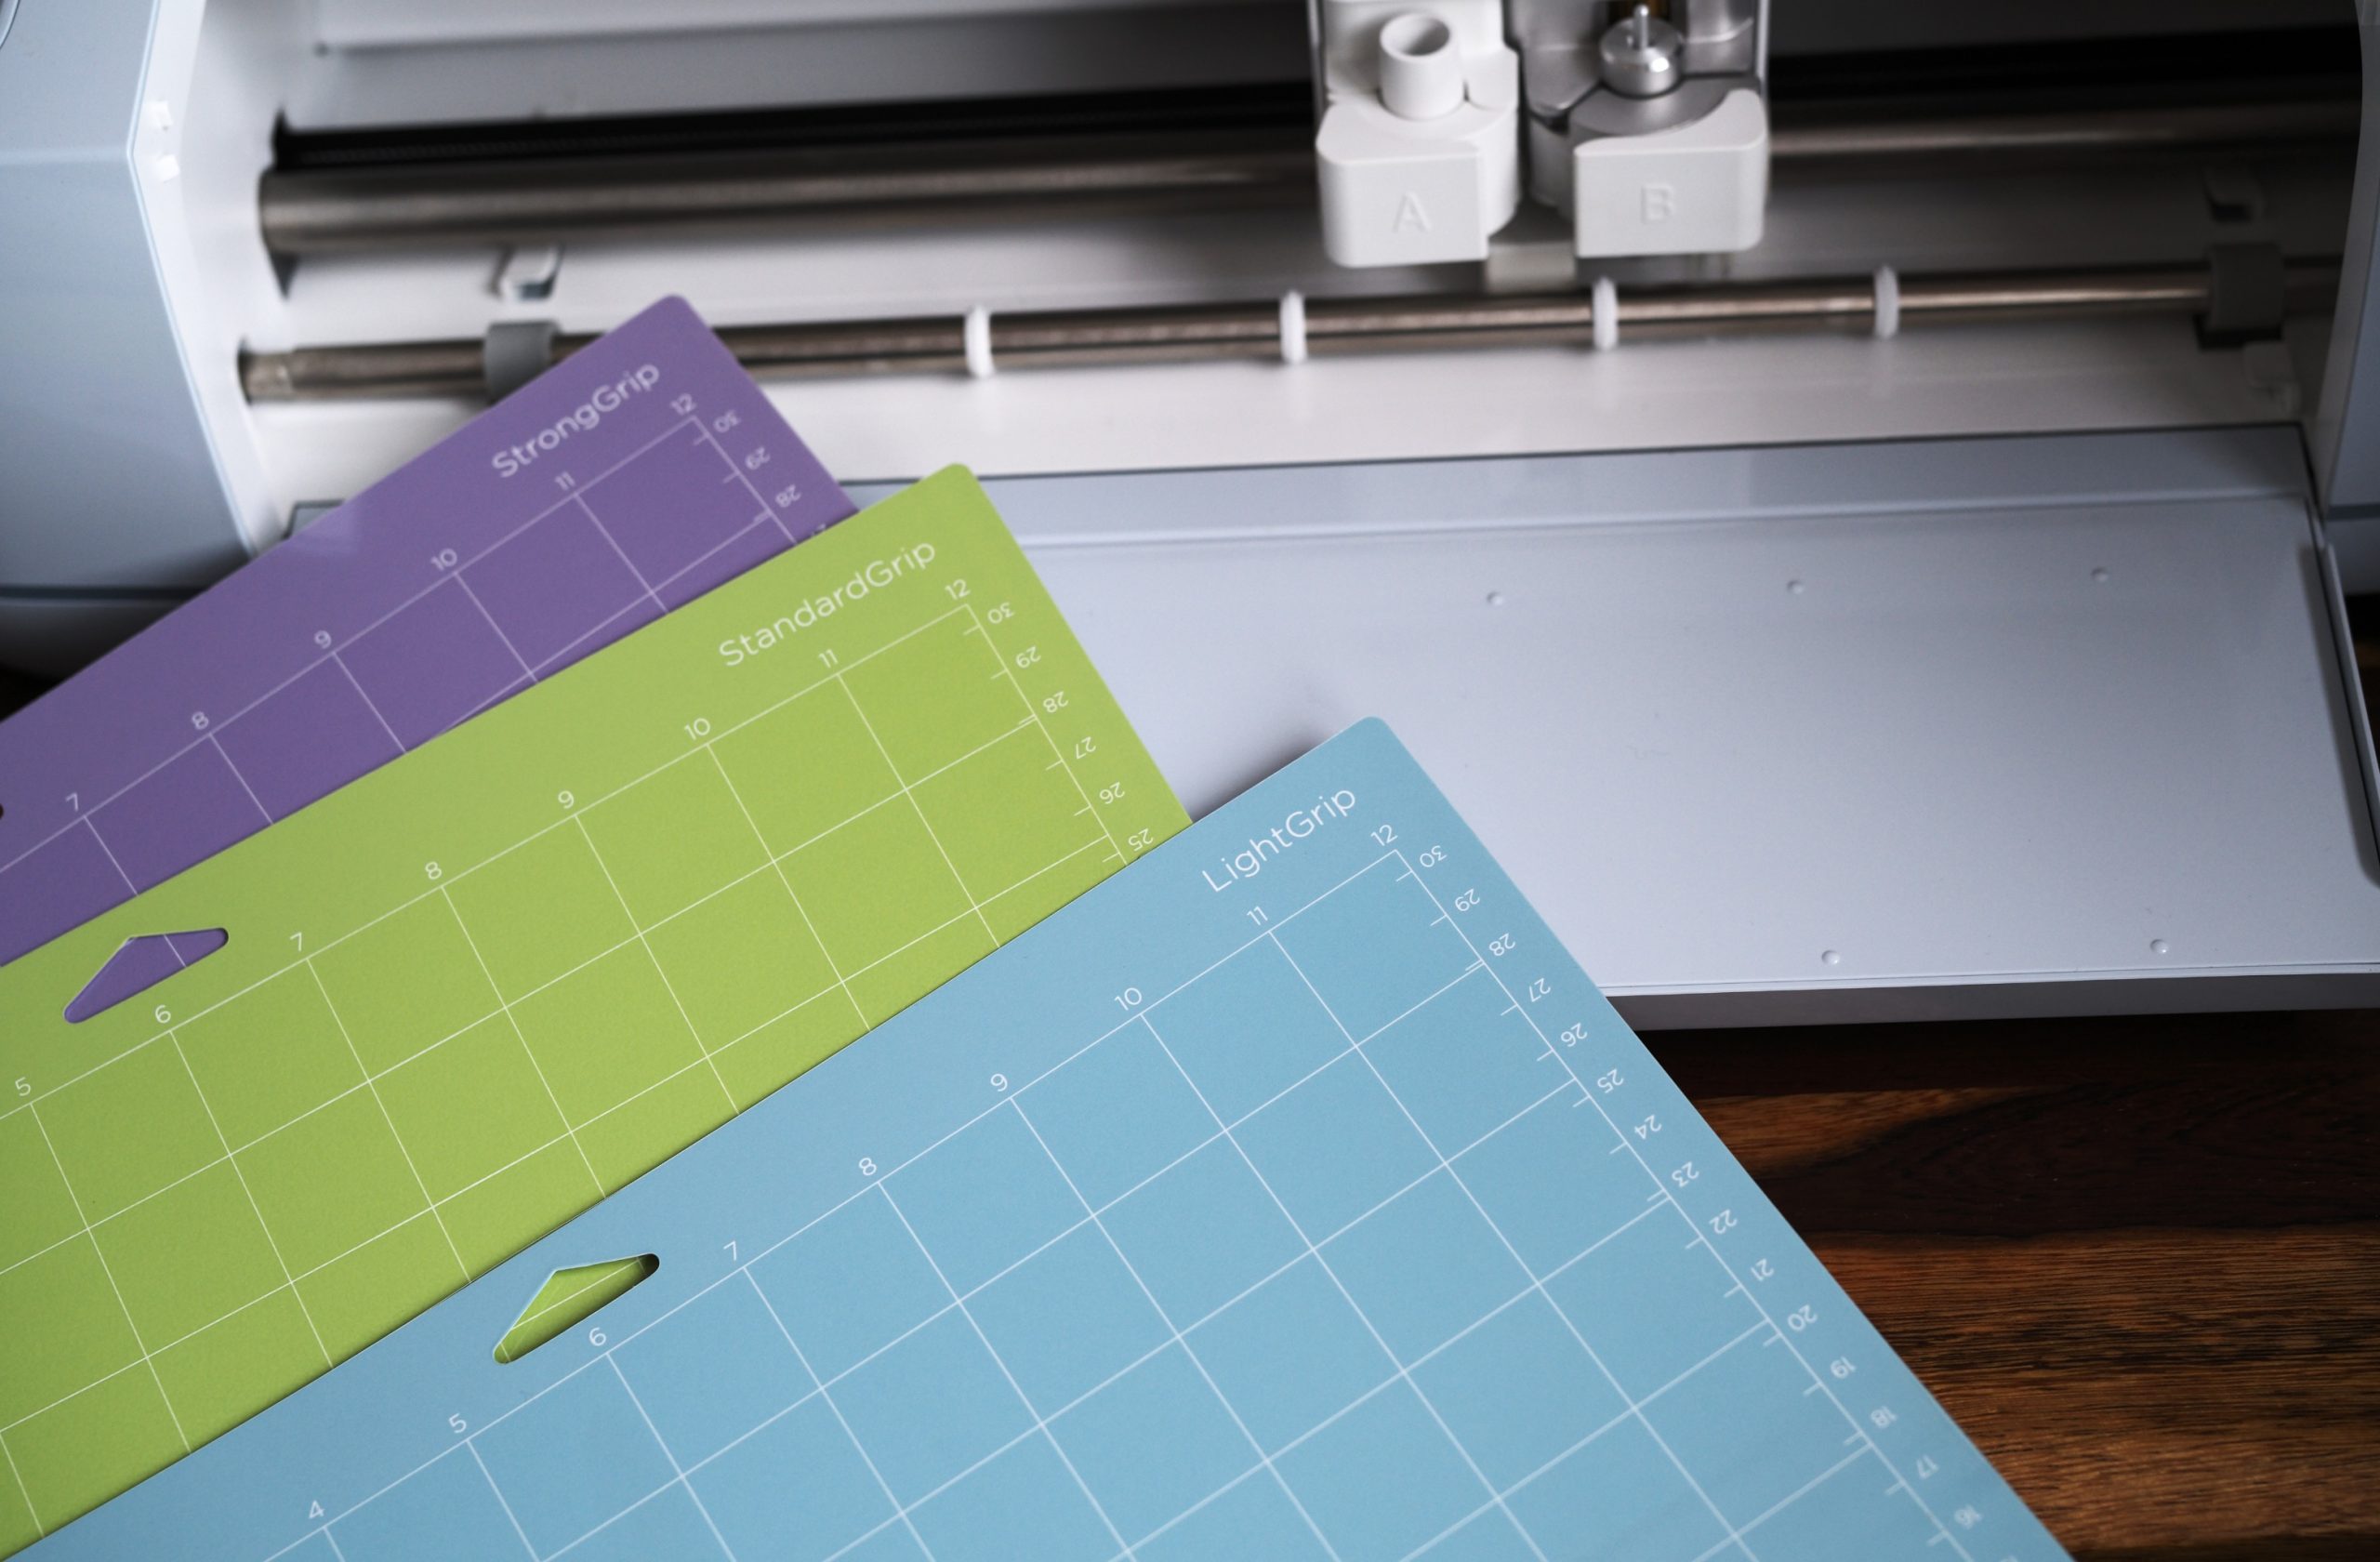
Above: Fabrics need to be pasted onto a Cricut mat in order to be loaded into the machine. For the wool felt I was working with, I chose the StrongGrip mat to ensure that the fabric stays put during the cutting process.
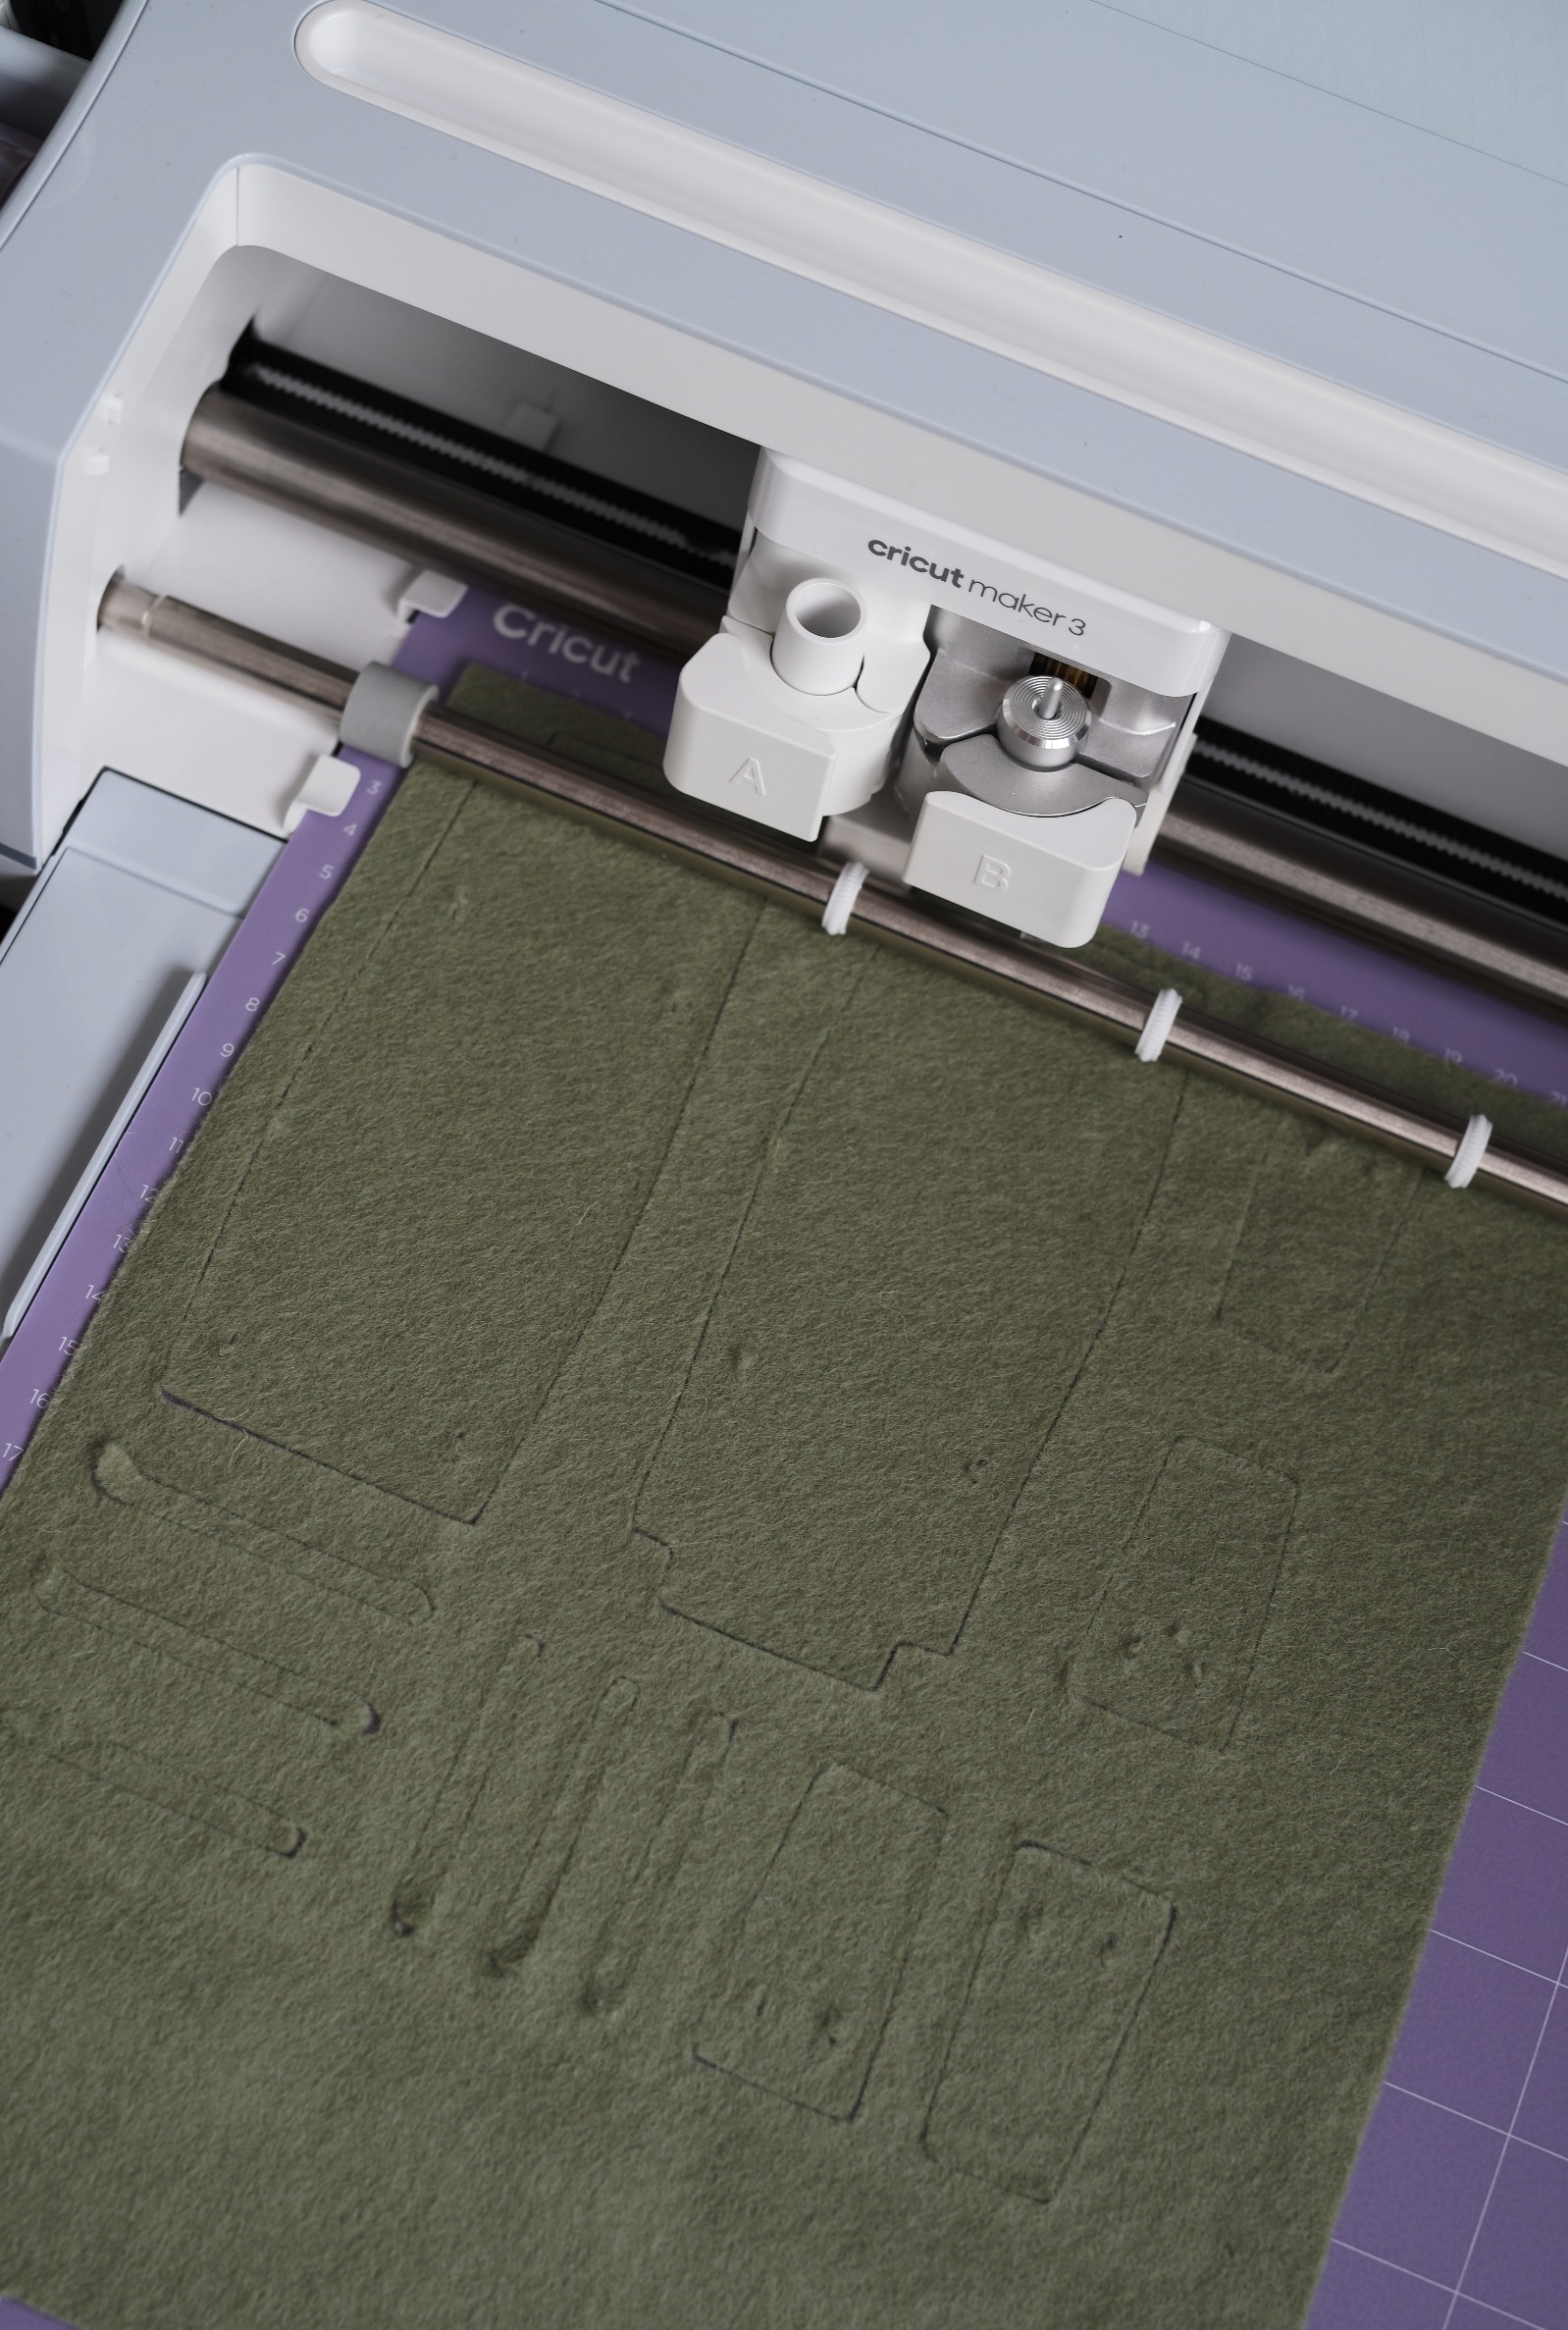
Above: How amazing is this? The Cricut Maker 3 precisely cut out the shapes for the item I’m making. Can you guess what it is?
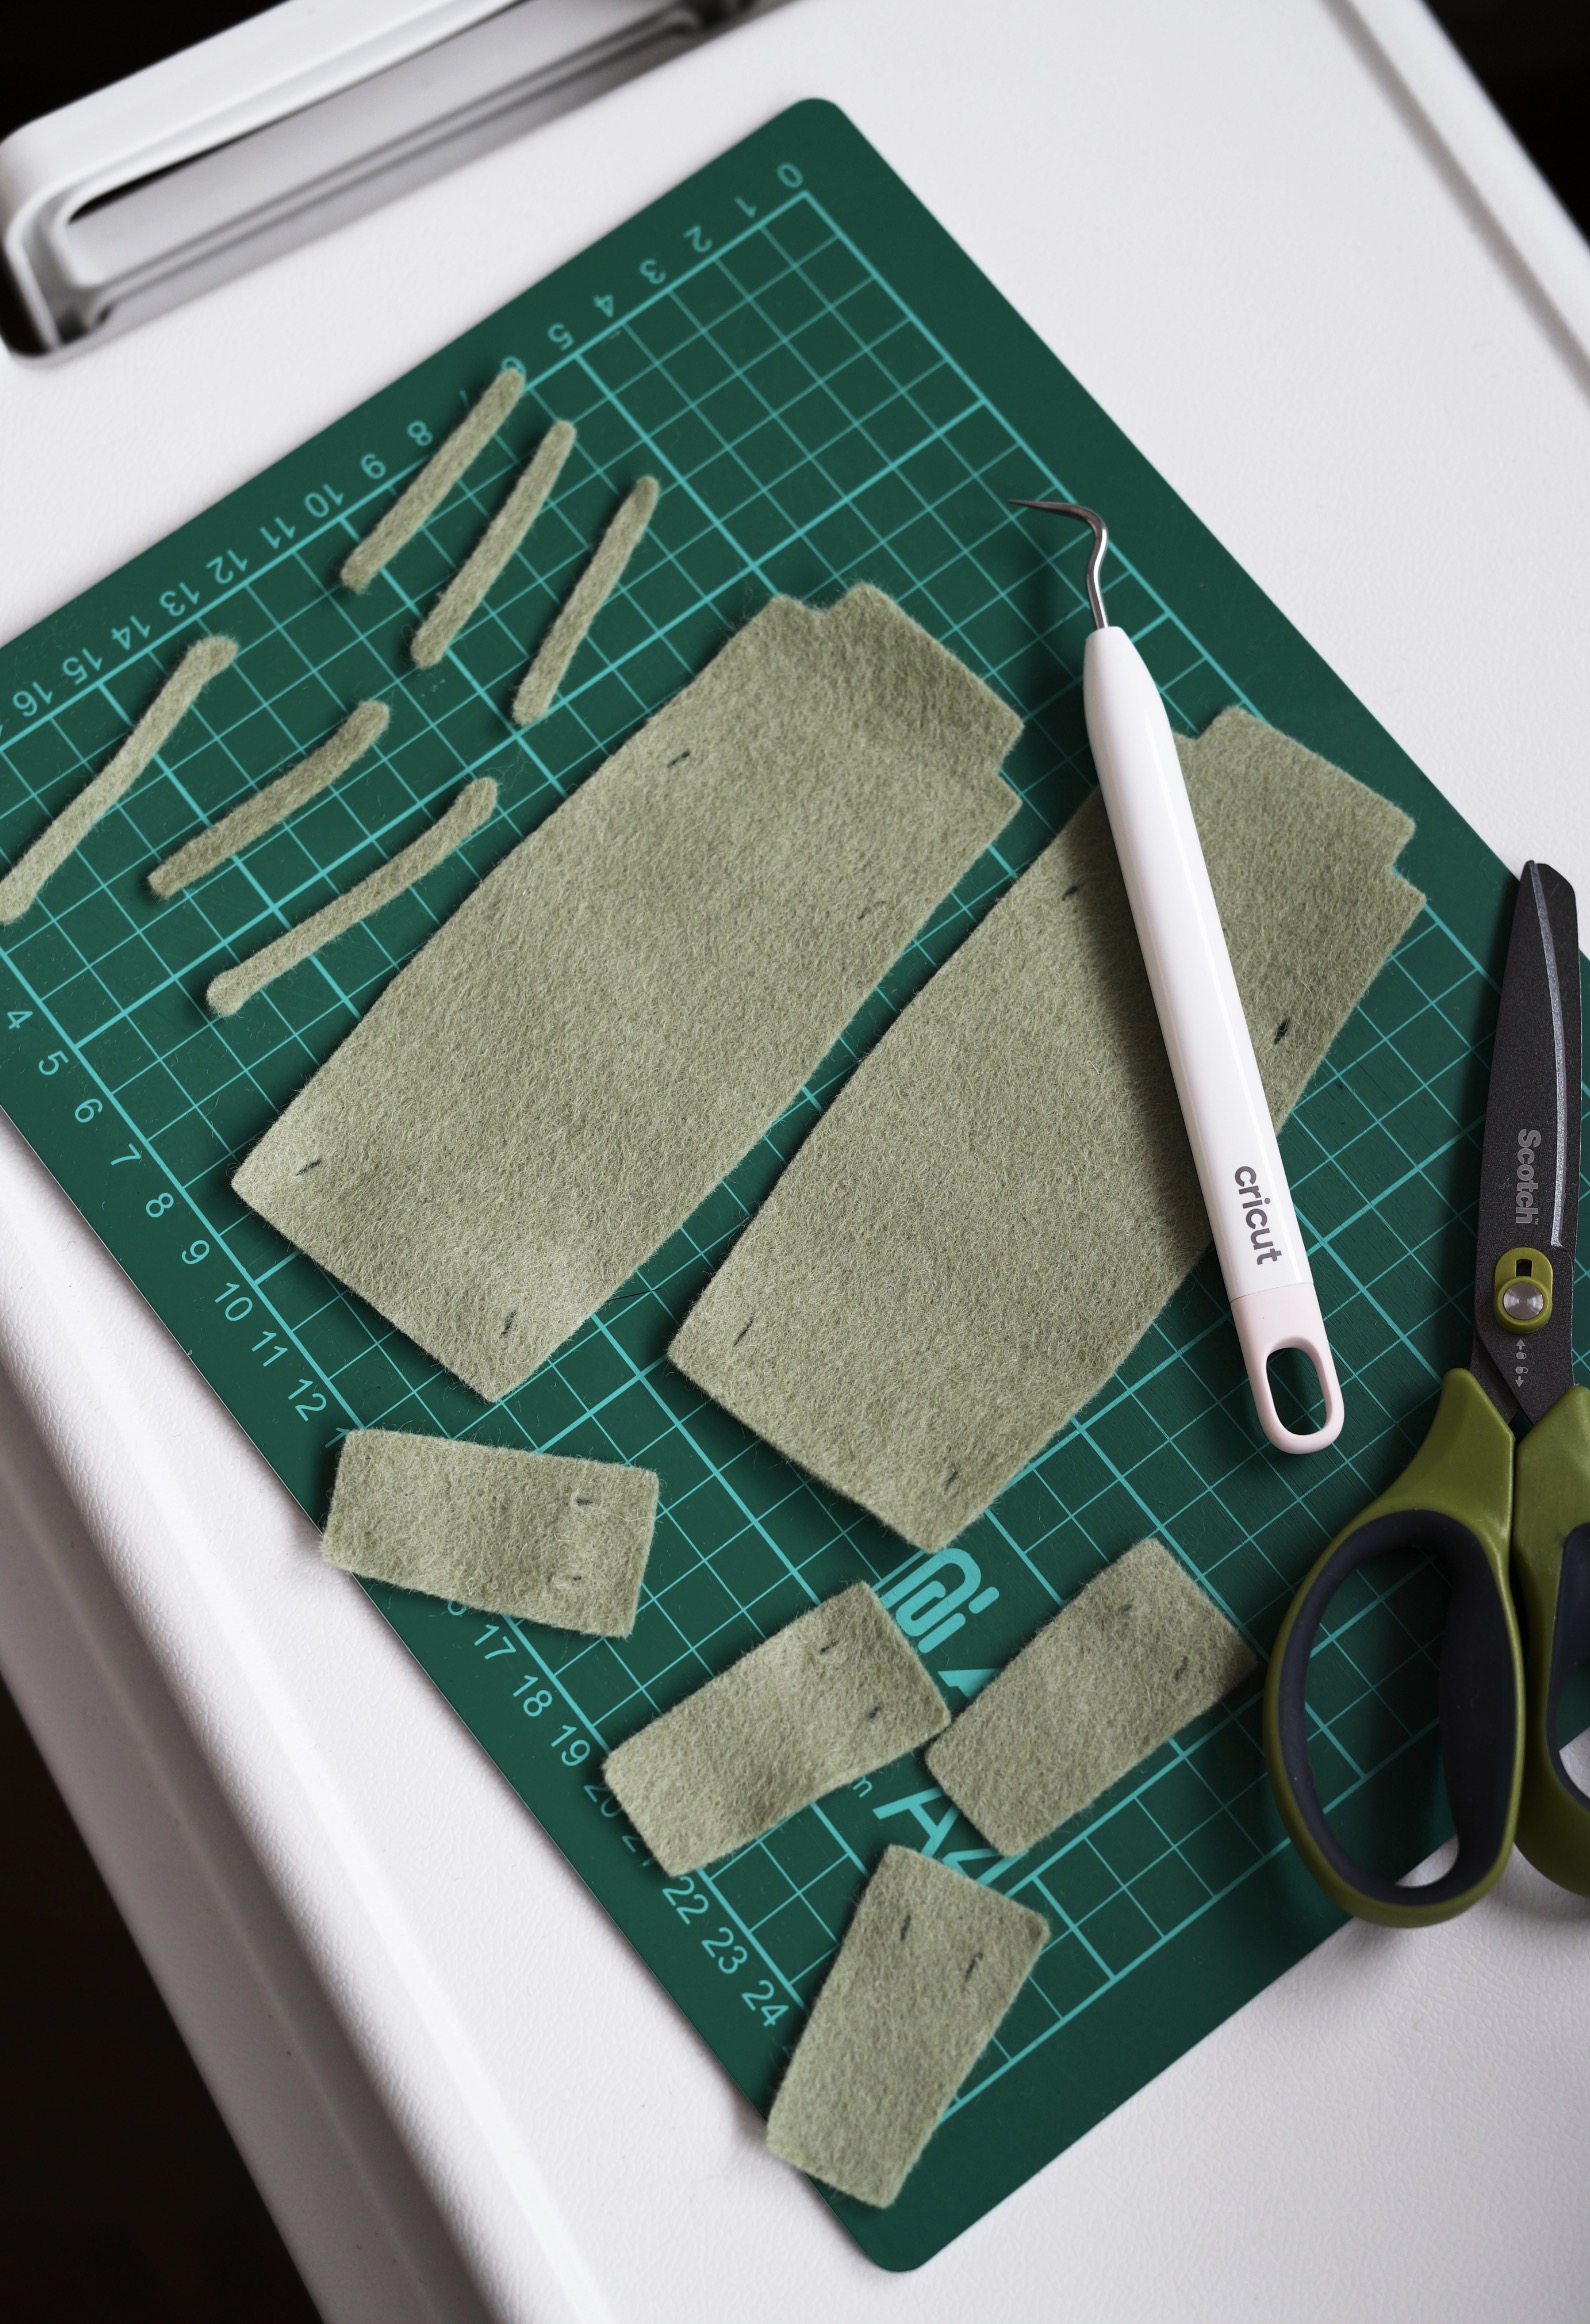
Above: See the small holes in the small pieces of felt? Those would have been a nightmare to cut by hand.
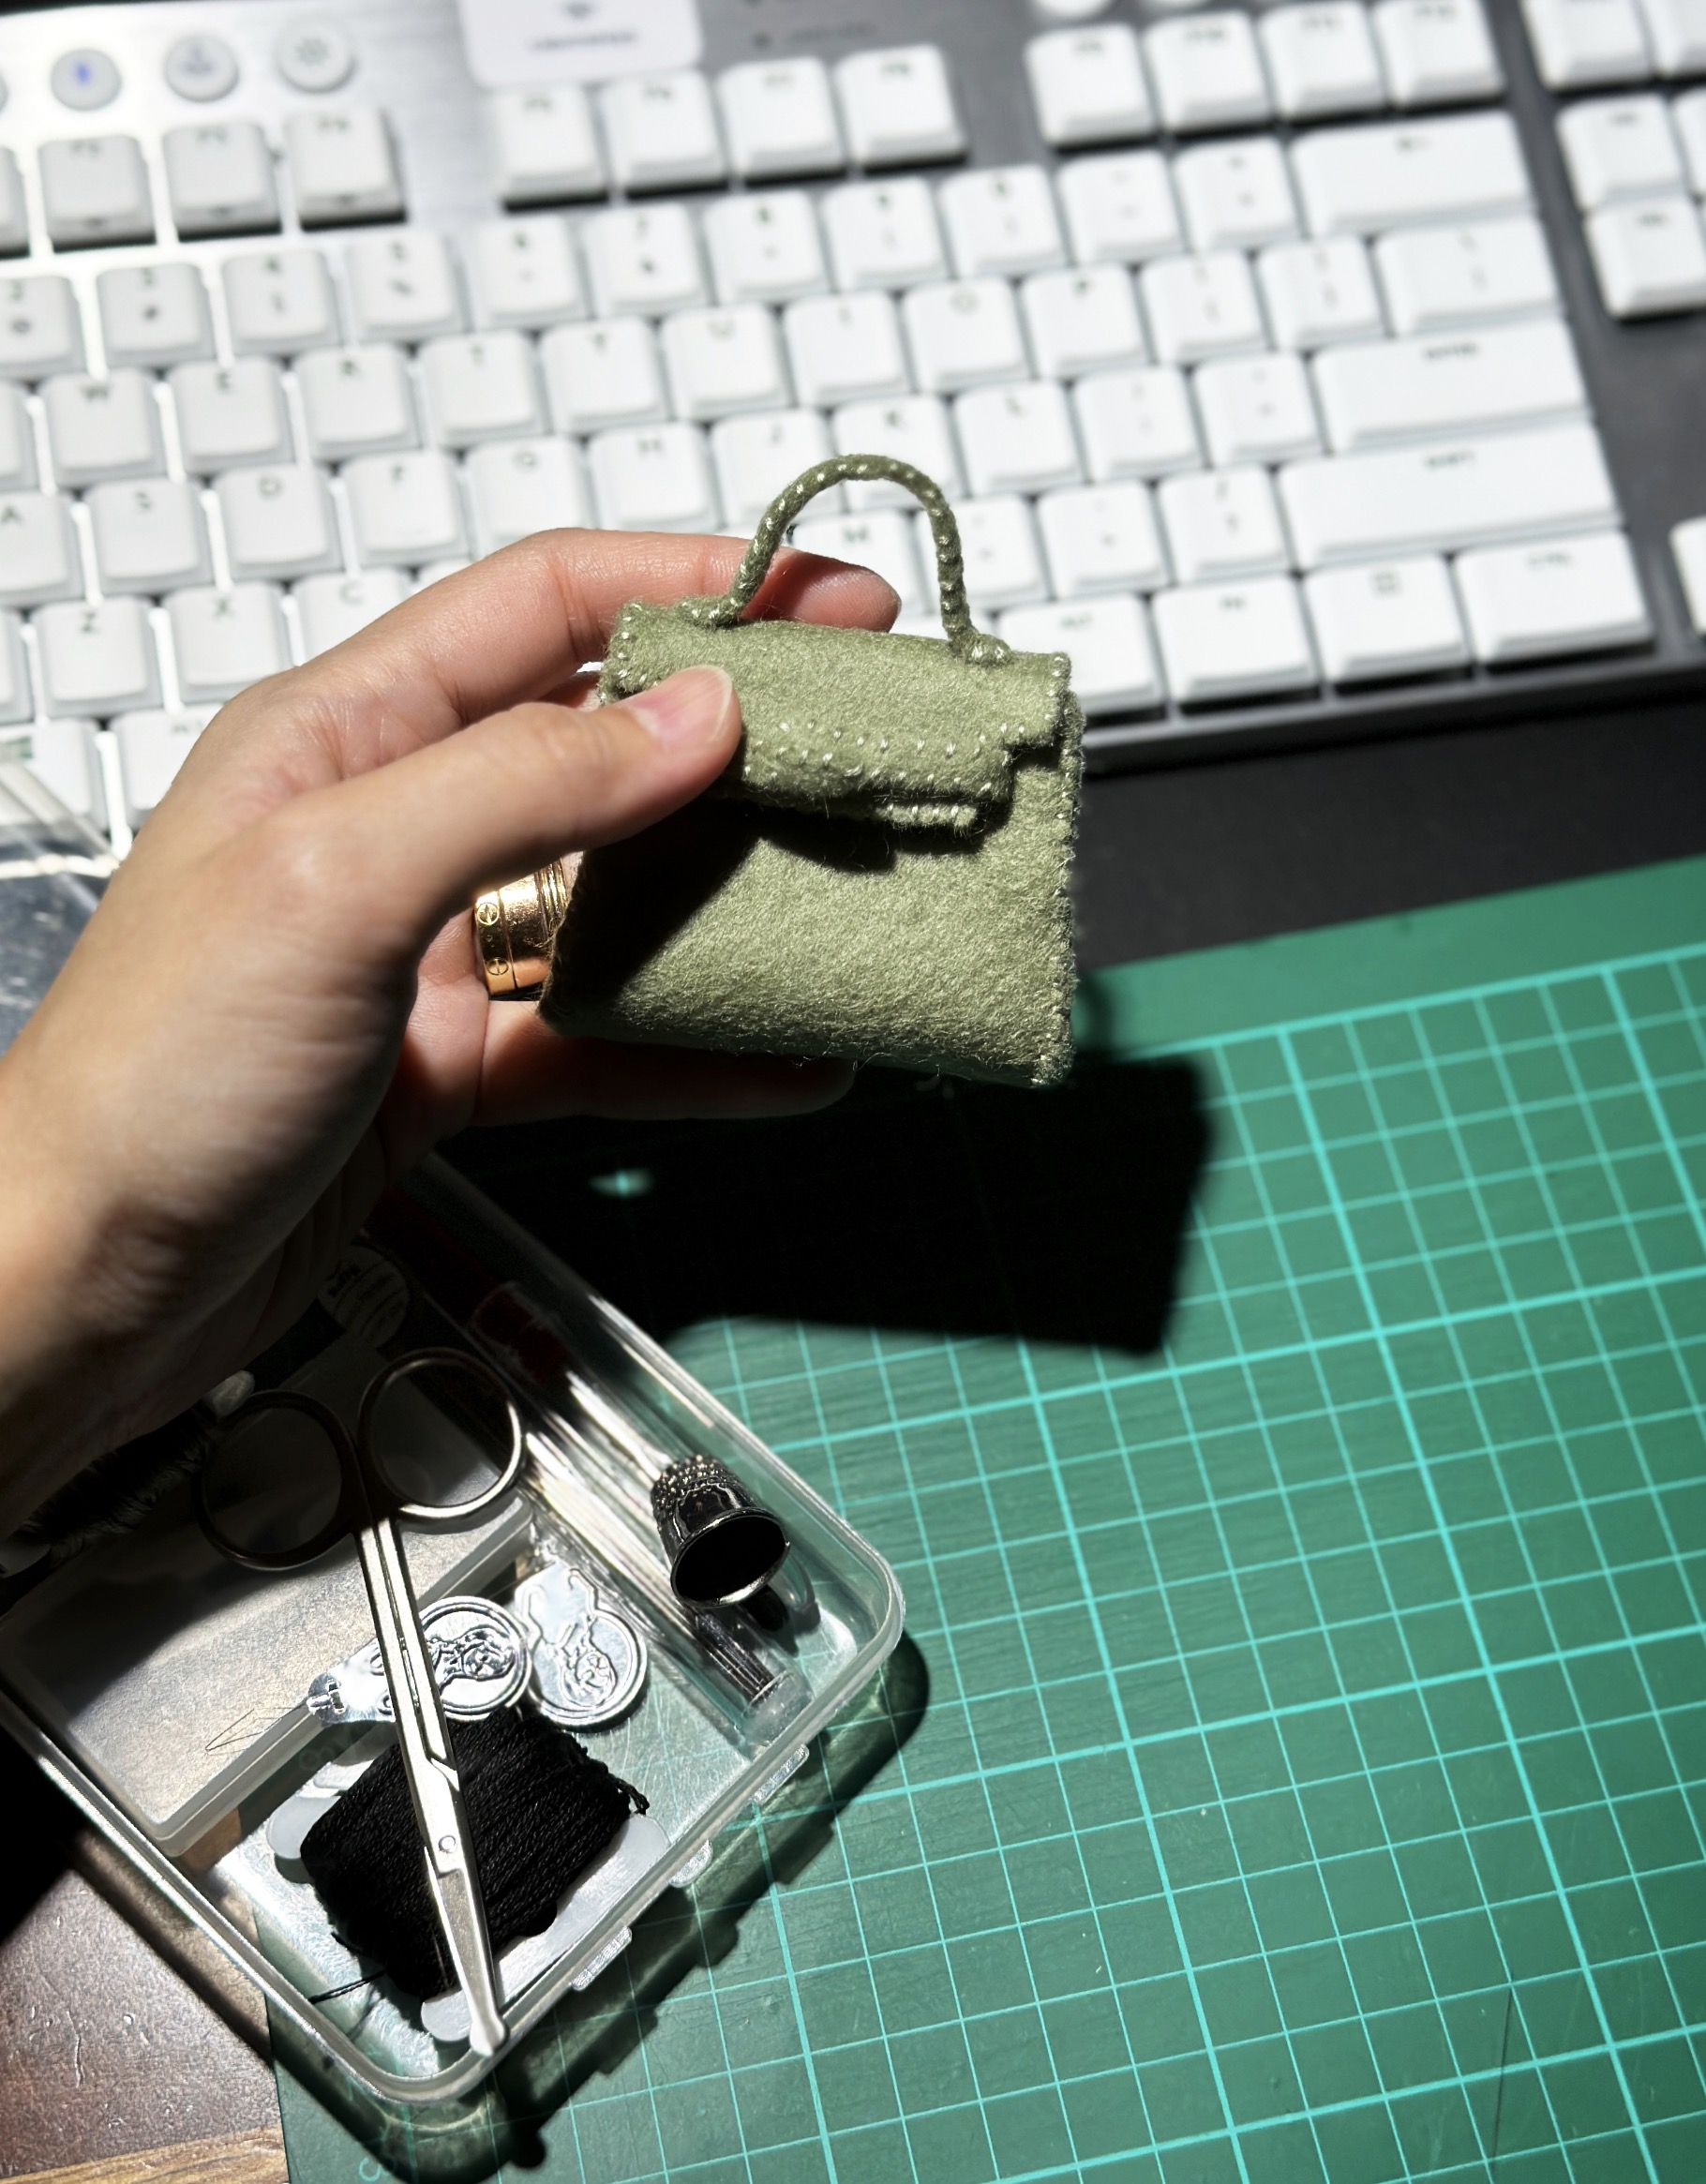
Above: I hand sewed a miniature Kelly bag with the pieces I cut out with the Cricut!
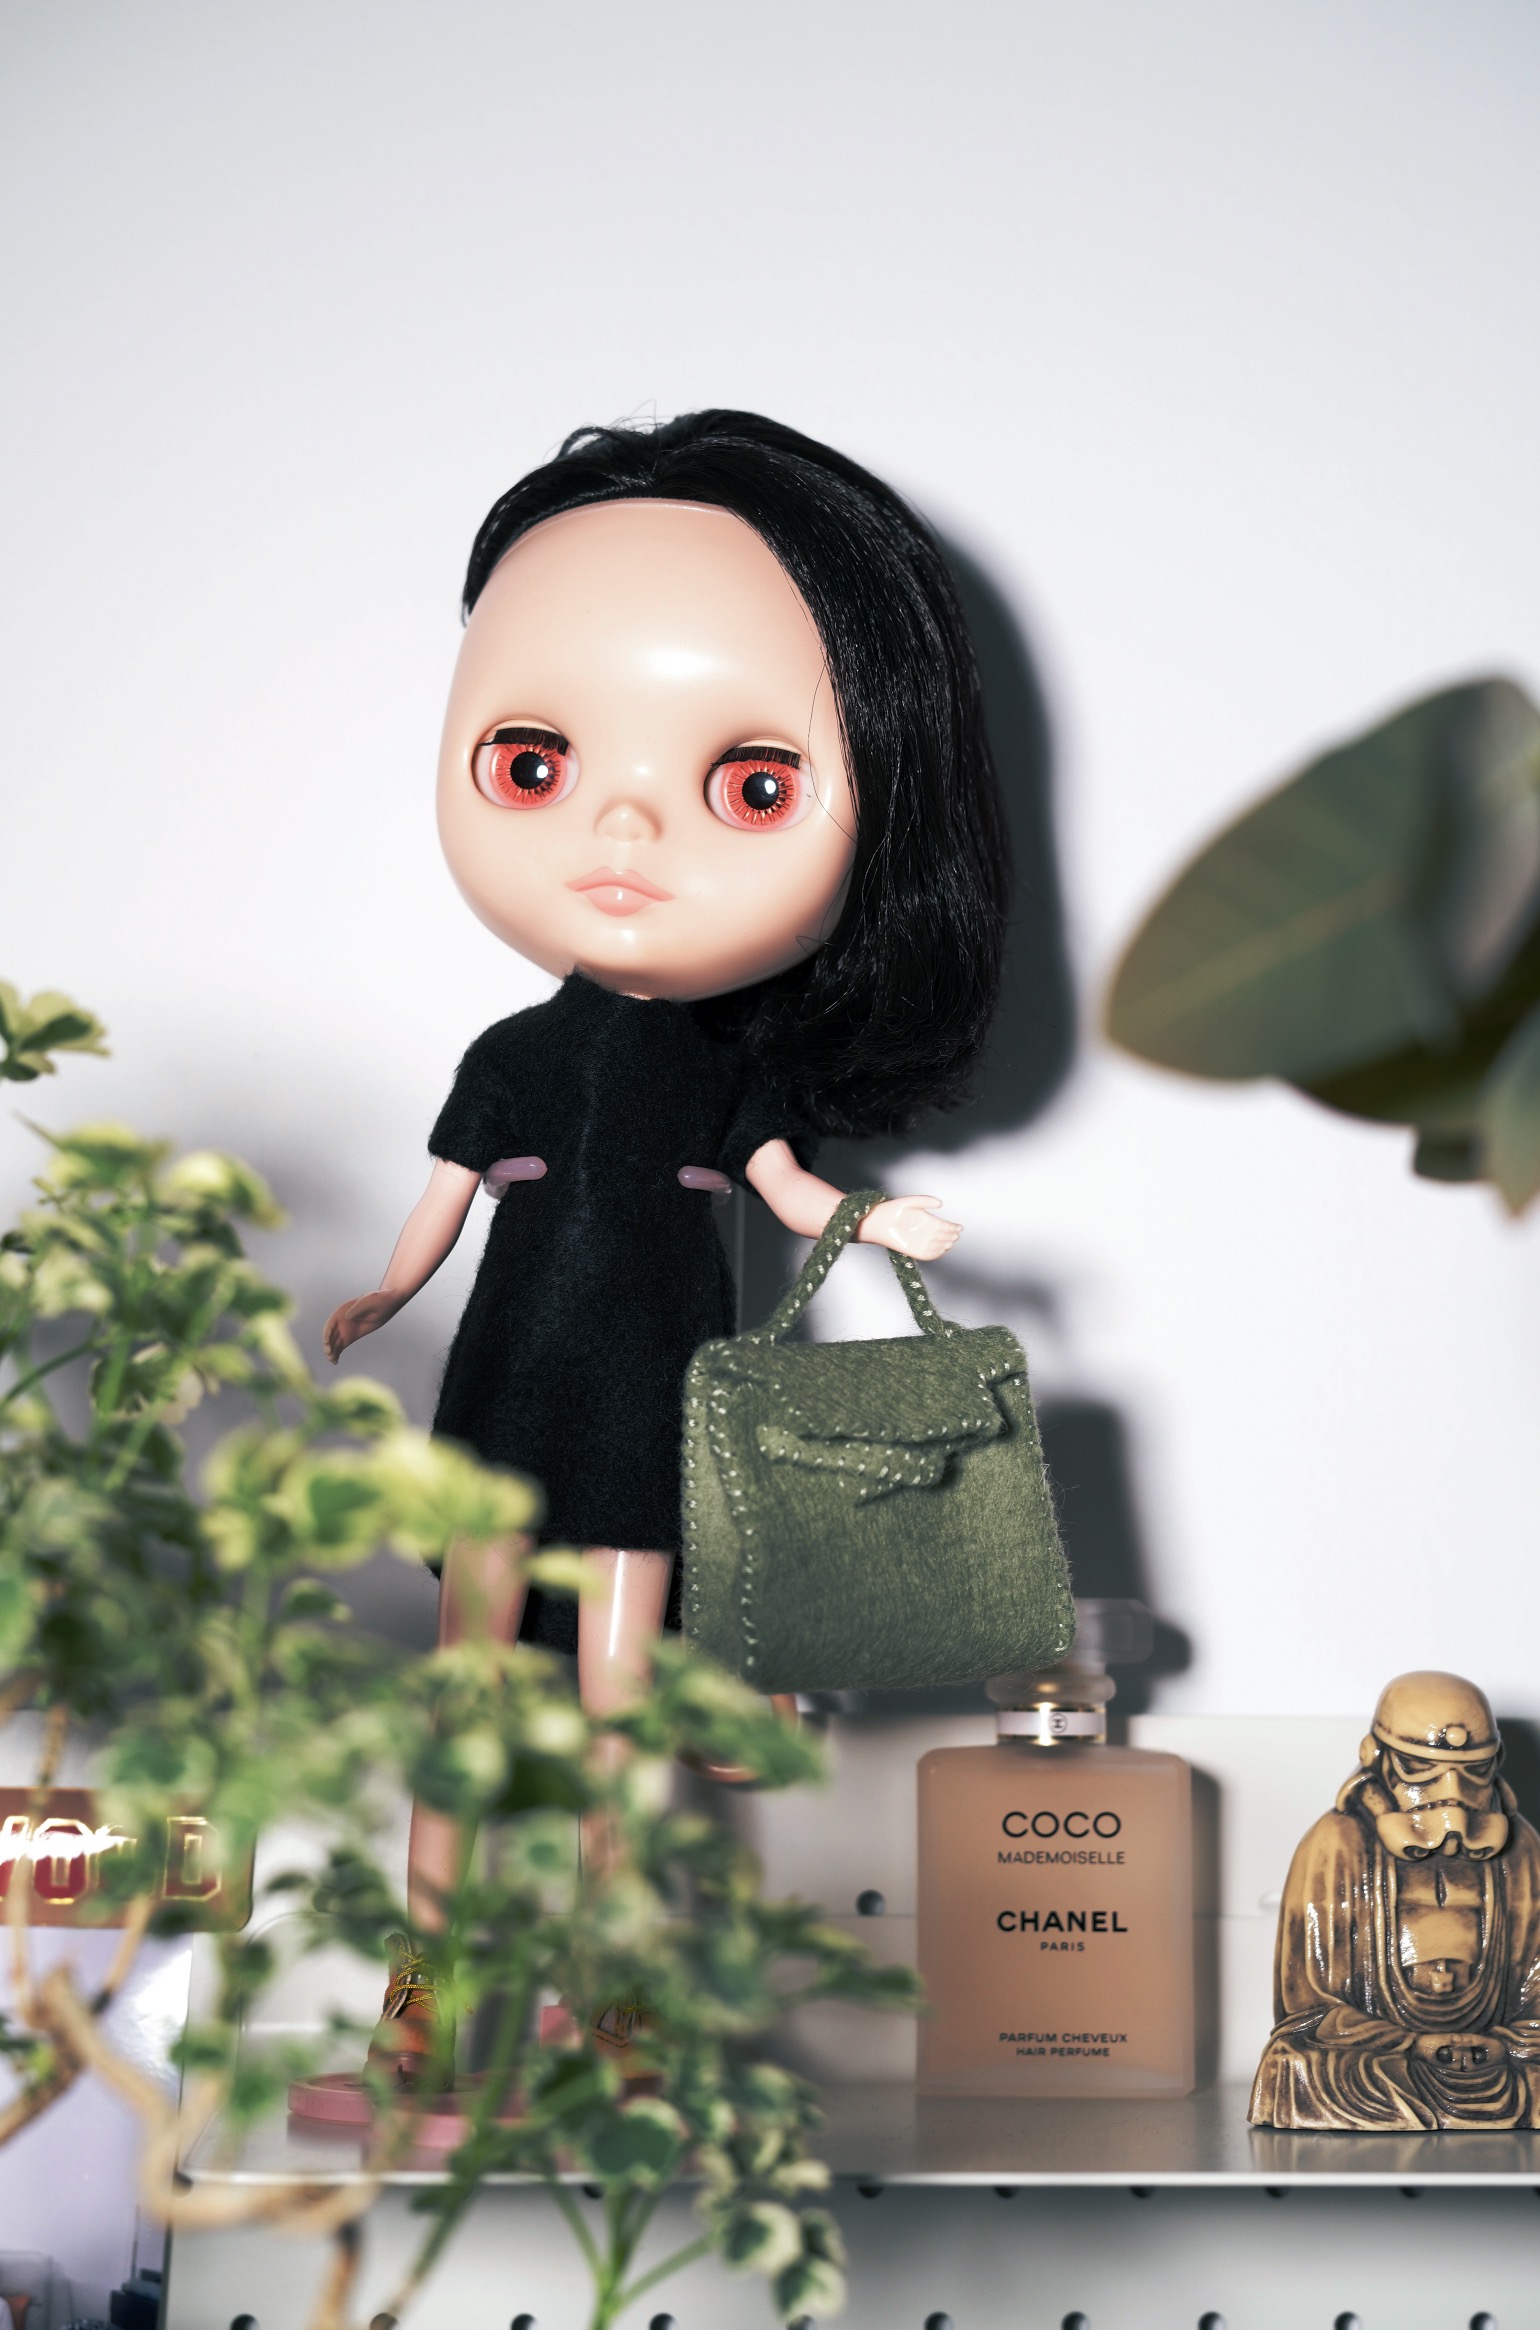
Above: And this bag is for my Blythe. Next up… I’ll be cutting (with the Cricut Maker 3, of course) and sewing a felt cap for her.

Discover more from Cricut here, and find Cricut in store at Spotlight, Plaza Singapura Level 5. You can also shop cricut online at SHOPEE and THESE STORES.
If you’re getting a Cricut or own one, join the brand’s singapore member community on FACEBOOK. This club is a place for crafters to learn from one another and share projects made with Cricut, plus Cricut will announce latest product launches, competitions, and giveaways in the group too.
Happy Cutting and crafting everyone!